I’ve written about Widgeon Creek in the past when I visited as a day trip with my kayak, but this year I made an overnight trip to stay at the campsite! I only paddled the creek for the first time last year, but it’s quickly becoming one of my favourite paddling locations in the lower mainland. It makes for a great day trip or overnight objective. The campsite is large and hiking to the waterfall is a great side mission!
But let’s start from the top. I did this trip with my Girl Guide unit, and I specifically call it a paddling trip because they all travelled there in canoes! I intended to canoe too, but one girl got sick at the last minute, so I ended up taking my kayak since we had an odd number of people. This was my first time doing a trip like this with the girls and we’re lucky to have a very experienced canoeist Guider in the unit to lead the trip.


While I love my kayak, canoeing does seem a bit more quintessentially Canadian and I was happy to finally learn some canoeing skills. We did two training sessions on Deer Lake before this trip so that the girls could get used to the paddling strokes. Widgeon Creek isn’t a hard objective, but it does require crossing the fast moving Pitt River, and it was important for everyone to feel comfortable and confident paddling. I found canoeing to be a bit harder that kayaking because of the coordination required with your partner. There are more paddling strokes (at least, that’s how it felt) and I initially found in confusing which stroke to use to correctly change direction. But eventually it clicked and I had fun learning a new skill!
If you want to visit Widgeon Creek yourself, you can park at Pitt Lake. The first part of the trip is crossing the Pitt River, after which it’s a 4.5km paddle up the creek to Widgeon Campsite. You can bring your own boat, or once they open for the season, rent right at Pitt Lake. Fortunately, we were able to borrow enough boats for our group, so we were could go a little before rentals opened for the season. We only had a small group of girl guides, but they were enthusiastic and very good spirited!


We started our paddle early in the morning to avoid the wind and arrived at the campsite in time to set up our tents and eat lunch. The paddle takes ~90 minutes and we made one stop at a pullout along the way for a snack. It rained on us pretty consistently, but no one complained and I noticed that the campsite was considerably less busy than on a sunny day. We were the first to arrive and we were only joined by one other group later in the day.
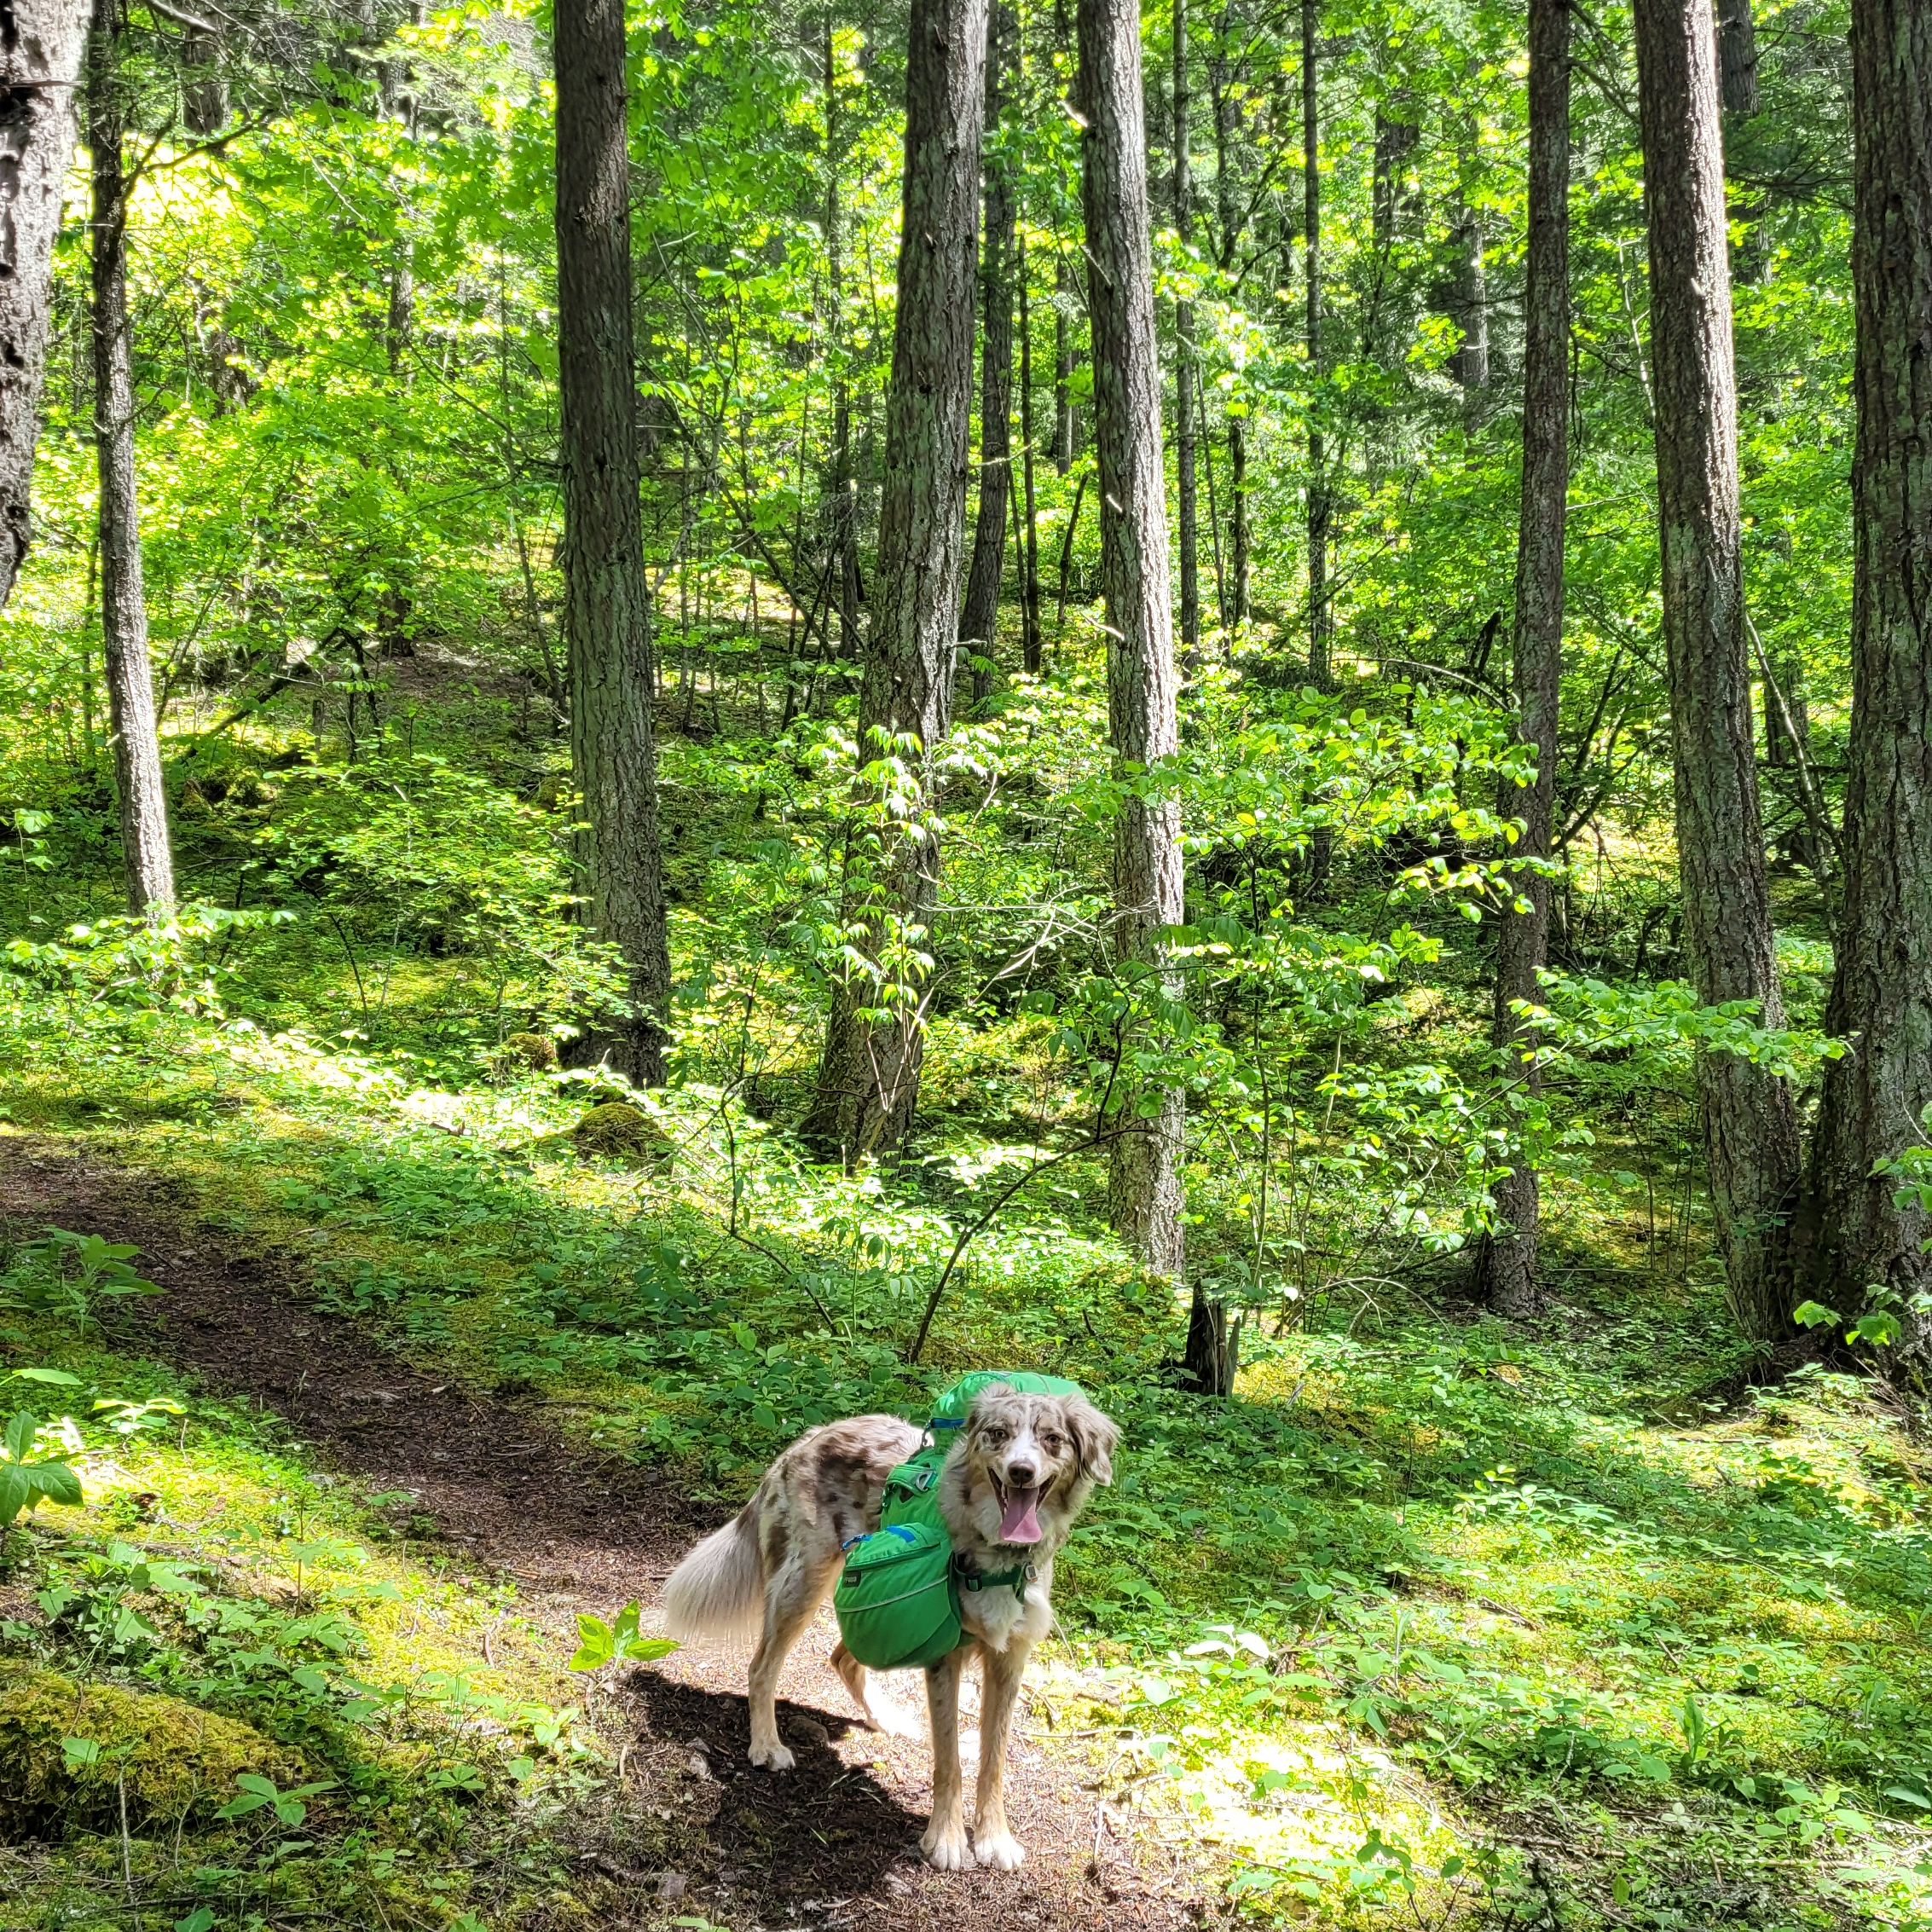
The campsite is fairly large and has lots of bear caches and picnic tables. I imagine it gets busy in the summer, but there are quite a few tent pads and space to spread out. We started by setting up a tarped area to hang out in so that we wouldn’t continue to get wet from the rain. Fortunately, the rain died off after lunch and we opted to hike 6km round trip to Widgeon Falls. It’s a nice trail through the forest that took us around 2 hours, with a snack break to enjoy the view at the falls. Be careful when it’s wet though, the rocks near the waterfall can get very slippery, so we exercised a lot of caution looking for a place to sit have our snack.


There’s no campfires allowed any time of year at Widgeon Creek, so we returned to the campsite to make dinner and play some games instead. In the morning, we got lucky with nicer weather and we were able to pack down the tents in dry weather. We had a nice paddle back to Pitt Lake, but the wind always comes up in the afternoon and it did pick up just before we crossed the Pitt River at 11:30am. The Pitt River can have a fast moving current, especially in the Spring, around freshet, so we planned accordingly by paddling along the edge of the river, upstream of where we wanted to cross, and then crossing to the boat launch. The current did knock us back a little bit while crossing, but everyone made it without too much issue.
Timing is an important consideration for visiting Widgeon. The creek and the Pitt River are tidally influenced, so they can be a bit high in the spring, but get very low in late summer. I’ve heard that sometimes the creek gets so low you have to walk your boat in places. But it is a very manageable location to visit if you plan around the tides. I’ve been 3 times now and always had a great time! Most of the paddling is located in Widgeon Marsh Regional Park, but the campsite itself is in Pinecone Burke Provincial Park. There’s no permits required to camp there and it is free to visit. It’s a great paddling trip close to Vancouver. We had a great time visiting as an overnight trip!