The main focus of this blog is definitely backpacking, which is one of my favourite summertime activities. But I also spend a lot of time kayaking and have slowly been working my way around the easy paddling trips near Vancouver. My husband and I own two sea touring kayaks and for this post, I decided to compile some of our favourite day trips near the lower mainland! It’s easy to rent boats for a lot of these trips, but there are a few where it’s easier if you have your own.

Jug Island is by far our most frequented kayak day trip. It’s located near Belcarra Regional Park and can be accessed from either Belcarra or Deep Cove. We always choose Belcarra since we live in Coquitlam, but it’s a ~5km round trip from both starting locations. There’s a large beach where you can land your boat and an outhouse, so it’s a nice place to stop. It usually takes us ~45 minutes to paddle there from Belcarra and we’ll often take a break and then continue on to explore Bedwell Bay or Twin Islands. Twin Islands makes for a longer day, as it’s a ~9-10km paddle, but it’s very beautiful there and it’s fun to swim from the south island. If you’re renting, you can choose from Deep Cove Kayaks or Takaya in Belcarra. Alternatively, you can also rent from Cates Park for a slightly longer paddle.
Barnet Marine Park / Rocky Point

There are a few options for where you can paddle from Barnet Marine Park. I usually just use it as an alternative access point for Jug Island since it’s located in Burnaby and is sometimes a closer drive, but you can also paddle between Rocky Point and Barnet Marine from either location. Rocky Point is located in Port Moody and is a very easy access point. The annoying thing about Barnet Marine is that they now limit parking to 4 hours, which is difficult if you’re looking to do a longer trip. If you leave from Rocky Point, parking is also a challenge in the summer, but it’s easier to rent boats from Rocky Point than Barnet.
Buntzen Lake

Buntzen Lake is located super close to the city, in the town of Anmore. It’s the perfect place for beginners because the lake isn’t that long, but it’s big enough to make for a nice paddle to the end and back, roughly 10 kms. Plus you can also explore around the river and hang out on either end of the lake. A day pass is needed in the summer, which is free, but must be obtained 2 days in advance from BC Hydro. There are often canoe rentals available along the south beach.
Whytecliff Park
Whytecliff Park is located in West Vancouver near Horseshoe Bay and is one of many paddling options in West Vancouver. You can launch your boat from Whyte Cove, which is located in the park, or from Batchelor Bay or Horseshoe Bay. If you don’t mind a longer paddle, you could also launch from Eagle Harbour, at the beach next to the yacht club. There are no rental options from this location that I am aware of, but it’s a fun place to explore. Watch out for ferry traffic if you are paddling around Horseshoe Bay.
Bowen Island

I haven’t actually done this trip myself, but I’ve heard Bowen Island is great for kayaking. The best option is to walk on the ferry from Horseshoe Bay to Bowen Island and rent boats from Snug Cove on the other side. From here, you can paddle around the edge of the island. I recommend heading north as there are more beaches to land at in this direction. I believe more experienced paddlers will cross from Horseshoe Bay on their own, but I don’t recommend this.
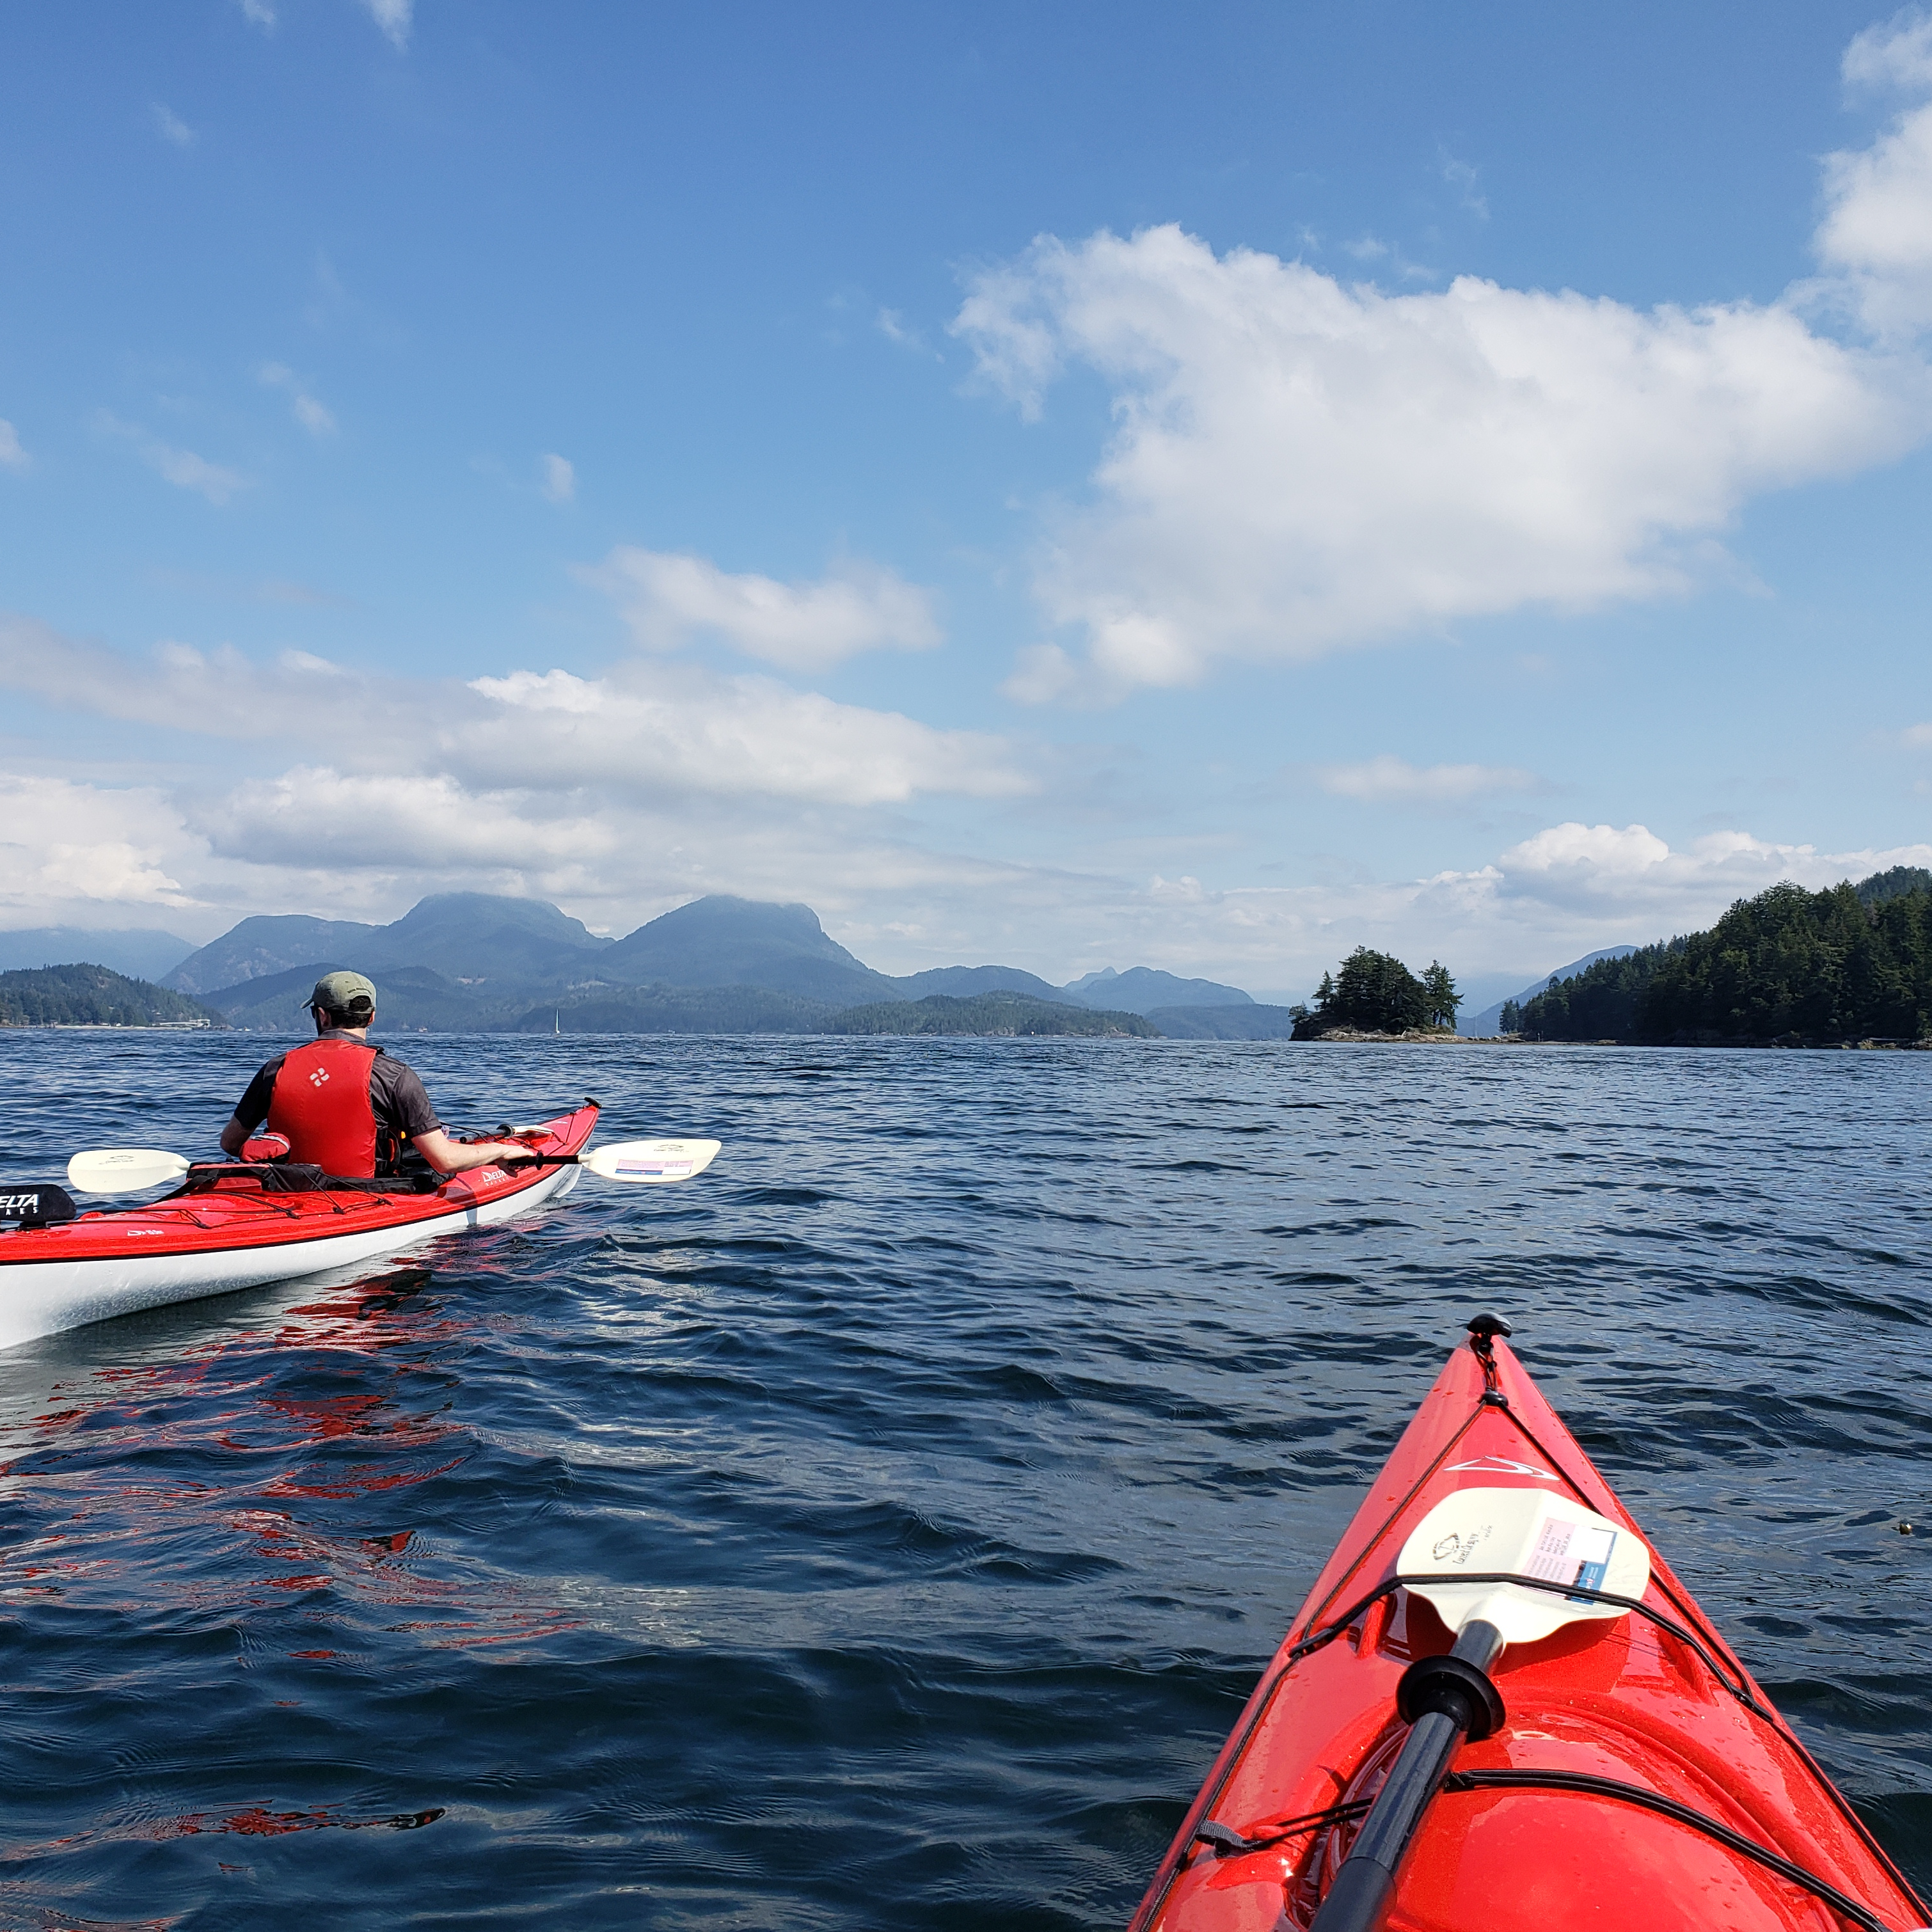
Keats Island is a great destination from Gibsons. You can launch from the marina and paddle across the straight to Keats Island. Follow the coast north past the Shelter Islets until you reach Plumper Cove Marine Park, which is a great place to hang out for the day or to camp overnight. It can be windy crossing the straight, so I recommend doing this trip early in the morning. Rentals are available from the marina in Gibsons.
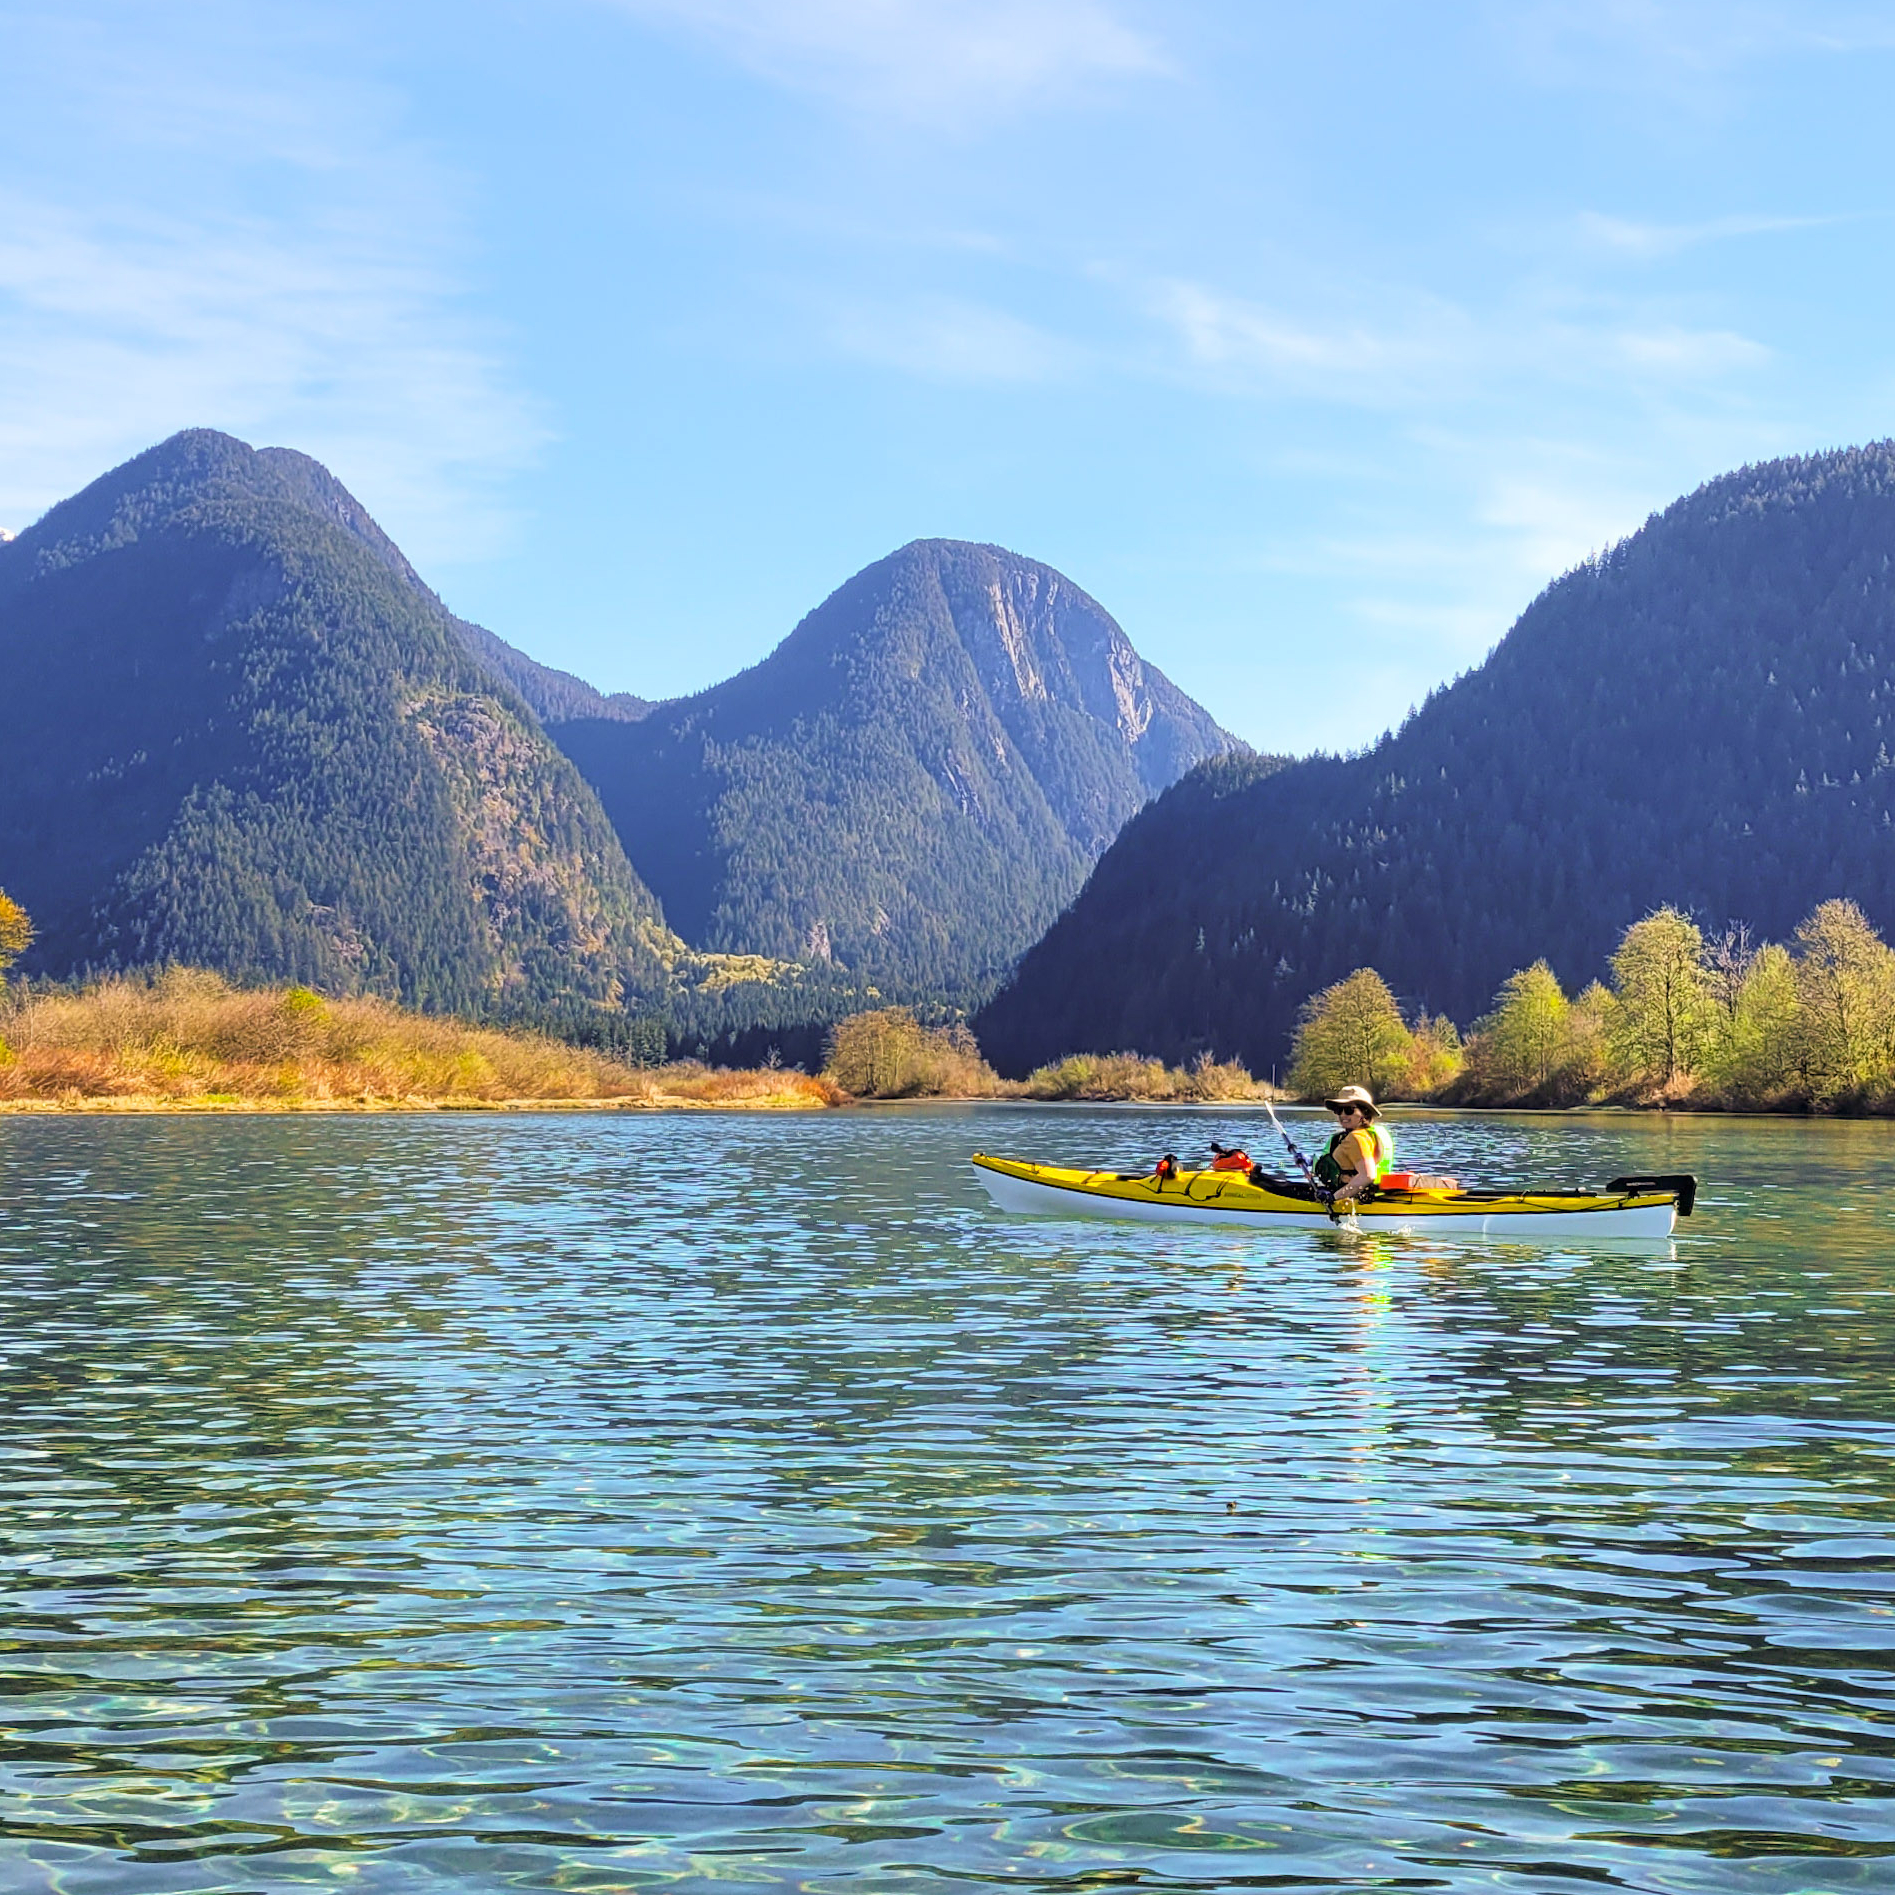
Widgeon Creek is a very popular summer paddling destination in Pitt Meadows. Park at the main lot on Pitt Lake and paddle across the Pitt River to Widgeon Creek, which is a leisurely 6km paddle to the campsite. From there you can do a day hike to Widgeon Falls. This area is very busy in the summer, but head out in April or May to avoid the crowds. Be careful crossing the Pitt River, which can have strong currents, and leave early to avoid the wind. You can rent boats from Katzie in the summer, or through independent operators that deliver the boats to the lot.
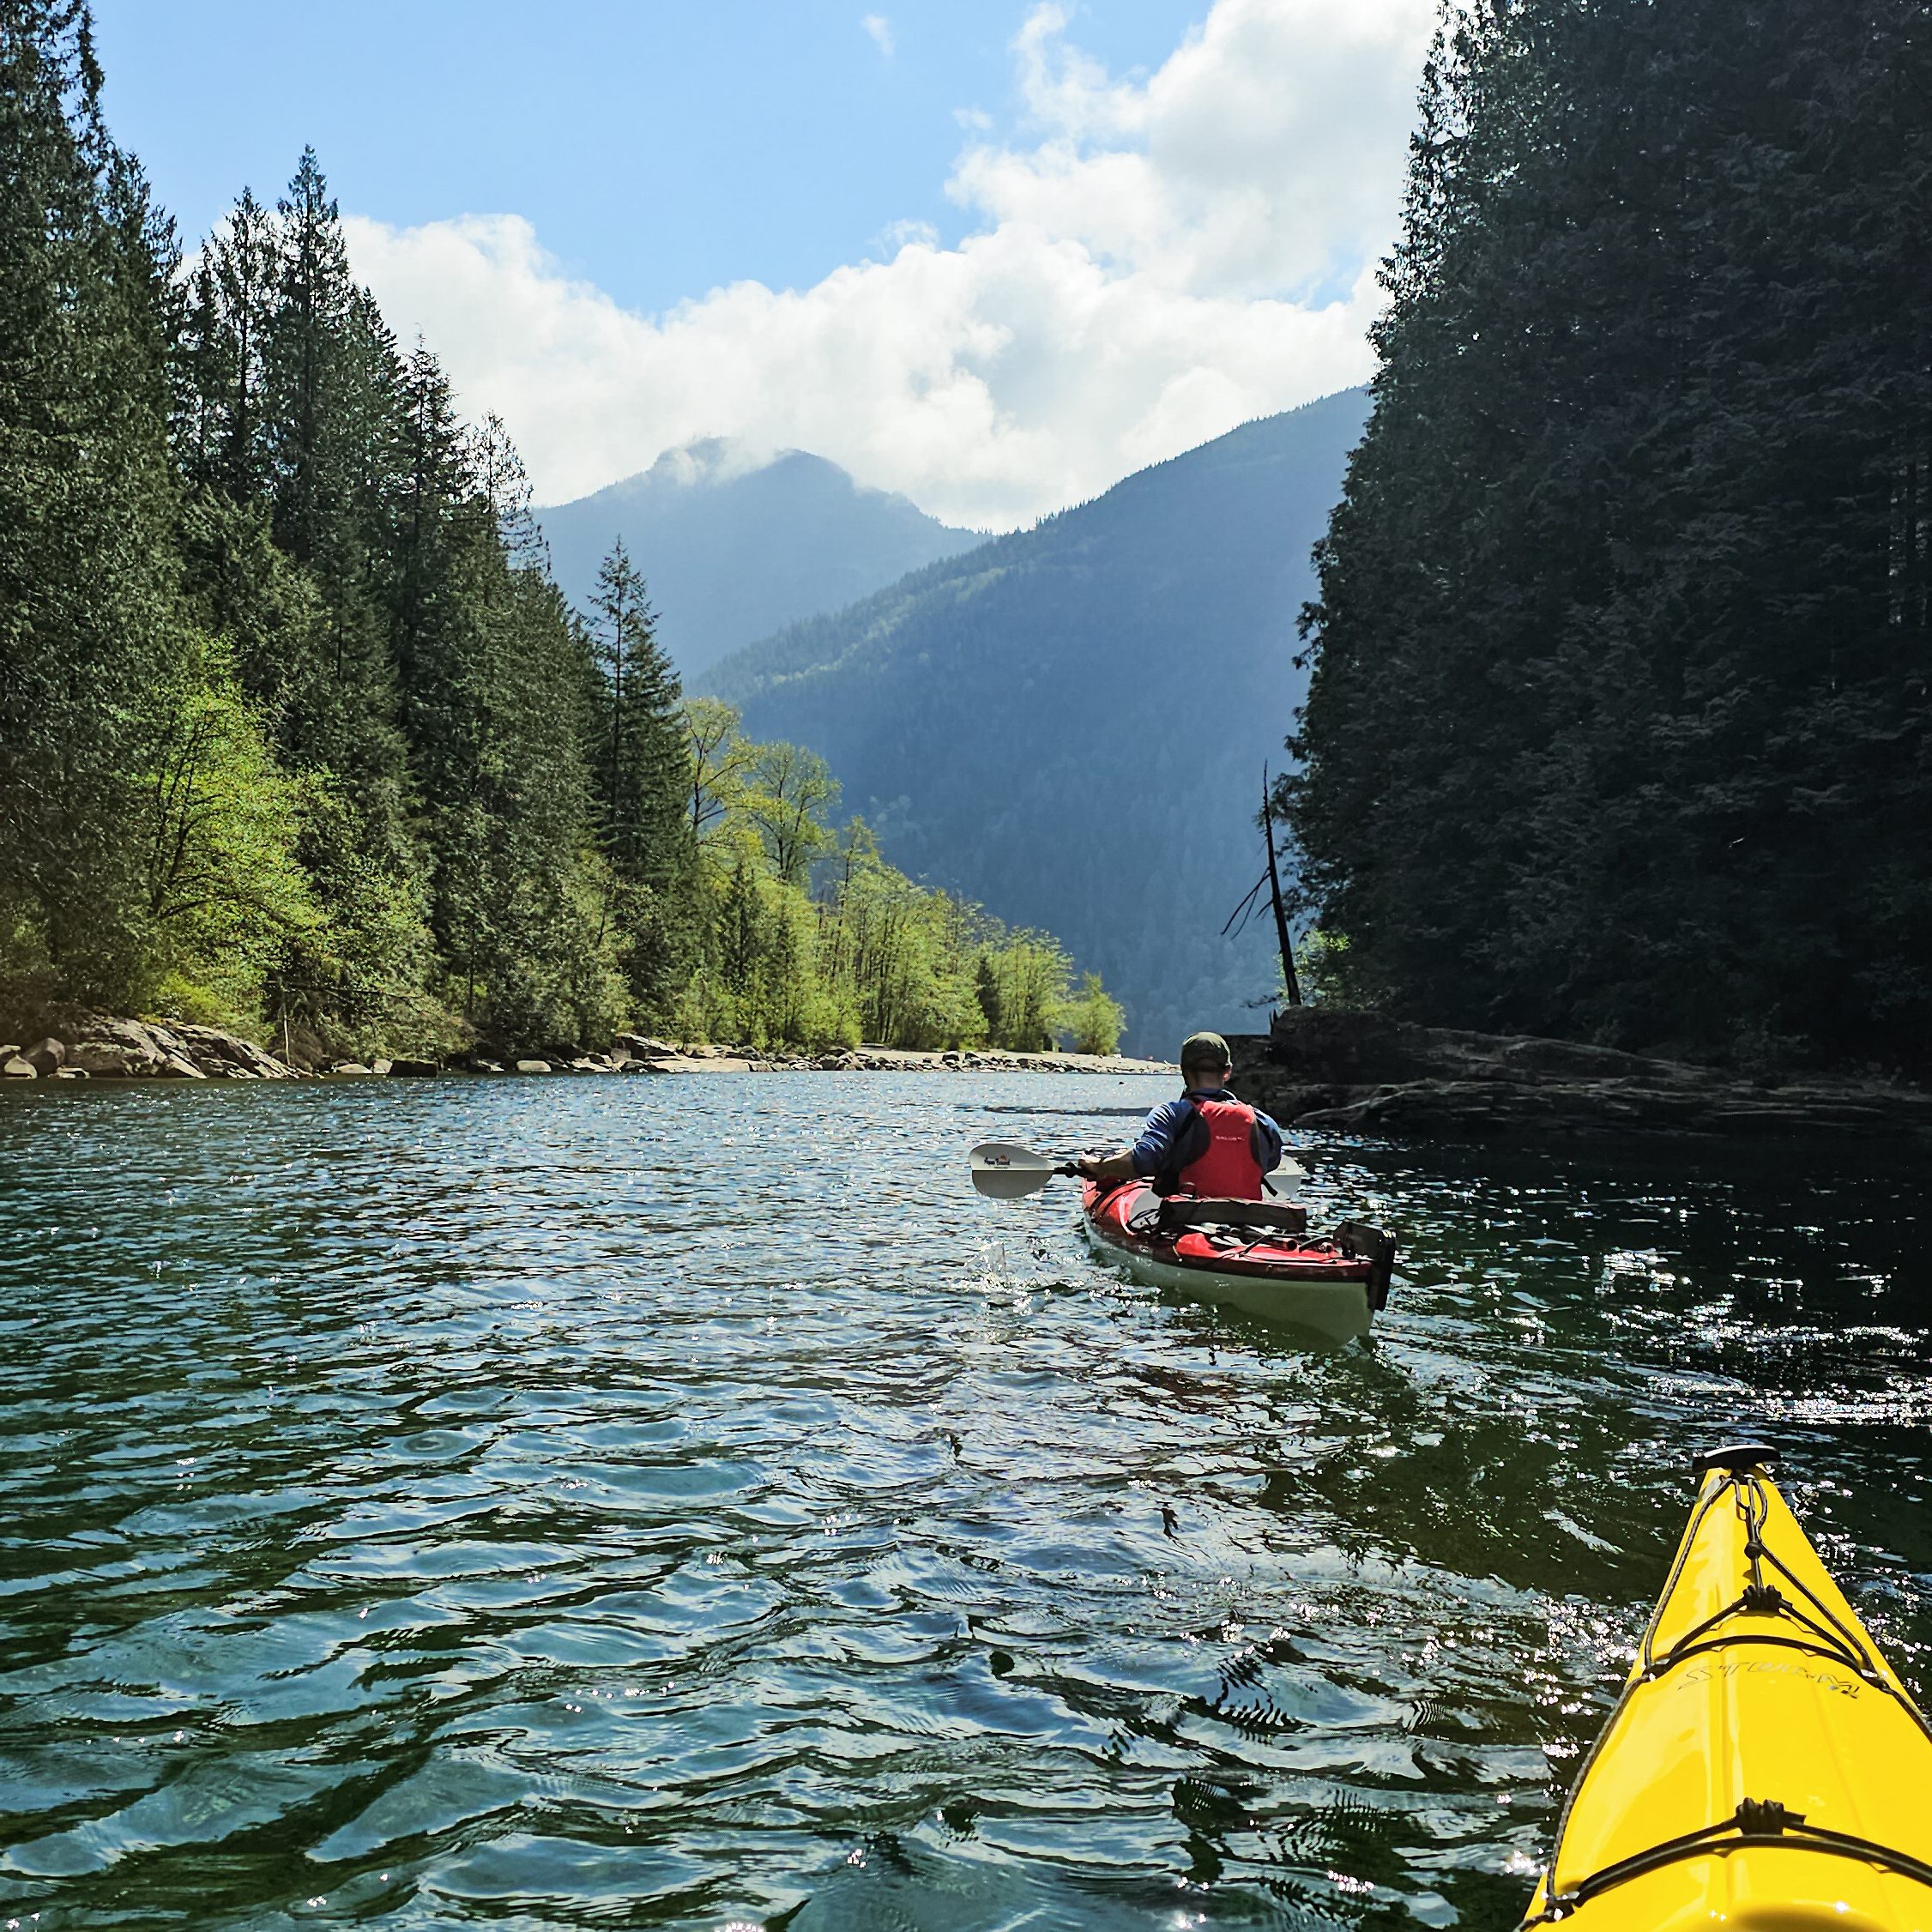
Golden Ears Park is most popular for paddlers in the Gold Creek area, especially for SUP. But I think all of Alouette Lake is a great option for paddling. The easiest location to launch from is the boat launch at South Beach, and then you can head north on either shore of the lake. But pick one or the other because it gets windy on the lake and it’s not easy to cross back and forth. I regularly like to go out for a few hours and paddle up to Gold Creek and back. You can usually rent canoes on South Beach in the summer.
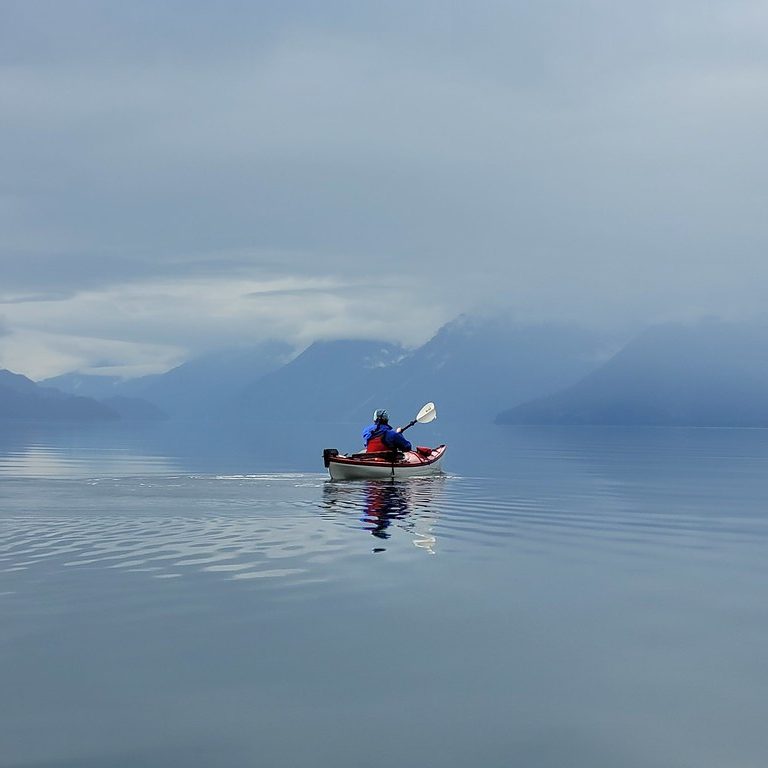
Harrison Lake is somewhere that you need to be really careful paddling, but can make for a fun trip in the right conditions. It can be very windy at the lake, so my recommendation is to stick to early morning paddling and stay near to the edge of the lake. We camped at Bear Creek on a rainy weekend in June and stumbled into premium kayaking conditions. It was dead calm on the water and mystical with the cloudy skies. But exercise caution on a nice day.
Lightning Lakes

Lightning Lakes is a pretty safe place to kayak and is incredibly scenic. It’s located in E.C. Manning Park, east of Hope, and comprises two lakes connected by a small creek. It is possible to navigate between the two lakes, but it is narrow, so exercise caution. The views are beautiful and there’s no power boats, so it’s a great place to explore and enjoy the water and the mountains.


