Lake O’Hara is one of the most popular lakes in the Canadian Rockies, but it’s one of the hardest lakes to visit (except maybe for Berg Lake). Other popular lakes like Lake Louise, Moraine Lake, and Emerald Lake, can all be visited by car, whereas Lake O’Hara is located at the end of an 11km road that is only accessible on foot or by Parks Canada shuttle bus. For that reason, it sees fewer visitors than other lakes in the Rockies, but has one of the most exclusive permitting systems. Whether you want to backpack or day hike at Lake O’Hara, if you want to avoid the 22km round trip journey on the access road, you need to secure a bus pass. If you’re lucky enough to get one, you’ll be rewarded with some of the most incredible views in Yoho and all of the Rockies.
Getting There
Lake O’Hara is located in the heart of Yoho National Park, along Highway 1 (Trans Canada Highway), shortly outside of the small town of Field. It’s easily accessible from both Alberta and BC. It’s located an hour from Banff on the east side and an hour from Golden on the west side. Unfortunately, there isn’t any public transport running to the Lake O’Hara parking lot, so you will need your own vehicle or to connect with other hikers. You can park in the base lot for free, but you cannot drive the access road, you must reserve a spot of the Lake O’Hara shuttle bus.

The Attraction
Why is access to Lake O’Hara so sought after? It’s because of the incredible views once you arrive at the lake and the concentrated access to scenic alpine terrain. 22km is a big hike for most people, but the access road is fairly straight forward and not too challenging. If you just want to see the lake, you could hike in and out on the access road.
However, the reason most people prefer to skip the 22km access hike is to spend more time exploring the alpine. Lake O’Hara is home to the famous alpine circuit, a ~12km loop hike through the alpine that encircles Lake O’Hara. While the alpine circuit can be broken into 3 sections that can be hiked individually, if you’d like to hike the entire circuit, you’ll want to take the shuttle bus in. I hiked the trail and stayed at the campsite for 2 nights in 2023, you can read my full trip report here.
The alpine circuit starts at the base of the lake, hiking straight up to the Wiwaxy Gap and Huber’s Ledges, which will take you to Lake Oesa. From there, you continue on the Yukness Ledges to Opabin Lake and the viewpoint at Opabin Prospect. This is the most popular view in the park, and many visitors will focus on hiking to this viewpoint rather than doing the whole circuit. If you want to finish the circuit, you then continue hiking the All Souls route, which will take you along the edge of Mount Shaffer and back to where you started. Other hiking routes in the park include Lake McArthur, Odaray Grandview, and Linda Lake, though these are not as popular as the sections of the Alpine Circuit.
Other attractions include visiting Le Relais, a small cafe run by Parks Canada, for hot chocolate and carrot cake; visiting the lodge for high tea; or renting a canoe to explore the lake (although this might only be available to those staying at the lodge, I’m not sure).
With so many options for hiking, staying overnight in the park is an attractive option for many visitors. The overnight options include a pricey stay at the O’Hara Lodge, a lottery ticket entry to stay at the ACC’s Elizabeth Parker Hut, or a permit for the backcountry campsite managed by Parks Canada. More on each of these options below.
Time of Year
There are a few options for when to visit Lake O’Hara, but the most popular option is to visit in the summer. The backcountry campground is usually open from late June to late September and it will be sold out for the entire season. July is a great time to visit if you want warm weather and to avoid the wildfire smoke that will inevitably roll in at some point in the summer, but there may still be snow on some of the high routes in July. September is also a popular time to visit because there are many larch trees around the lake that turn bright yellow in the Fall.
Winter is a less popular time to visit as there is no shuttle service in the winter, but it is still possible. You can ski or snowshoe up the access road and the ACC’s Elizabeth Parker Hut is much easier to book in the winter. However, I don’t have experience with the winter route and I believe it does pass through an avalanche run-out zone, so please do independent research if you visit in the winter and ensure that you have the proper avalanche safety training.

Permits
Getting permits is really the crux of this blog post. Without a doubt, scoring a day pass on the shuttle or an overnight camping permit (which includes a bus pass) will be the hardest part of your trip. The day pass secures you a ride up and back on the shuttle bus and allows you a full day of hiking in the park. The day pass is managed using a lottery system, so it’s easy to enter the lottery, but no guarantee that you will be lucky enough to get a pass. The shuttle bus lottery for 2026 will run from March 2 to March 23. There is a $10 non-refundable fee to enter the lottery, plus if you are successful, a $15 fee for the bus.
In contrast, the camping permits are issued all at once for the season. Camping permits for 2026 will be released on January 22 at 7am PST (8am MT). Permits are ~$30 per night and they will disappear fast, so you need to be ready to book right when they release. I will try and update the release dates for permits every year, but they are usually announced by Parks Canada in late November or early December for the following year – so keep an eye on their page of release dates in future years. To make your bookings, visit https://reservation.pc.gc.ca/.
Here’s a few tips for getting your camping permit:
- Get on the booking website 15 minutes early using as many devices as possible (computers, phones, ipads, etc). At release time, everyone on the website is entered into a random generator that assigns you a position in the queue. All of your devices will be assigned a place in line, then proceed to book your permits on whatever device has the shortest queue. You may have to wait up to an hour to get in, so try not to be discouraged.
- Once you get access, be flexible. Search for your desired dates and then click on the Lake O’Hara backcountry campsite, followed by the “calendar” option on the left sidebar to see all available dates.
- If you don’t see any availability, keep refreshing for at least 15 minutes. With so many people trying to book campsites, dates are always disappearing and then becoming available again, so if you don’t see anything, keep refreshing.
- If you’re trying to get multiple dates, it can be hard to get two consecutive nights on the same booking. If both nights aren’t available at once, book one night first, and then try and get the second night after. You will have to pay the reservation fee twice, but it will increase your odds of getting a booking (or at least securing one night). Just make sure to call Parks Canada later and get them to combine your permits (because they both include in a bus pass and if you don’t show up for the bus on the second day, they will give your camping permit away for the second night).
- Be prepared that you might not get anything. The first year I tried for permits, I wasn’t successful. The second year, I managed to get two separate 1 night bookings that I combined. If you don’t get anything, sign up for cancellation notifications on Schnerp.
- Parks Canada will give away “no shows” on the day of the reservations. So you can try to get a permit by showing up at the parking lot. But be advised that a lot of people do this, so no guarantees. You can also hike up and try and grab a spare seat on the bus on the way down, but again, there is usually a long line of people trying to do this.
If you would like to try for alternative overnight options, the Alpine Club of Canada (ACC) also runs a lottery for their Elizabeth Parker Hut. This lottery is available for entry between December 15, 2025 and January 30, 2026, and there is a $16 fee to enter. You can also book into the swanky Lake O’Hara lodge, but be prepared to book early and pay ~$1000 per night.

National Park Pass
In addition to backpacking permits, which are specific to your campsite, you must also have a National Park Pass. These are much easier to obtain – there is no booking period and the number of passes are not restricted. The most common option is to purchase the discovery pass, which is available for $150 for a family, or $75 per person. It’s essentially an annual pass that covers everyone in your car. You leave it hanging in the car while you’re on the trail and it acts as a parking pass. Alternatively, you can buy single adult day passes for everyone, which are $11 per person, per day. However, in 2025 and 2026, Canadians can obtain the Canada Strong Pass for free, which includes a free discovery pass and 25% off bookings! You can purchase passes online, in advance, or in person at the Banff park entrance.
Overnight Options
As discussed in the permit section, there are 3 options for accommodation:
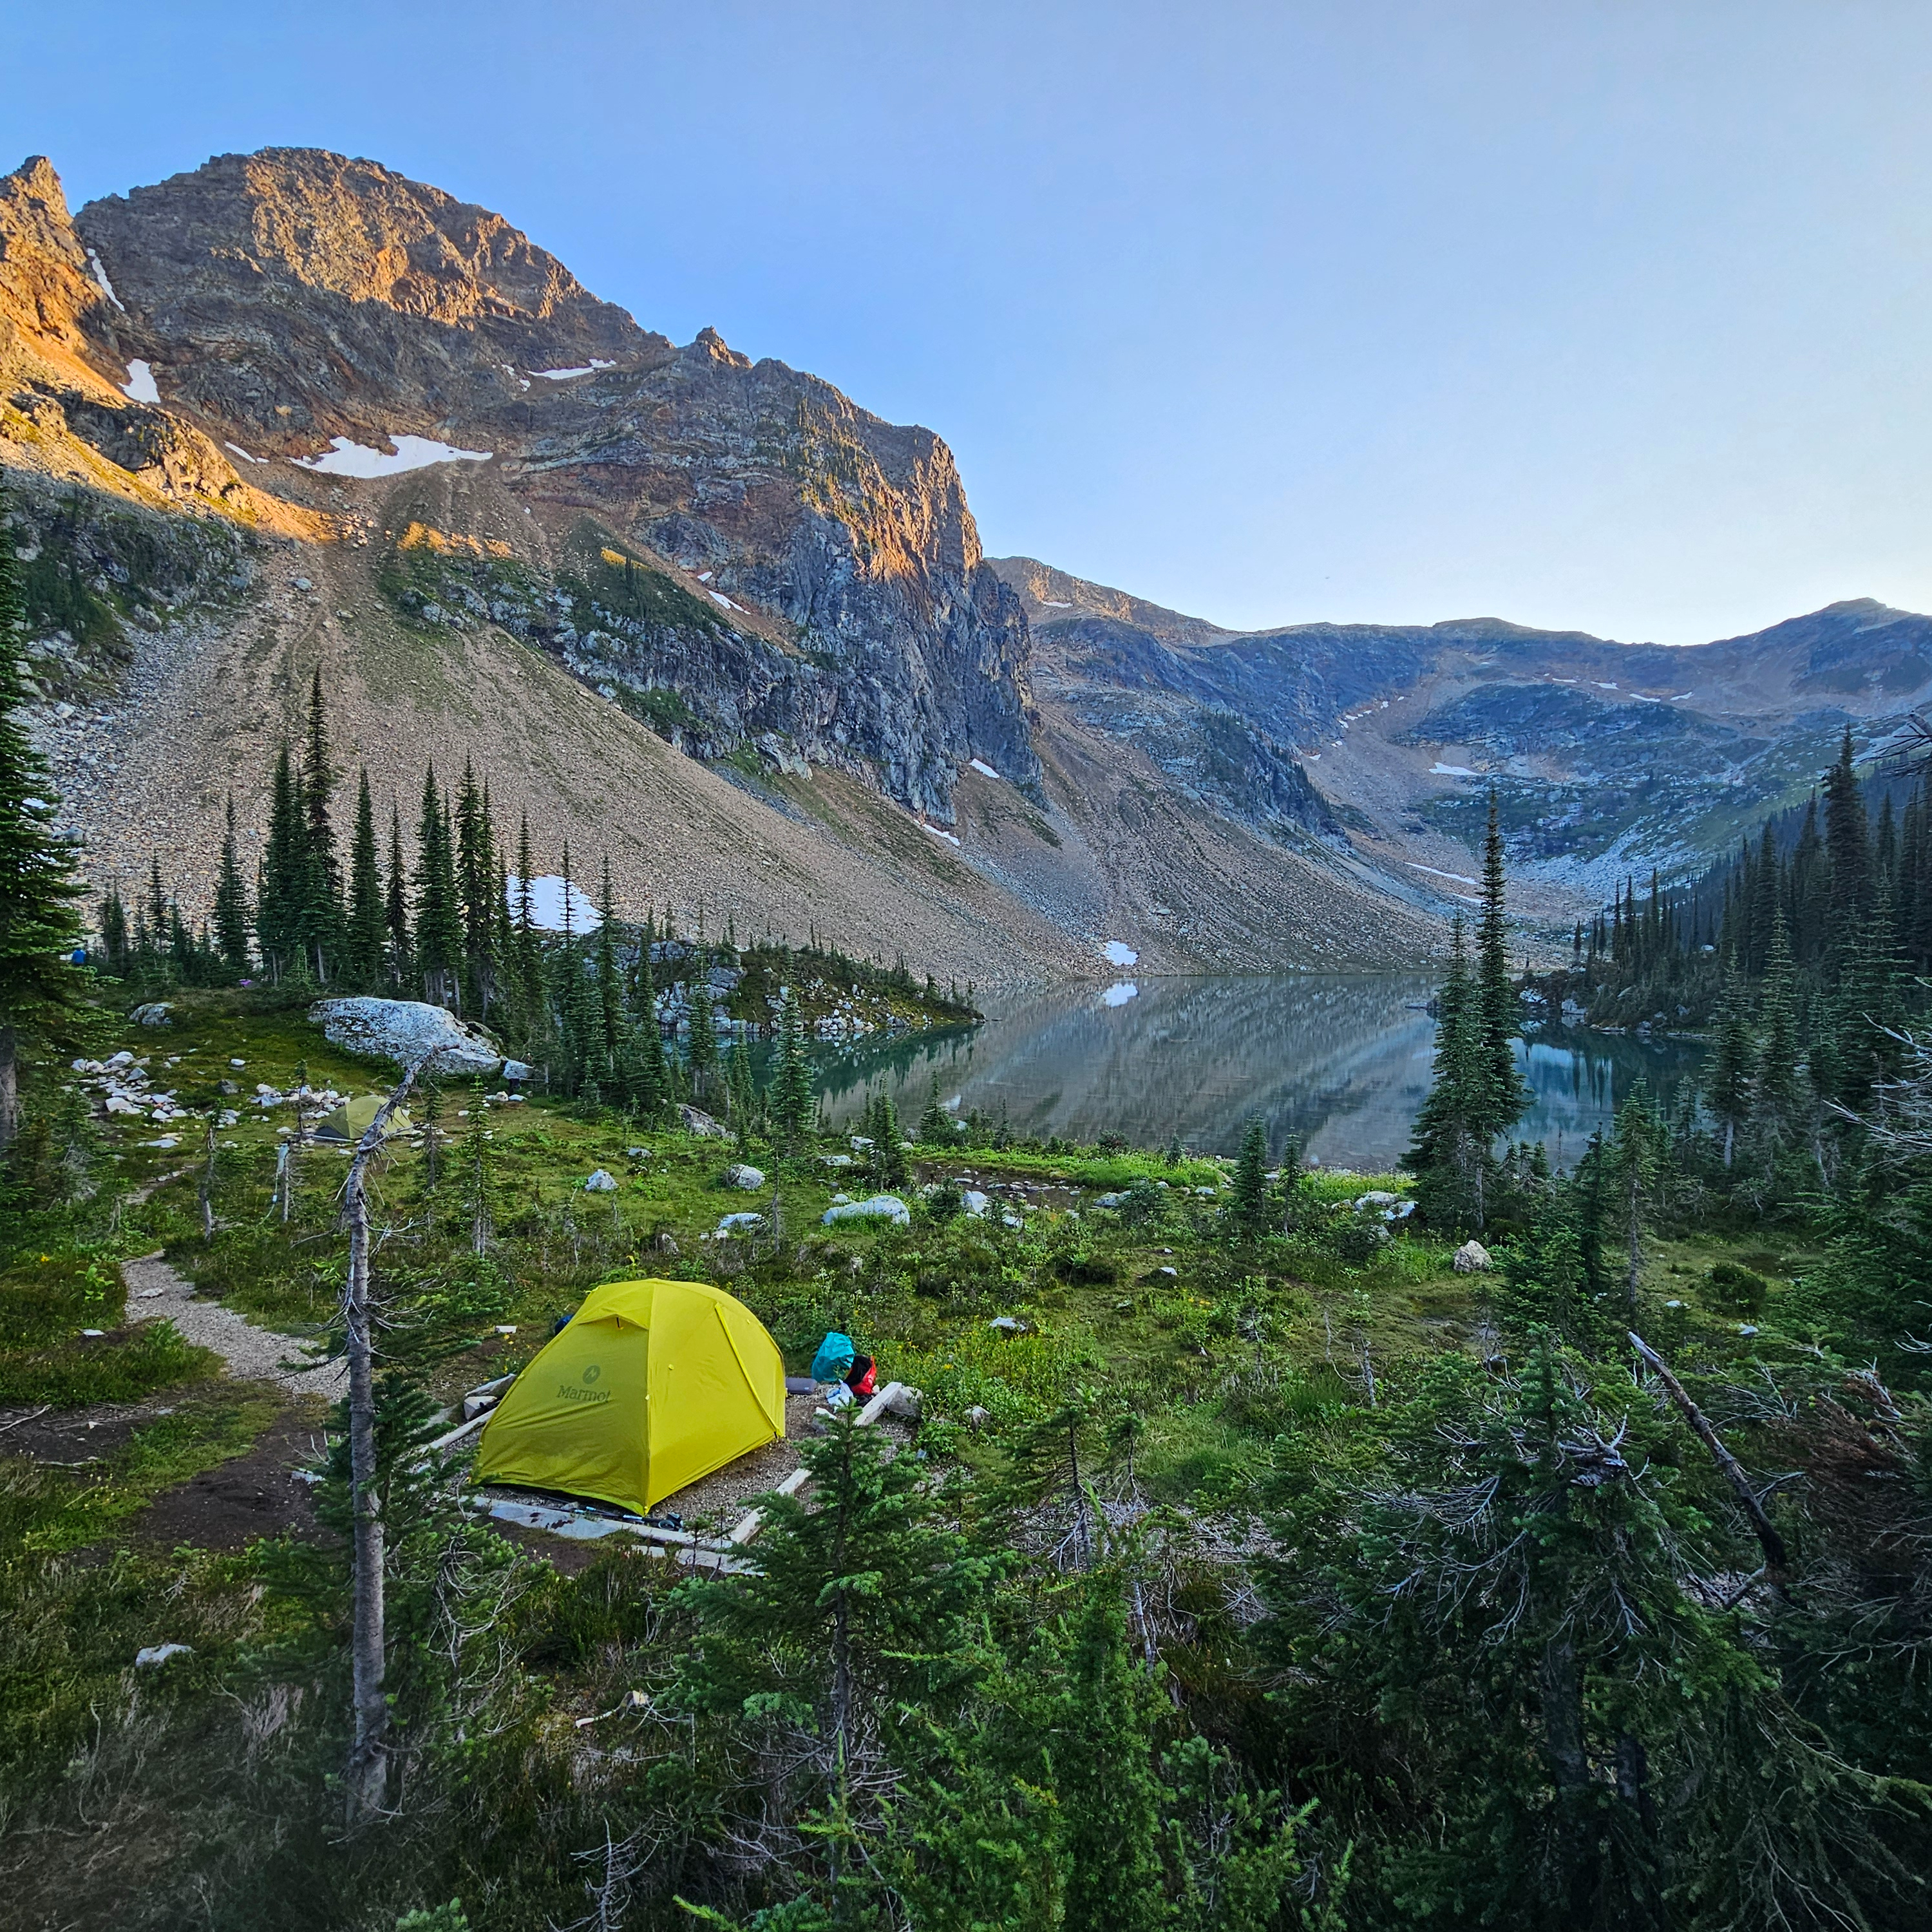
Lake O’Hara Campground (Parks Canada) – This is a backcountry campground with 30 tent pads. There is a cooking shelter, picnic tables, potable water, bear lockers, bag storage, and a communal firepit with wood provided (when there is no fire ban). You must have a permit to stay here and check-in with the park rangers both when you board the bus and at the campsite. You must cook in the communal cooking area. Book on January 22, 2026 at 7am PST at https://reservation.pc.gc.ca/
Elizabeth Parker Hut (ACC) – This is a backcountry hut that sleeps 24 people and has a water source nearby. You must have a permit to stay here and can enter the lottery for $16 between December 15, 2025 and January 30, 2025 at https://alpineclubofcanada.ca/hut/elizabeth-parker-hut/. You can obtain a bus pass through the ACC if you are successful in the lottery.
Lake O’Hara Lodge (private) – This is a fully catered hotel experience, including a private bus up to the lodge, hotel style accommodations, and prepared meals. Be prepared to pay a high price for this experience, but I’m sure it’s very luxurious. Book at https://www.lakeohara.com/
Itineraries
I’ll keep this simple. If you’re planning a hike to Lake O’Hara, take what you can get. I think my dream itinerary would be to stay for 3 nights at the campground, doing two day hikes on the Alpine Circuit and to Lake McArthur. But you can get creative with other options. There is enough time to bus up in the morning and do a full day hike. I took the bus and did the alpine circuit on the same day. There is bag storage at the campsite, so you can also do a day hike on the day you leave. We tried to do Lake McArthur on our last day, but it was very rainy, so we bailed halfway.

Day Hikes
There are lots of options for hiking from Lake O’Hara. I have done the Wiwaxy and Yukness sections of the Alpine Circuit and hiked around the lake, but I have not done the other hikes. I’ve included them here as a base for you to research further.
Lake O’Hara – An easy 3km walk around the Lake. A great option if you’re not up for the challenge of the alpine circuit or you’re tired from hiking up the access road.
Opabin Prospect – A 4km out and back trail to one of the most scenic viewpoints in the park. If you’re doing the full Alpine Circuit, you can visit this viewpoint enroute, but if you don’t have the time or energy for the full circuit, you can hike 2km each way from the bus drop-off.
Lake O’Hara Alpine Circuit – a breathtaking 12km trail that wraps around Lake O’Hara through the alpine. This is a very challenging trail as it covers a lot of elevation gain (up and down 3 times). However, there are lots of exit points if you don’t want to hike the full trail. I don’t recommend attempting this one if you also have to walk up and back the access road. If you would like a shorter version, I recommend doing the Wiwaxy Gap/Hubers Ledges to Lake Oesa, followed by the Yukness Ledges to Opabin Lake and Opabin Prospect, but cut out the All Souls section of the trail. Exercise extreme caution on this trail if it is rainy, or pick an alternative trail.
Lake Oesa – A beautiful lake that is an easier alternative to the Alpine Circuit. The easiest route is to hike 3km each way along the northern shore of Lake O’Hara, or add in a full circuit of Lake O’Hara on your way back. If you’re looking for more of a challenge and would like to sample the alpine circuit, you can hike up to the Wiwaxy Gap and take Hubers Ledges down to Lake Oesa, returning via Lake O’Hara (7km total). Another option could be to combine the Opabin Prospect viewpoint with the Yukness Ledges section of the Alpine Circuit to visit the lake, returning via Lake O’Hara (9km total).
Lake McArthur – An 8km round trip hike to another gorgeous alpine lake. There are lots of branches on this trail, so it is possible to turn it into a loop trail. The trail will take you over McArthur Pass and past the Elizabeth Parker Hut. You could combine this hike with the All Souls route of the Alpine Circuit to visit Opabin Prospect (10km total).
Linda Lake – a 10km trail that starts from the Lake O’Hara campground. It was recommended to me as an alternative hike to the alpine circuit on a rainy day, so I’m assuming it’s mostly forested.
Odaray Highline – only 4 groups per day are permitted on this trail to protect the wildlife corridor, which is managed through a self-registration system at the trailhead. It’s approximately 9km round trip from the Lake O’Hara bus stop.


