Zoa Peak Snow Camping

It hasn’t been the best year for winter activities. Between the pandemic restrictions and the avalanche ratings, it’s been hard to get out and enjoy the snow. We went snow camping at Lightning Lakes in late January and we’ve been trying to fit in a second trip ever since. The avalanche ratings have been pretty consistently at ‘Considerable’ and ‘High’ throughout the last month and we ended up cancelling our trip twice. But we finally got decent conditions this past weekend and decided to go for it as one last snow activity to close out the season.
IMG-20210315-WA0007

Zoa is popular among backcountry skiers because it’s a relatively easy hike up an old forestry road and thanks to the low incline, most of the hike is in simple terrain. Interestingly, the first time Carolyn and I ever snow camped was at the base of the Zoa Peak trail. We’d intended to go to Manning, but a wrong turn on the highway landed us in the Coquihalla Rec Area and we decided to snowshoe 1km in to the Zoa Peak/Falls Lake trailhead and camp on the summer parking lot (which isn’t plowed in the winter). So we felt like we’d come full circle by returning to this area and hiking up to Zoa.

20210314_110814

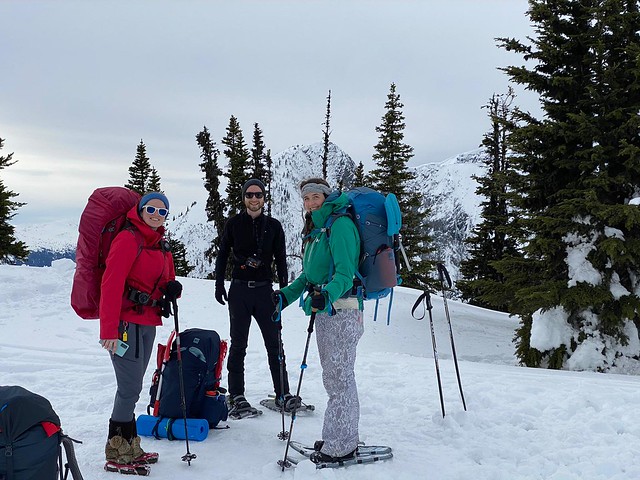
It was a busy day on the trail with both skiers and snowshoers, but we were the only ones staying overnight and the crowds quickly thinned out when we reached the top. However, it was a very challenging hike up the mountain. Because it was mid-March, it wasn’t really ideal snow conditions for any kind of activity. We debated for ages whether we should wear snowshoes or spikes and ended up with me and Brandon hiking in spikes and Carolyn and Steve in snowshoes. There was really no right answer, but in retrospect, I think snowshoes were overall the better choice.
PSX_20210314_180305

The first kilometre along the access road was very well packed and I had no problem in spikes, but once we started climbing up the old forestry road, snowshoes were preferable. It was really sunny, so the snow became a bit slushy and while we weren’t punching through the snow with spikes, it was a bit like walking on sand and made for a very draining hike up. Most of the elevation gain is done on the forestry road and with the sun beating down on us and reflecting off the snow, it ate up a lot of our energy. We all wore sunscreen on our faces, but I ended up getting burned on the underside of my chin from the reflection off the snow!

PSX_20210314_215122

After about 2.5km, you need to exit the road and hike into the woods. The summer trail exits the road earlier, but in the winter it’s better to continue further up since the grade is lower there. There is some pink flagging tape to mark the turn-off, but it’s easy to miss so I recommend being on the lookout and using a GPS. From there you hike up through the woods until you reach the ridge. It’s still steep, but the trail is more packed through the trees, so my spikes worked better here. It can be a bit confusing because the skiers take all kinds of different paths down through the trees, but as long as you keep going up, you really can’t go wrong and will eventually reach the ridge.

PSX_20210314_180622

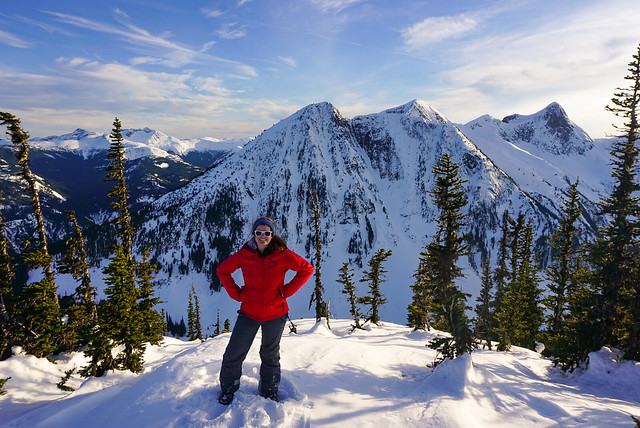
Snowshoeing along the ridge up to the sub-peak is gorgeous! I did part of Zoa in the fall once, but it’s much more scenic in the winter because the snow lifts you up higher among the trees, resulting in a better view and not confining you to a single area. In the summer, the brush makes it impossible to travel along the entire ridge and the trees limit a lot of the view, so I much preferred the winter views.

In total, it’s about 5km from the highway to Zoa Peak. We decided from the beginning that we would cut off a kilometre and only hike as far as the sub-peak. This is because after the sub-peak the trail gets steeper and the avalanche terrain changes from ‘simple’ to ‘challenging’. The avalanche risk on the day we went was ‘moderate’ in the treeline and ‘considerable’ in the alpine. Zoa seems to be kind of on the cusp between treeline and alpine, so we decided to play it safe and camp at the sub-peak.

PSX_20210314_181717

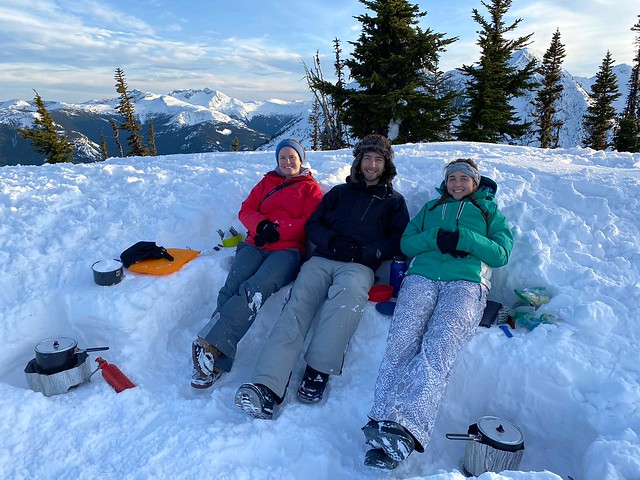
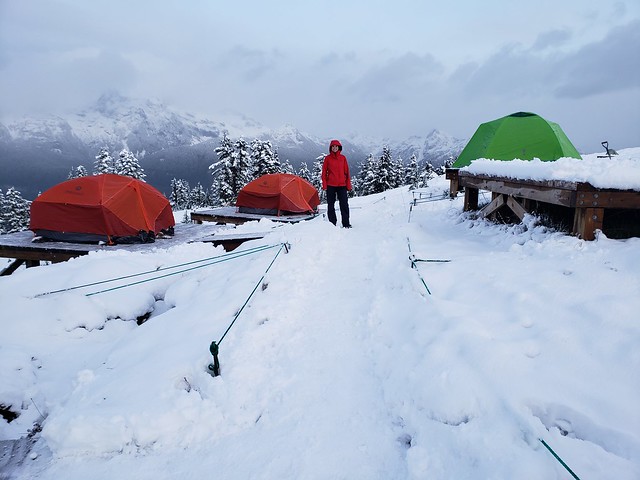
By the time we reached the ridgeline, we were all exhausted, so we decided to camp just below the sub-peak. It was calling for a bit of wind overnight and we wanted to be sheltered, plus the views are gorgeous all along the ridge. So we found a good looking spot and got right to work on setting up camp. Unfortunately, stopping triggered a few issues for me and after a few minutes of shoveling I found myself getting really lightheaded. I think I was dehydrated, so I took a break and tried to re-hydrate with some electrolytes. We all suffered some mild dehydration throughout the hike, so it was a good reminder to drink lots of water prior to a hike as well. Fortunately we had lots of electrolytes and were all able to recover.
IMG-20210315-WA0003

So Brandon did a lot of the shoveling for our set up and eventually I got to work on a snow kitchen. The snow was really sticky so it was good for setting up a kitchen and we didn’t have to pack it down too much. There were 4 of us, so Brandon and I shared one tent and Carolyn and Steve shared another. We had a great view of what I think was Thar, Nak, and the back of Yak Peak and enjoyed hanging out watching the mountains. One of the benefits of going so late in the season was that we had a bit more daylight in which to enjoy the view.

Brandon made us miso soup to help with rehydrating and then we all got to work on melting snow for dinner. I shared Brandon’s classic thai curry chicken, which is my absolute favourite backcountry meal! My parents had sent me some chocolate from Newfoundland Chocolate Company, which we enjoyed as a treat for dessert.

DSC08805

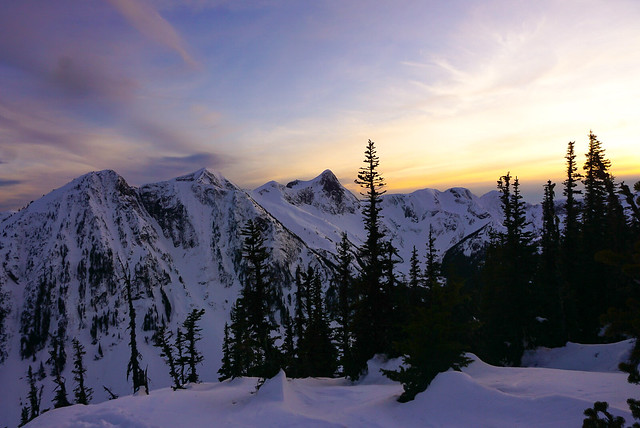
Usually when we go snow camping, we go to bed super early because it gets so cold and dark, but it was a warmer evening and the clouds had completely cleared out, leaving a beautiful view of the stars! So we stayed up much later than we usually do and I took star photos while Steve messed around with his radio to get us some tunes. Two night hikers passed us right after it got dark, but otherwise we were the only ones around and enjoyed a beautiful sunset. It ended up being 9:45pm by the time I finally crawled into the tent for bed, which is by far the latest I’ve ever stayed up snow camping!
PSX_20210314_215927

I didn’t get the best night’s sleep as the wind picked up overnight and shook us around a bit. Nothing to be concerned about, but it did make it a little harder to sleep. I made an egg and bacon hash for breakfast and then Brandon and I hiked the last few metres up to the sub-peak to check out the view. Otherwise we just took down camp and packed up again to head home. It was a lot easier on the second day because the sun stayed behind the clouds, meaning the slush had become more solid and was easier to hike out in spikes. We didn’t see as much traffic and powered down the trail in just an hour and a half (versus the 3 hours it took us to hike up).

So overall it was definitely one of the more challenging hikes, but the weather and views from the top were amazing and we ended up having a great time!

PSX_20210314_173321

Elfin Lakes Girl Guide Trip

Since I just wrote about the bike trip I took with Girl Guides, I figured I’d continue the trend by writing about a backpacking trip I did in September 2019 to Elfin Lakes. I wrote this post almost right after the trip, but I never got around to posting it, so with the changing of the seasons (foreshadowing), I thought it was finally time! This was my most recent trip to Elfin Lakes, but I’ve been 3 other times, all of which were very different experiences. Read about my Fall day hike, summer tenting trip, and winter snow camping experience for my stories about the trail.

20190927_184739

I’ve been wanting to take my Pathfinder group into the wilderness, but you need previous experience on backcountry trips with girls before you can lead your own, so I jumped at the opportunity to join the North Vancouver Trex group on this trip. It was only my second trip into the backcountry with Girl Guides, but for some reason I always seem to encounter the craziest weather on guide trips, and this one was no exception!

We were a group of 12 and we planned to hike up to Elfin Lakes on Friday, tent for 2 nights – day hiking to Opal Cone on Saturday – and then hiking back down on Sunday. Needless to say, things did not go quite as planned. We do our best to be prepared as girl guides. The forecast was calling for rain on Friday and temps down to -8 degrees celsius overnight, so we packed lots of rain gear and warm clothes for sleeping. However, the temperature ended up dropping a lot faster than we expected and the rain started to turn to snow just before we reached Red Heather Hut, which is almost the halfway point up to the lakes.

DSC00558

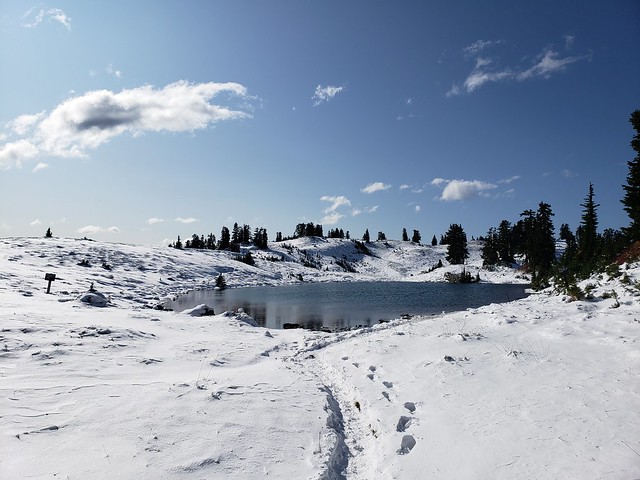
The girls were thrilled about the snow, which was falling gently, and I have to admit, hiking in the snow is a lot nicer than hiking in the rain. We had hot noodle soup for lunch before continuing on to the lakes. It was still September at this point and it was obvious it was the first snowfall of the year. However, the snow started to accumulate pretty quickly and it started snowing heavier as we continued on from the hut. Fortunately, there was no wind, but visibility wasn’t great and we couldn’t see any of the views on the way up. I admit, the further we hiked, the more apprehensive I got.

I wasn’t really nervous about camping in the snow, because I have done that before and we had brought really warm gear, but we didn’t have snow boots or snow pants and it was increasingly obvious we weren’t going to be able to hike to Opal Cone the following day. Even though it was calling for sun and blue skies on Saturday and Sunday, there was too much snow to hike further without proper footwear. But we just focused on getting to the hut and the girls did really well managing the conditions. Fortunately no one got cold or wet feet on the way up!

DSC00553

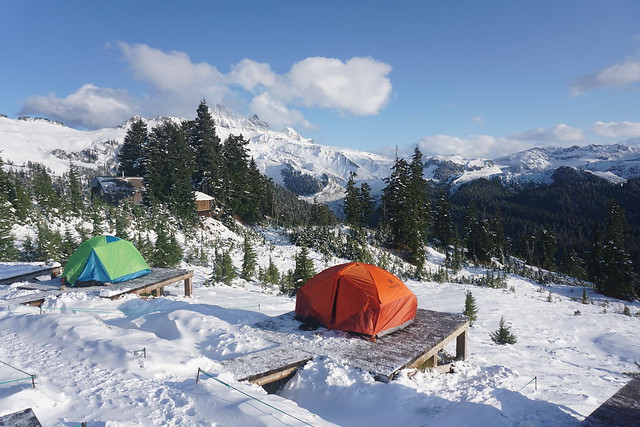
We hit the hut around 4pm and everyone was thrilled to go inside. I think the girls were thinking we were going to abandon the tenting idea and just sleep in the hut, but as we had only booked tent pads and there were 12 of us, that wasn’t really an option (although obviously in an emergency we would have camped out on the floor if we had to.) We made them hot drinks to warm up and everyone hung their wet gear by the fire. I have to say, the girls had a great attitude when we told them we were still planning to camp. The snow did start to slack off and was almost stopped when we went back outside an hour later to scope out the tent pads. Fortunately the clouds had started to lift and you could just start to see the surrounding mountains (which are incredibly striking from the tent pads at Elfin Lakes), so the girls started to get excited again about tenting.

We shoveled off the tent pads and set up 4 tents. This proved to be a bit more of a challenge than we anticipated because it was pretty darn windy when we were setting them up. We had to weigh them down with rocks and then shove all our gear inside them to hold them down. Then we had the added difficultly that we couldn’t peg them because of the tent pad, but we eventually managed to get them set up and soon after that the wind died down and I didn’t give it much more thought.

DSC00526

By the time we finished it had really cleared off and we had fun getting some photos of the mountains and the tents. Time really got away from us with the weather though and it was 8pm before we finally had supper in the hut. We had pesto pasta and re-hydrated coleslaw for dinner, with 2 bite brownies and reese peanut butter cups for dessert. After that we pretty much hit the sack because we were all exhausted. Unfortunately we decided we couldn’t stay for a second night because it just wouldn’t be safe to hike to Opal Cone and the girls didn’t have the appropriate gear to play in the snow, so it made the most sense to just hike back out on Saturday. The girls took the news pretty well and were very understanding.

I stayed up to get some star photos and then nestled into my sleeping bag for the night. It was pretty calm when we went to bed, so I thought that was the end of it, but oh was I ever wrong. Around 3 or 4am a wind storm blew in that totally put our tents to the test. I grew up in Newfoundland, which is super windy, but I never really did much tenting there, and not in recent years, so sadly I’ve kind of gotten used to tenting without wind. As a result, I never guy line my tent and only ever peg it really to protect from the rain. So it never really occurred to me to guy line the tents. It had occurred to the other leader though, but she had forgotten her rope, so she never brought it up (not realizing I always bring extra rope with me).

20190928_105126

Anyways, I’m sure you see where this is going, but the wind was really strong. I’ve never tented in wind like that and it was totally billowing the tent in and out. It woke everyone up and the girls started freaking out a bit, but everyone’s tents looked fine, so we told them to go back to sleep. Then I was woken up again at 5:30am by one of the other Guiders when her tent collapsed on her and two girls. When we looked at the other two tents the girls were in, it really looked like they were going to collapse soon too. So we had to put the first tent back up and then I got my rope and we guylined them all to the tent pads. Somehow my tent was the only one that didn’t look close to collapsing, but we were in a slightly different area than the rest of the tents, so the wind may have been blowing slightly differently.

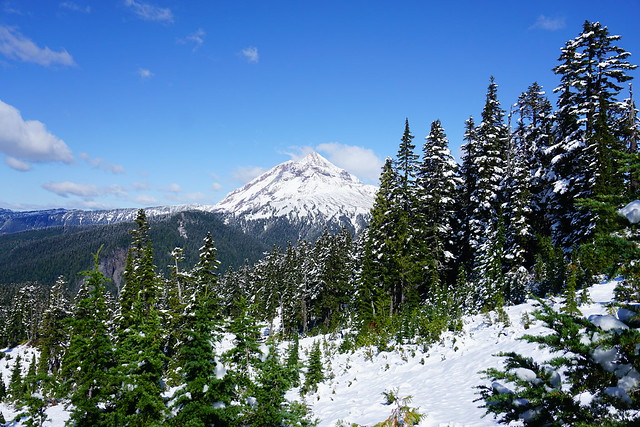
It was still super windy in the tent, but the guylines did the trick to prevent any more collapses and we were able to go back to sleep until 8am. The wind never really let up though and it battered us all morning when we tried to take the tents down as well. but it was a beautiful sunny day and the blue sky and fresh snow made for a really beautiful view. We had sunrise spuds for breakfast and then packed everything up again to head down.

DSC00587

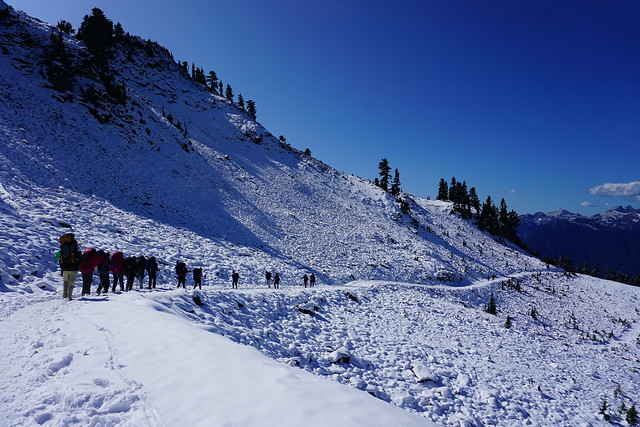
I was worried it was going to be super slippery on the way down and was concerned about not having spikes (my friend once broke her arm in similar conditions), but the snow was still fresh enough that it hadn’t been compacted into ice yet, so it wasn’t too bad. We had a little photo shoot on the ridge looking down on the lake and then hiked back to the Red Heather hut for lunch again.

We had one more spot of adventure on the way down. One of the girls rolled her ankle about a kilometre from the end, but fortunately it seemed to be only sprained and she was able to slowly walk the last little bit out. We divvied up some of her gear and strapped the rest of the pack to my front to carry it out and we all made it down to the parking lot in one piece!

With the exception of the first photo, all pictures were taken on Day 2!

DSC00598

Lets Talk: Backcountry Gear

Anyone who hikes all the time, loves talking about gear. I started off with a lot of gear that was either old or borrowed. My parents gave me a lot of their old camping gear, which was very robust, but a bit on the heavy side. Since then I’ve slowly been replacing my gear over the years, though there’s a few older pieces I still use because I love them.

Unlike me, Carolyn used the same crappy gear for years and then this year she decided it was time to finally replace everything all at once. Not ideal on the chequebook, but the two of us having been talking all gear all the time for months, especially in advance of the Black Friday sales, so I figured I’d share some of my favourite pieces of gear that I use!

First off, backpacks. It took me a few years to replace my old 80L travel backpack, which weighed a whopping 7lbs, but subsequently I went a little backpack crazy. A few years ago I got the Gregory 60L Amber, which I loved, but started to find it was a little too big for me as I downsized my gear, so this year I got the Gregory 53L Jade, which I LOVE. The Amber is one size fits all, but I got the Small size in the Jade, so it’s actually 50L and has some great features. My favourite are the suspension back, the fact that you can remove the head of the pack, and the easy access water pockets. Almost all of my friends use Gregory packs, Emily sports the 44L Amber and Carolyn has the 55L Maven. For men, check out the Gregory Zulu or Stout.

Next up, sleeping gear. Having a good sleeping bag and pad can really improve your nights as there’s nothing worse then being cold. A good sleeping bag was the one thing I invested in from the start. I’ve been using the MEC -7 Aquilina bag for years, sadly they don’t make it anymore, but a better alternative would be the MEC -9 Delphinus (it’s warmer, lighter, costs about the same, and it’s purple!). The male version is the MEC -9 Draco. The key things for me in a sleeping bag were getting something that has a high comfort rating and is down (I know it’s not great for wet climates, but its just so warm). I went for a women’s bag because women generally sleep colder than men. If you’re looking for something warmer, Carolyn recently bought the Marmot -18 Lithium, and Brandon uses the Thermarest -30 Polar Ranger when we snow camp. I’ve been looking at purchasing the North Face -29 Inferno bag for snow camping myself.

Don’t forget to put some serious thought in your sleeping pad as well. A good sleeping bag will only do so much if you’re not using a warm pad. When buying a pad, pay special attention to the R-value as this is what tells you how insulating the pad is. My recommendation is to stay above an R-value of 3. Some people buy summer mats with super low R-values, but something around 3 will be a great 3 season mat for you. I used the MEC Reactor 3.8 for a long time because it’s on the cheaper side, but if you can stomach the cost, I’d now recommend the Thermarest Neoair Xlite. It weighs less and in my opinion, is comfier. Currently though, I use the Thermarest Neoair Xtherm. It’s an expensive mat, but it’s 4 season and I use it snow camping as well, so it’s been good value for me.

Moving on to tents. I’ve been using the North Face Talus 3 for years and I absolutely love it (and got it for a steal), but at 6.5lbs, it’s a heavier tent, so I’m not sure I’d recommend it. Although when you do actually sleep 3 people in it, the weight to person ratio is generally less than a lot of standard 2 person tents, so it’s decent value for 3 people, but heavy if you only have 2. I’ve been doing a lot of research on tents lately because I was looking to purchase a new one. I’ve been comparing between ultralight freestanding tents and ultralight tents that are set up using hiking poles. Take my advice with a grain of salt because I haven’t tested these tents, but I narrowed my research down to my top two picks, which were the Big Agnes UL Tiger Wall, and the Gossamer Gear The Two.

I recently purchased The Two, which rings in under 2 pounds and can be set up using hiking poles, or two tent poles purchased from Gossamer. I haven’t had a chance to test it out yet, but looking forward to trying it out next year! I think the downside to this tent will be that it’s a single walled tent. So if you want double walled, check out the Big Agnes, which is a little bit heavier, but still very light. If you’re looking for something a little cheaper, I think one of the best value on the market is the Marmot Tungsten, which comes in both standard and ultralight (higher price, but worth it in my opinion). Again, there’s much lighter tents out there, but you pay for it. Brandon uses this tent, so I do have experience with it.

Stoves and pot sets is one area where I will encourage you to seek advice elsewhere. My stove is the one piece of gear I inherited from my parents that I still use and therefore is ancient. It runs on propane, so the fuel is heavier, but I keep using it because it’s a robust little stove that provides great heat distribution. I also have a smaller stove that runs on iso-butune mix that I love, but I got it in New Zealand, so you can’t find it in North America. Brandon and Carolyn both use white gas stoves, which are a must have if you’re snow camping, but personally I like the gas stoves. In addition, I just have the basic 2 pot set from MSR. It’s pretty cheap and the coating is starting to come off, but it served me well for several years.

I think that about covers it for major pieces of camping equipment, but I’ll link a few more of my favourite miscellaneous items below if you’re on the hunt for any other gear.

Hiking boots: I swear by Vasque, the Breeze is probably the closest to what I currently hike in.

Sit-upon/Pillow: MEC Seat Cushion (I fold it in half to use as my pillow. LOVE IT)

Mug: GSI Infinity Mug (seriously, this thing is the best!)

Safety: Kahtoola Microspikes (excellent for icy conditions), Garmin InReach Mini (could save your life)

Kettle: Sea to Summit Kettle (collapsible and great for hot chocolate on day trips)

Sleeping bag liner: Sea to Summit Reactor Extreme (great for winter camping)

Clothing: Honestly, Costco is the best. They have merino base layers, wool socks, small compressible puffy jackets, puffy slippers, just stay on the lookout for great deals! No need to break the bank on clothing, although I started using merino undies and bra when I hike now and I am a huge fan! They’re a little pricier, but you can usually get them on sale from Icebreaker or Smart Wool. They dry so fast and keep you warm even when they’re sweaty.

The only other thing I wouldn’t skimp on is your rain jacket. If you’re relying on it to keep you dry, it’s worth investing money in. I’m currently saving up for a gore-tex Arc’teryx shell jacket – they’re top of the line for rain jackets, but you definitely pay for it.