Earlier this season I posted a list of some of my favourite Spring day hikes. As much as I love day hiking, backpacking is my favourite activity and I’m always excited to start camping once the weather gets nice. Spring is tricky for backpacking because the alpine is still full of snow until at least late June, but if you pick the right trail, Spring can be a really nice time for hiking because it’s not too hot and there’s usually not a fire ban in effect. Every year is different and just because a trail is generally snow-free in a previous year, doesn’t mean it will always be snow-free. Make sure to do real time research before heading out to the trail to confirm the conditions. Make sure to Leave No Trace and always be respectful of the land and indigenous territories through which you are hiking. Here’s a few of my favourite Spring backpacking trips!
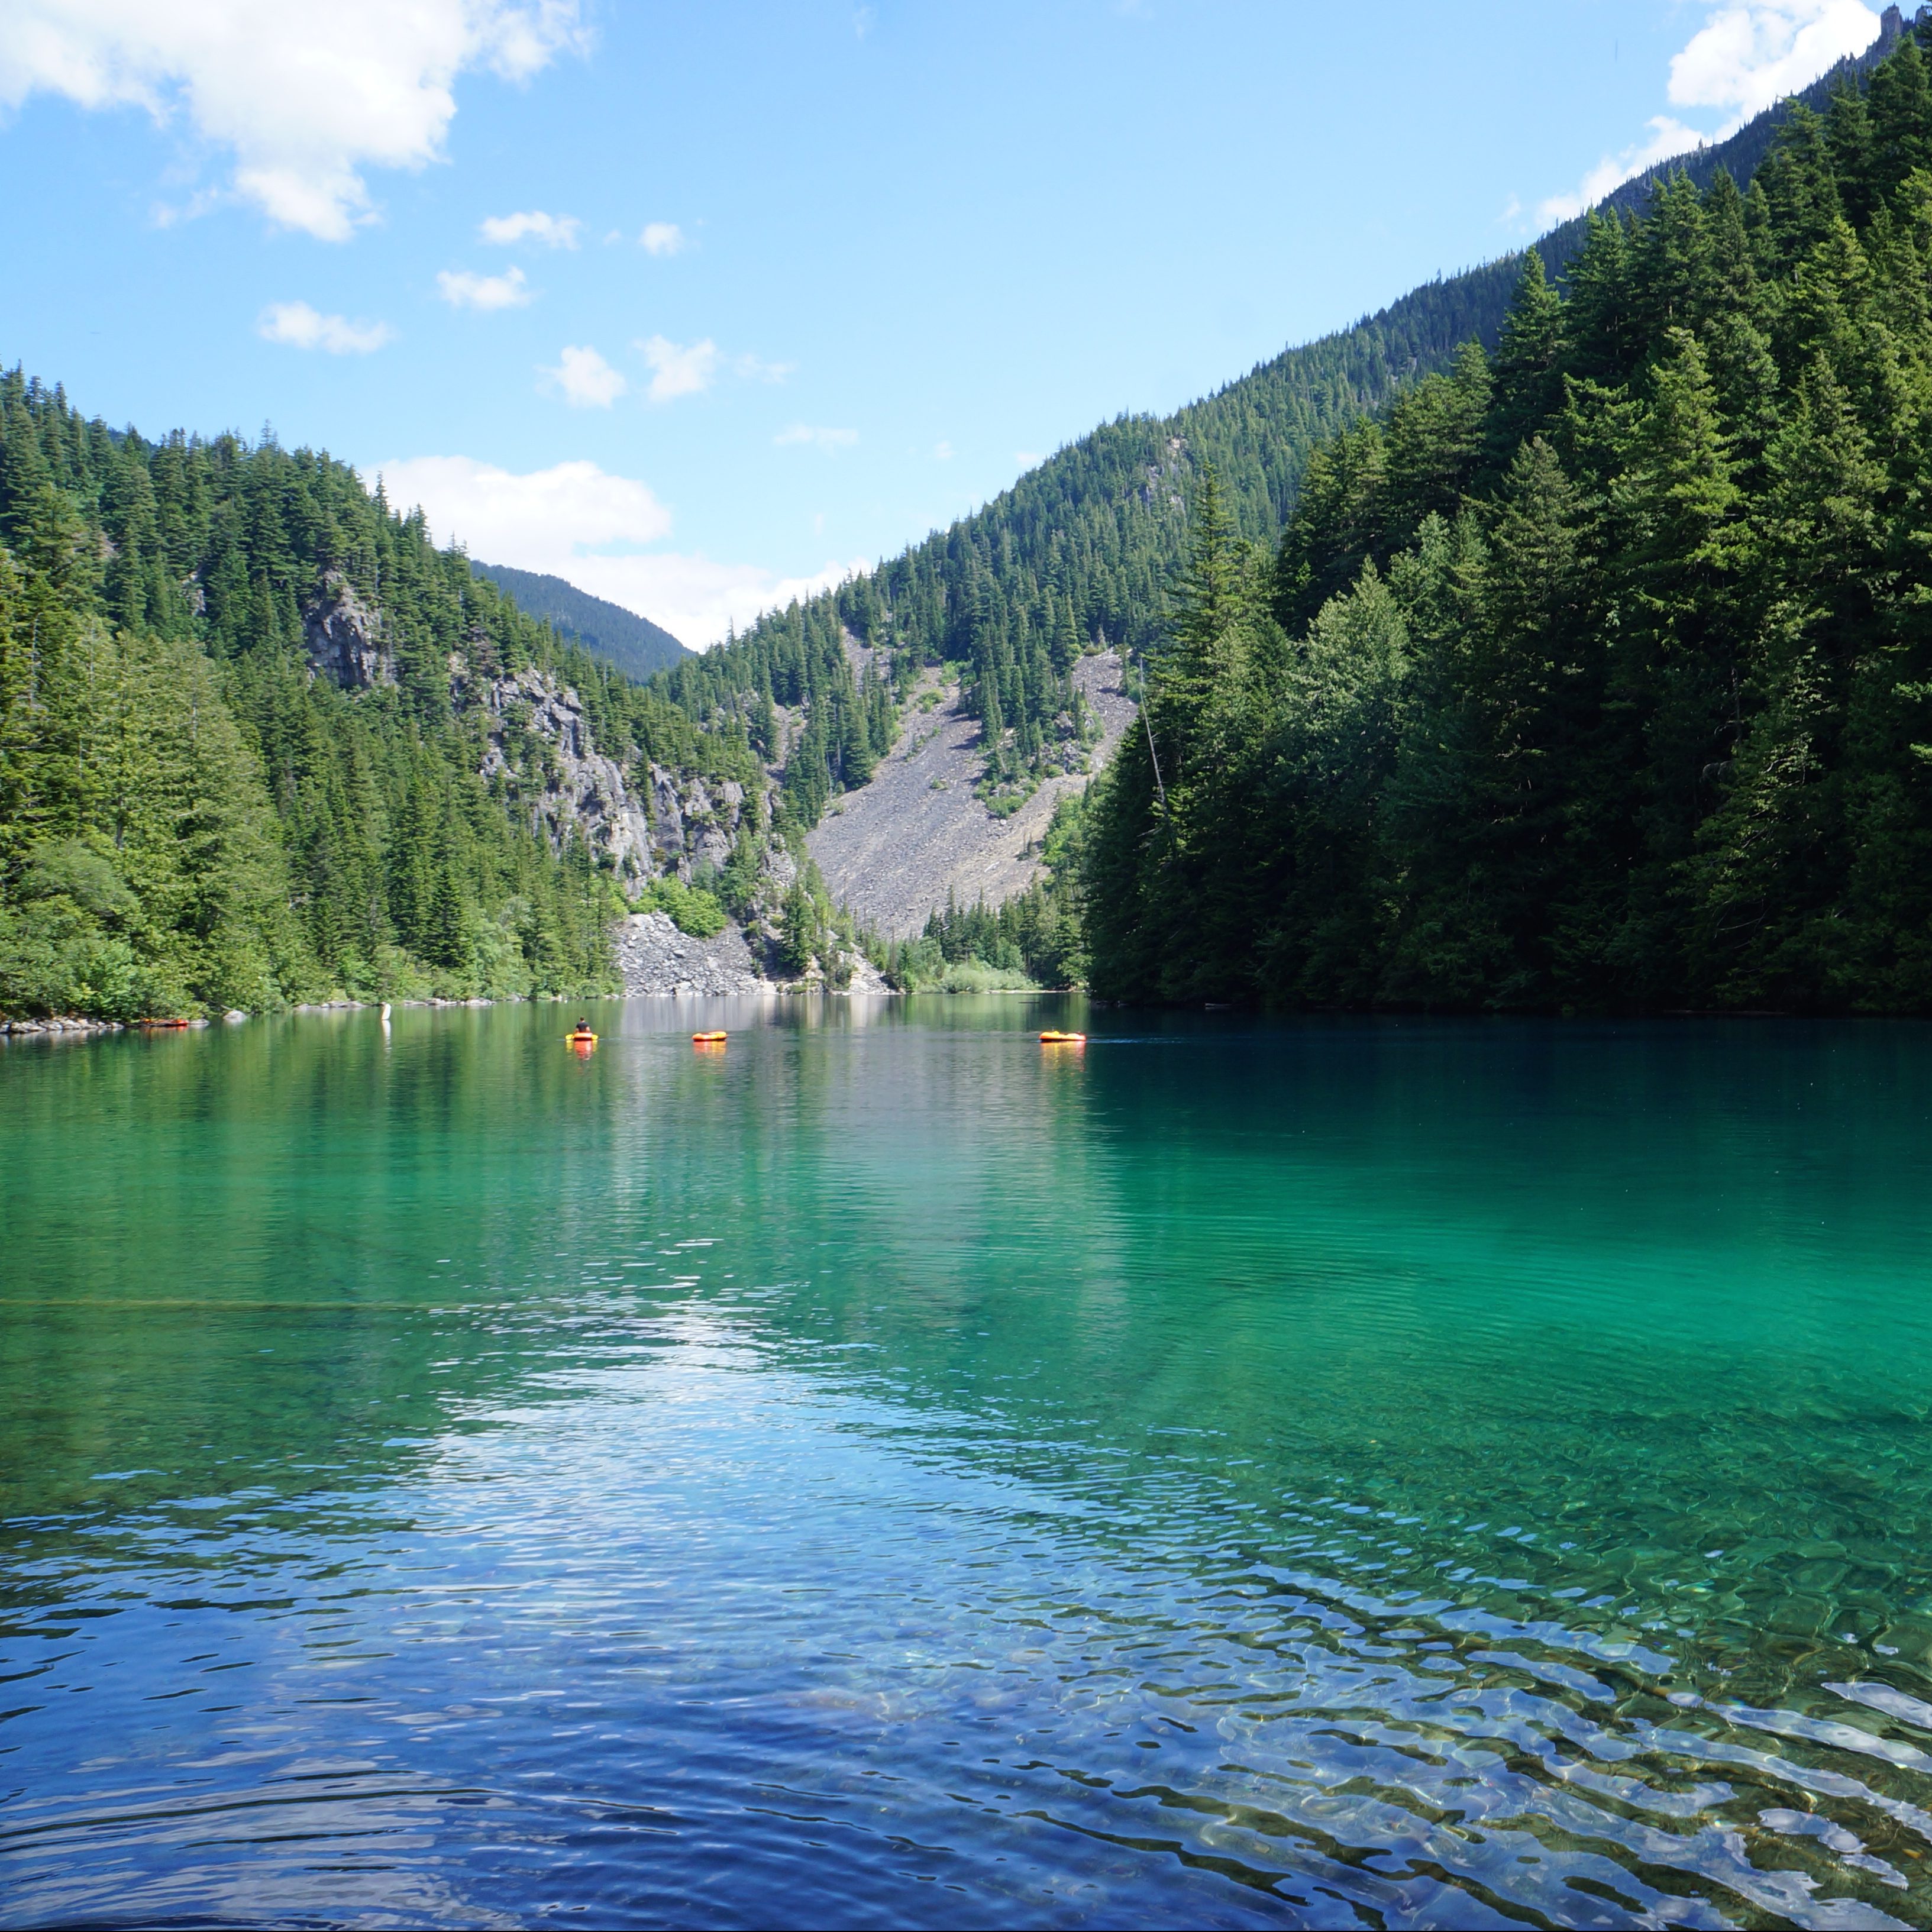
Located in Chilliwack Lake Provincial Park, this is a really popular hike. There’s somewhat limited space for tents, so I advise going early in the day or on a weekday if you want one of the tent pads. The hike to Lindeman Lake is less than 2km, but it is quite steep, with 350m of elevation gain. The parking lot is often targeted by thieves, so make sure you don’t leave anything valuable in your car. There is a bear cache and outhouse, but it’s only a throne-style toilet, meaning there are no walls. Due to the high volume of crowds at this location, I think it could use a little TLC from BC Parks. Get a backcountry permit for $5pp per night from camping.bcparks.ca. Campfires are NOT permitted, so enjoy a swim in the clear, but cold, lake instead!
Viewpoint Beach/Half Moon Beach

Viewpoint Beach is located very close to the lower mainland, in Golden Ears Provincial Park, and as a result, it’s also very popular. The nice thing about this location is that it’s an easy 4km hike and there’s lots of space for tents. There is an outhouse and bear cache, but the bear cache is severely undersized for the number of visitors, so be prepared to hang your food. Some people cross the river to access Hiker’s Beach, but be careful doing this when the river is running high. Also, be aware there’s no cache or outhouse on that side. If you want to avoid the crowds, you can hike another 6km to Half Moon Beach, but this trail isn’t in great shape, so be prepared for a slower, muddy hike. Get a backcountry permit for $5pp per night from camping.bcparks.ca. Campfires are NOT permitted.
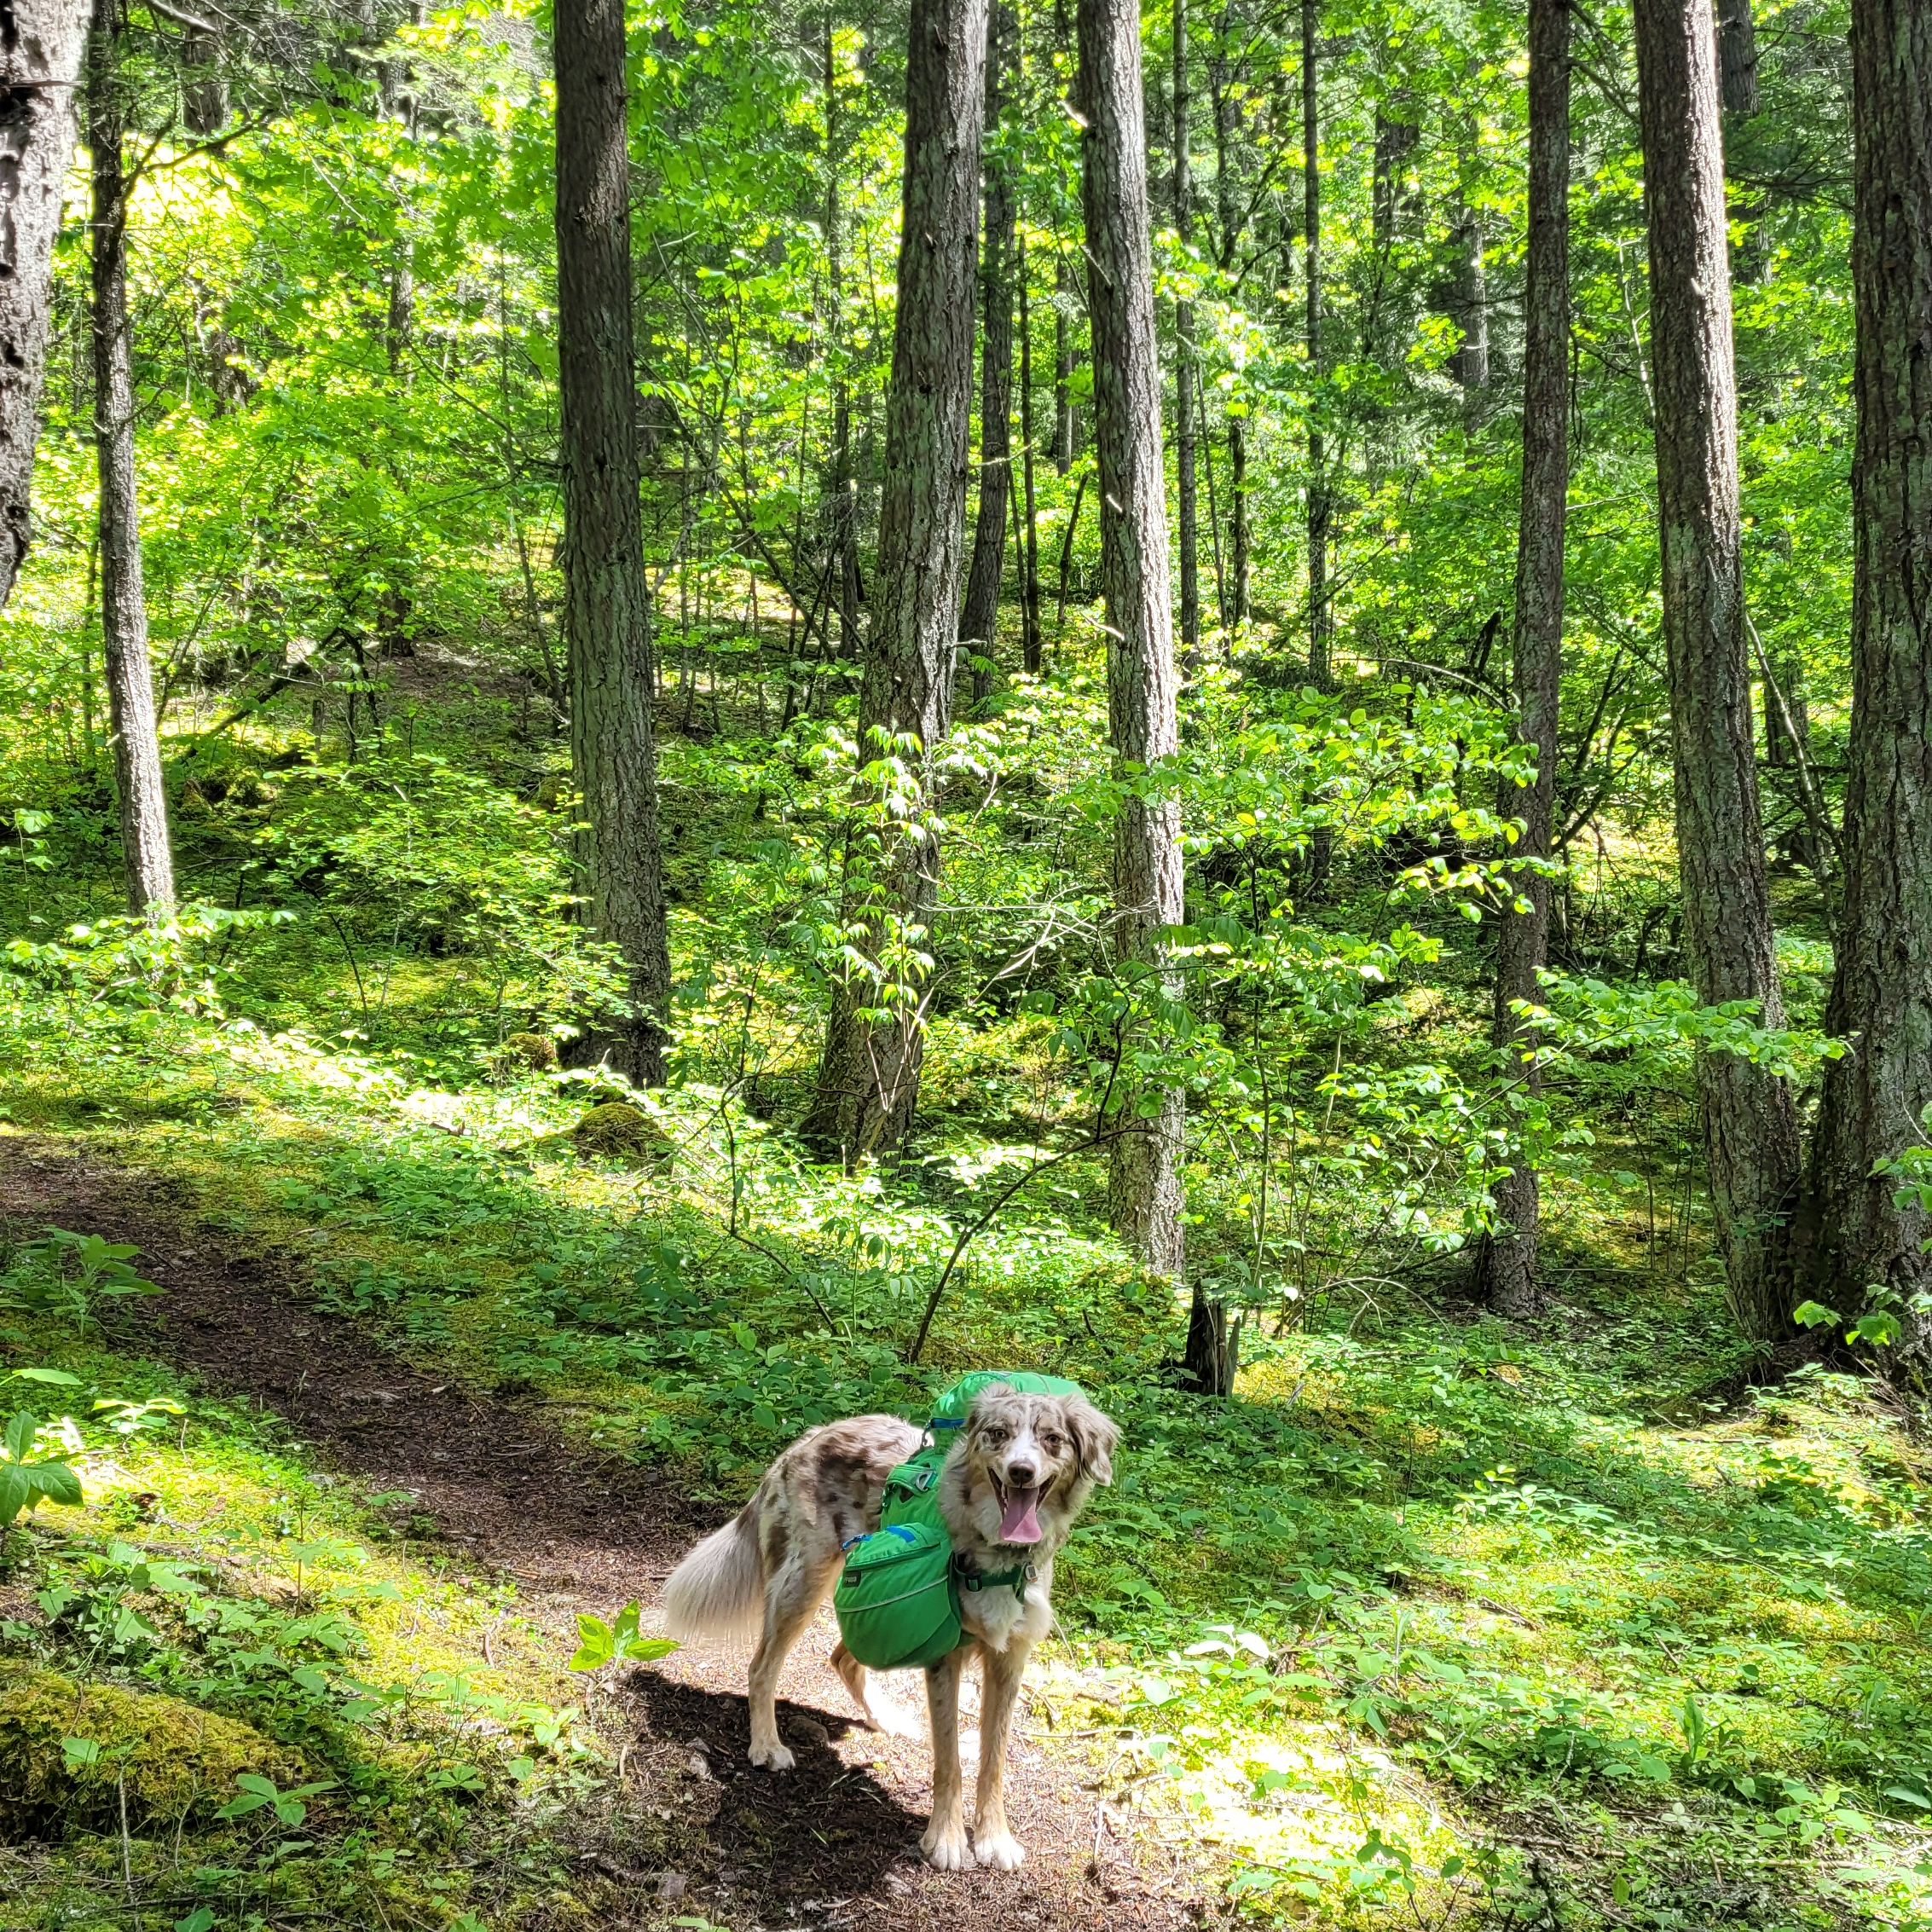
The first two trails on this list are very popular, so if you’re looking to avoid the crowds, Tikwalus Heritage Trail is located near the Fraser Canyon on Highway 1. It’s a 6km hike to get to the campsite, but the challenge with this trail is an elevation gain of 750m, so be prepared for a climb! This trail is mostly forested, but has lovely views of the backcountry from the campsite. These are all first-come-first-serve sites, but there’s a fair amount of space and in my experience, it’s not that busy. There is an outhouse and bear cache, but there’s no water source immediately at the campsite, so fill up at the river located 1km before camp. There are no permits for this campsite and campfires are permitted if there’s no fire ban.
Levette Lake/Hut Lake
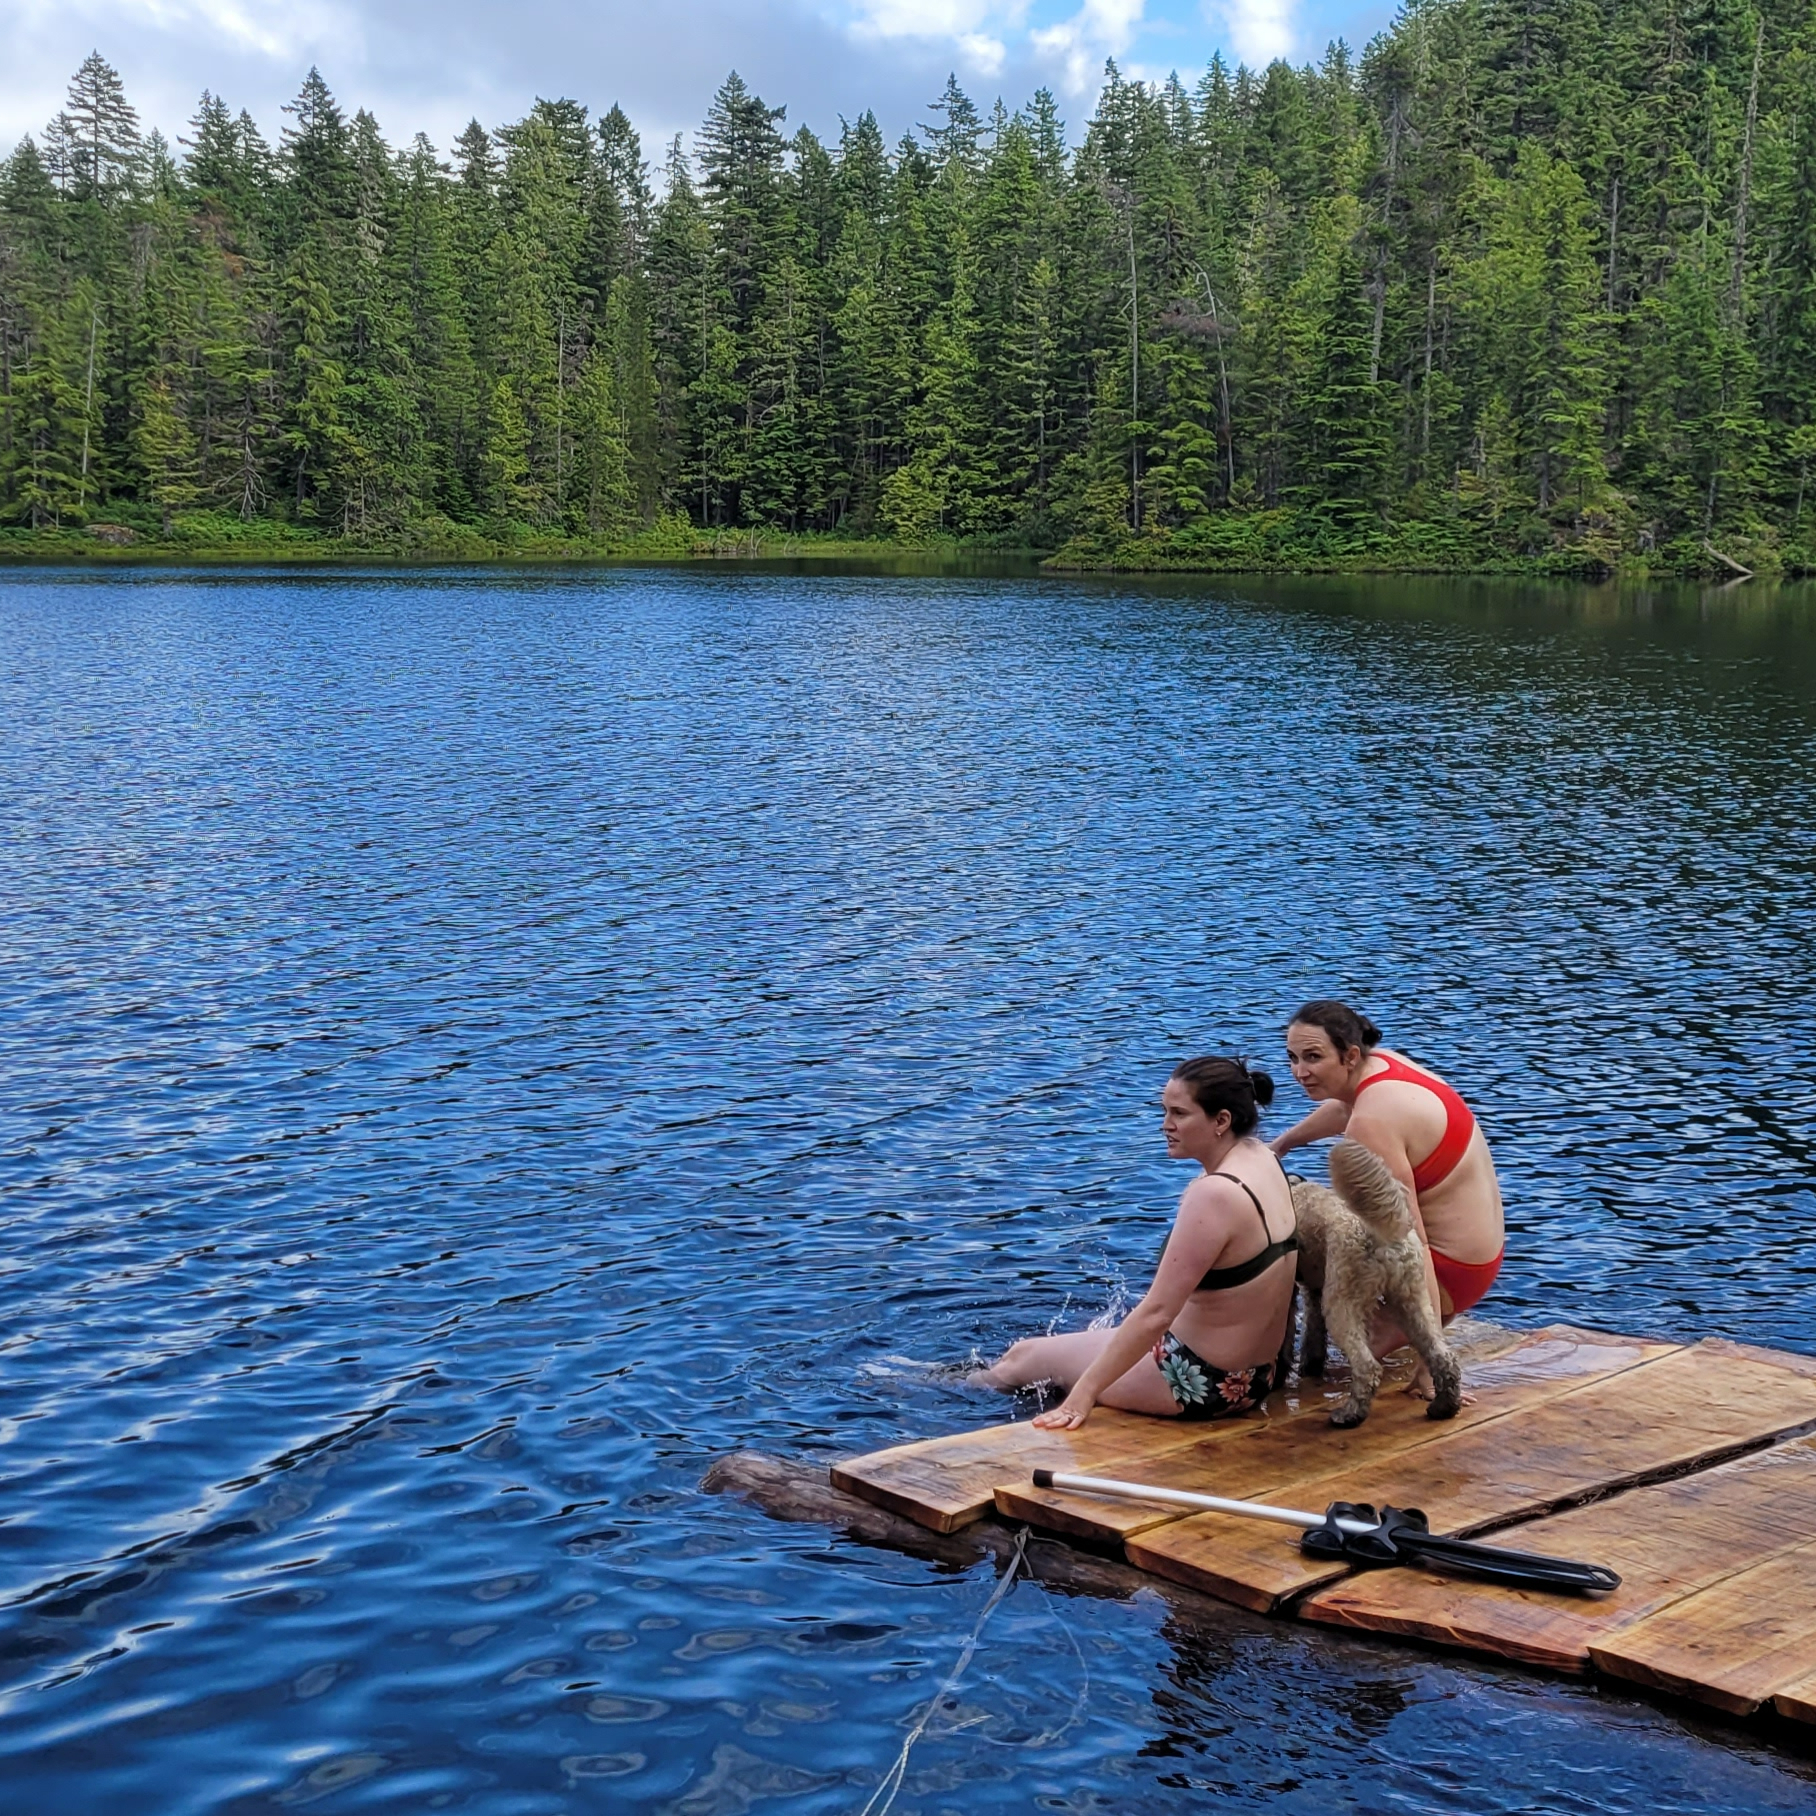
Levette Lake and Hut Lake are free rec sites located in the backcountry near Squamish, off Paradise Valley Road, but the vibe is very different at each lake. Levette is popular among locals and depending if the road is open, you can generally drive right up to the lake to camp. If you want to avoid the crowds, it’s a 5km hike from Levette Lake to Hut Lake. The trail is along rugged road and some hardcore off-roaders will drive all the way to Hut Lake. There’s not a lot of space for tents at Hut Lake and there’s no bear cache or outhouse, but we were the only people at this campsite when we visited on a weekend in mid-July. It’s a great option for a rainy weekend and we enjoyed swimming in the lake. There’s no permit for this site and campfires are permitted if there’s no fire ban.
Juan de Fuca/West Coast Trail

The Juan de Fuca Trail is a great option for Spring as it’s located along the coast of Vancouver Island and is open year round. However, it’s closed in 2025 due to damage from winter storms, so I’ve opted to include the West Coast Trail as an alternative. The WCT opens May 1 for the season and is extremely popular, so be prepared to book your permit from Parks Canada when they release in Jan/Feb. Both trails are long, multi-day hikes, though it is possible to do shorter trips along the Juan de Fuca trail. If you’re hiking the Juan de Fuca, backcountry permits are required for $10pp per night from camping.bcparks.ca. Both trails are recognized for their coastal beauty and campfires are permitted when there’s no fire ban.
San Josef Bay/Cape Scott Trail
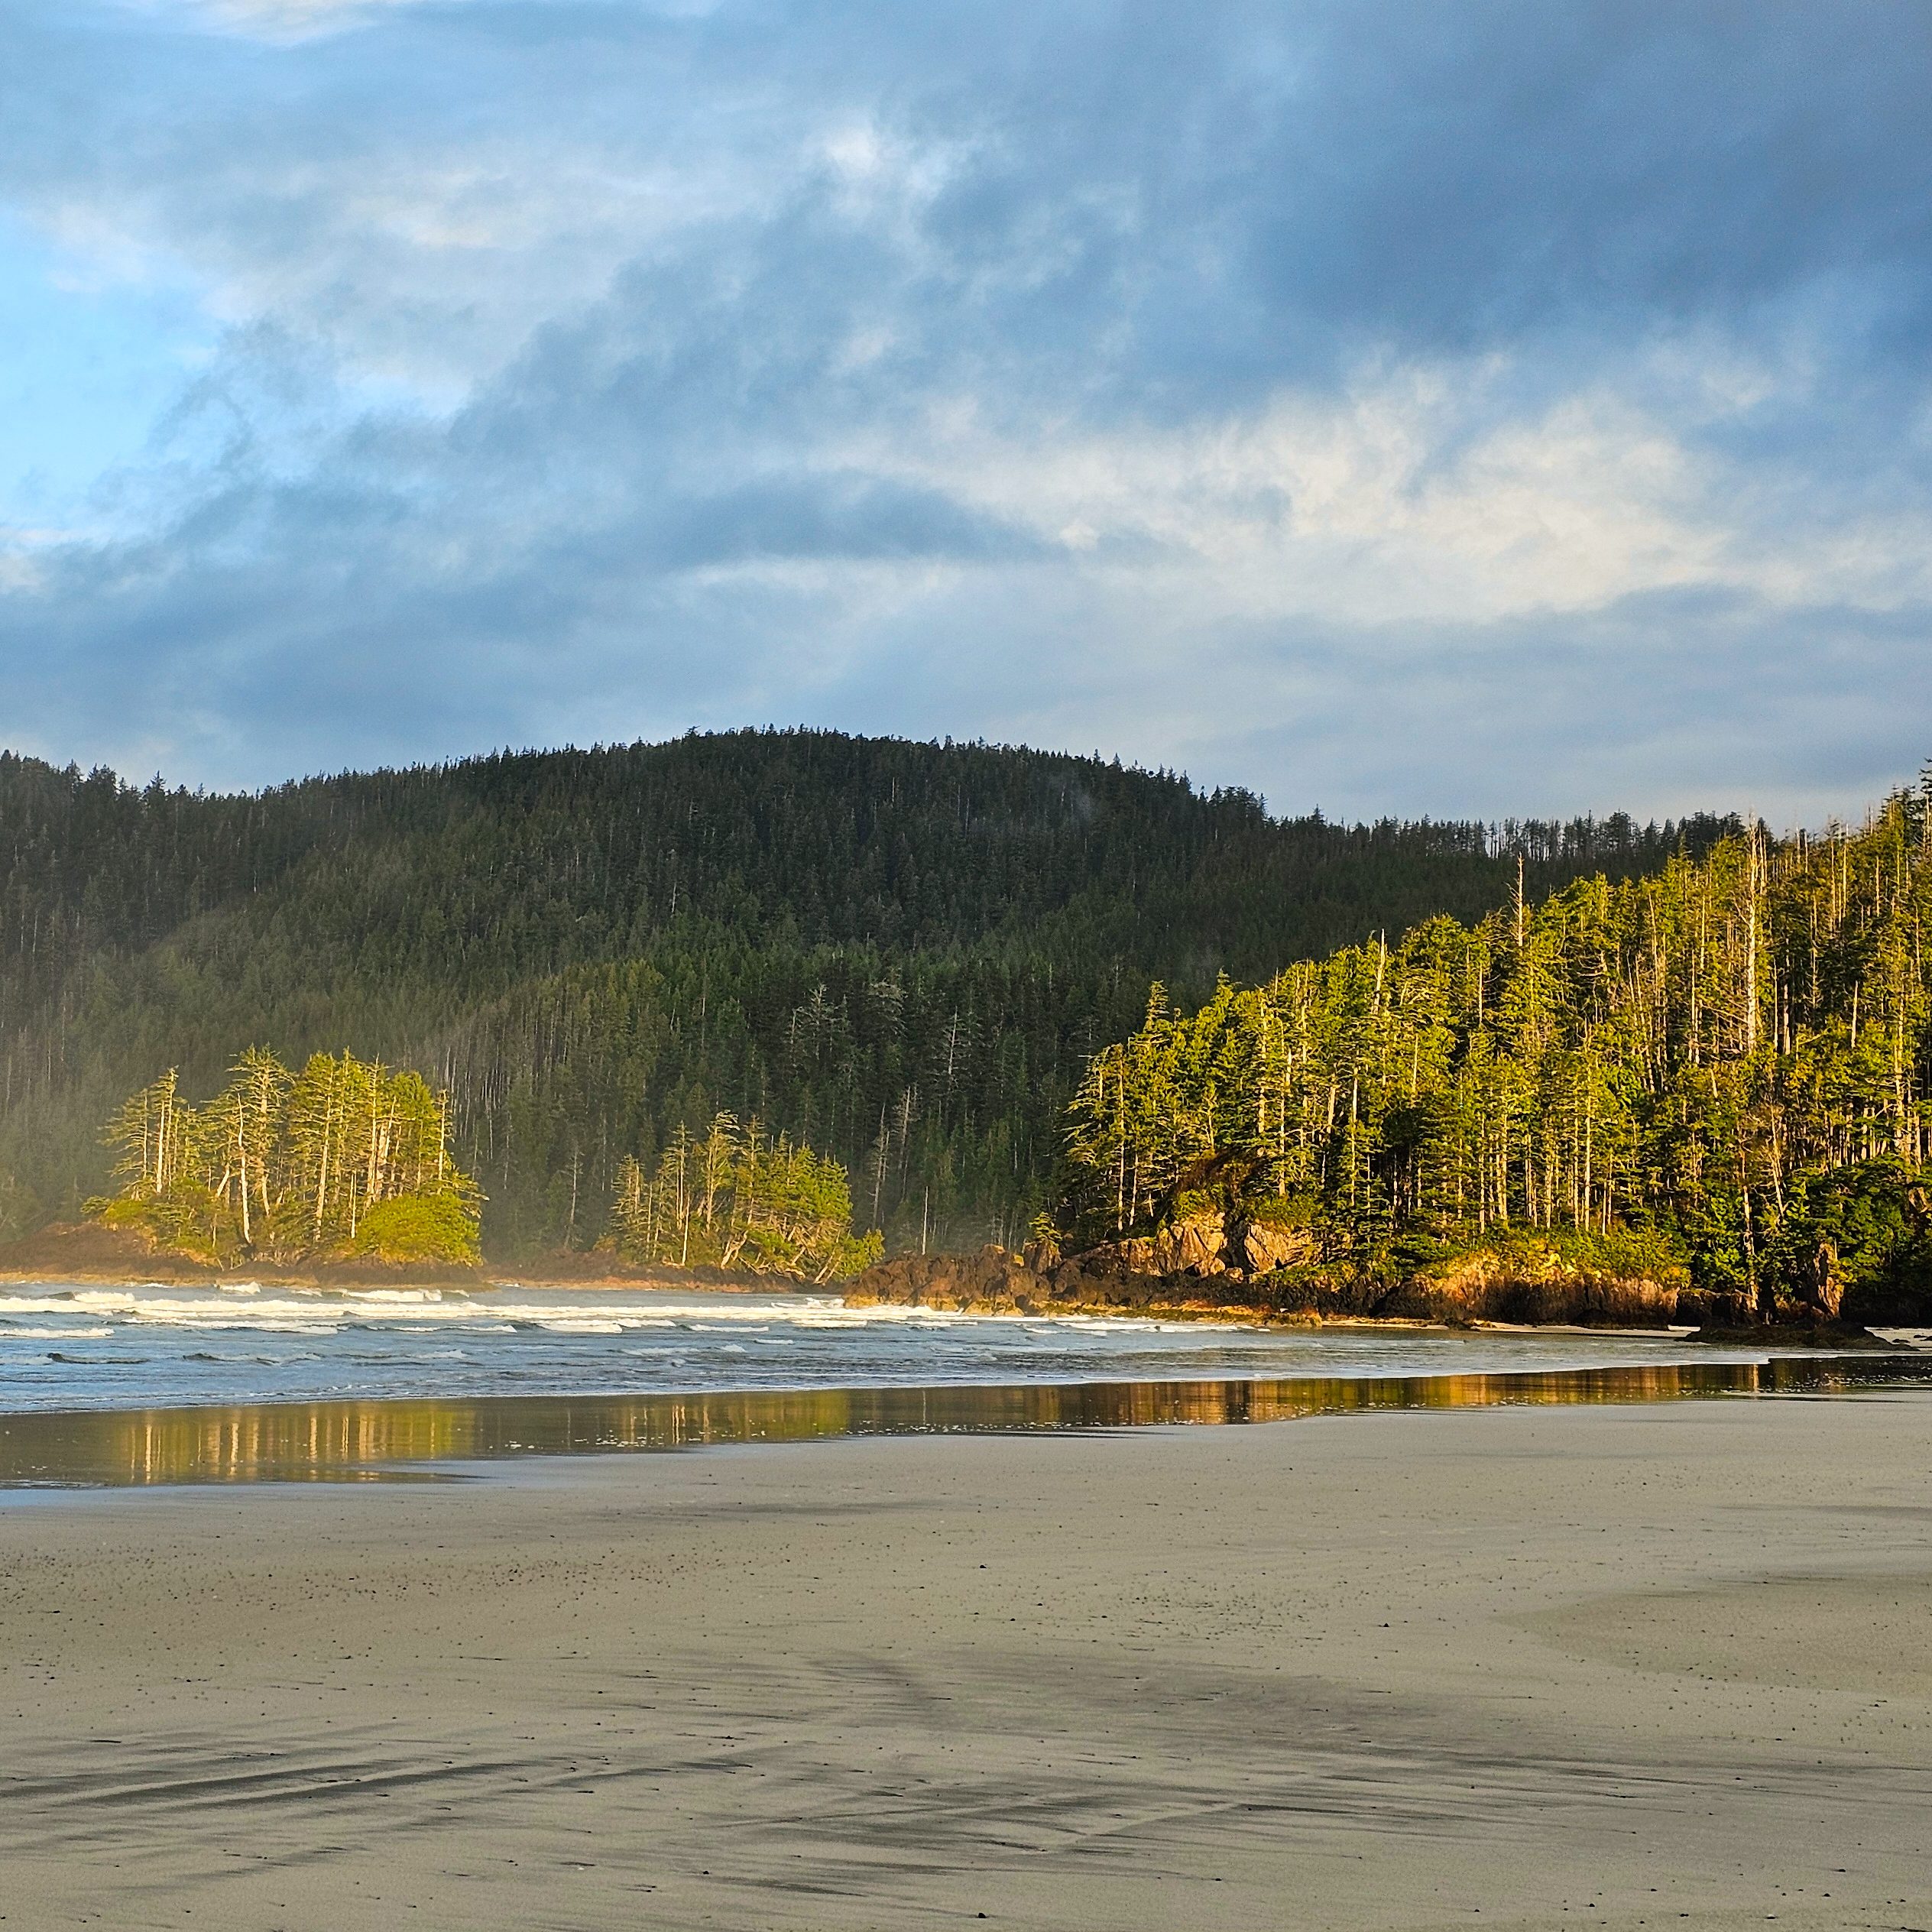
Given the challenges with the Juan de Fuca Trail this year, visiting San Josef Bay or Cape Scott on the northern part of Vancouver Island is a great alternative! San Josef Bay is recognized as one of the most beautiful beaches in the world and is only 3km from the trailhead along well maintained trail. If you’re more ambitious, there’s a fully developed trail that travels 25km each way to the historic lighthouse at Cape Scott. This trail is more challenging, but still relatively well maintained, with several campsites on beautiful beaches. All campsites have an outhouse and bear cache and you can get a backcountry permit for $10pp per night from camping.bcparks.ca. Campfires are permitted when there is no fire ban. Be prepared to drive along 65km of gravel road to access the trailhead – any car can make the trip, but be prepared to drive slow.

The Sunshine Coast Trail is a 180km trail through the wilderness of the upper Sunshine Coast. The entire trail will not be accessible until summer, but there are a few options for Spring hiking in the first 50km of trail between Sarah Point and Powell River. You can do the entire 50km section, or you prioritize one of the shorter trail options, such as Manzanita Bluffs, Appleton Canyon, Rieveley Hut, or Little Sliammon Lake. This is a very well maintained trail with facilities at every site. It is free to hike, but I recommend a donation to qPaws if you’re using the huts. The trailhead at Sarah Point is along rugged road, so I recommend booking a trip with the Sunshine Coast shuttle to access the trailhead. Be aware that not all campsites have a reliable water source (or any water source) and plan accordingly.

Cheakamus Lake is a popular campsite near Whistler. I include this option with a caveat to check the trail conditions before going. I’ve hiked the trail in May when it’s been completely clear of snow, but I’ve also had to cancel a June trip when the snowmelt was particularly late. It’s a great option for beginners as it’s a mostly flat trail. There’s two campsites on the trail, the first is a 4km hike from the trailhead and the second is a 7km hike. Reservations are required to stay at these sites and release 4 months in advance of your date from camping.bcparks.ca for $10pp per night. Campfires are NOT permitted, but there is an outhouse and bear cache.


