If you’re at all familiar with backcountry huts in the Rockies, chances are you have heard of the Elizabeth Parker Hut. It’s an ACC hut located in Yoho National Park, approximately 0.5km from Lake O’Hara. Lake O’Hara is one of the most popular and exclusive places to visit in the summer because it is incredibly beautiful, offering access to the breathtaking Alpine Circuit. I’ve been to Lake O’Hara in the summer and I wrote an entire blog post about that trip and how to secure permits, so I won’t be getting into those details here.
Let’s talk about the Elizabeth Parker Hut. In the summer, access to the hut is managed through a paid lottery system. You pay a fee to enter the lottery and if you are successful, then you’re invited to book into the hut for a further fee. I entered the lottery once, with no luck, so I decided to abandon that strategy. I planned to visit in the winter instead. The hut is still busy on the weekends (and weekdays to an extent), but there’s no lottery, so as long as you are an ACC member and pay attention to the booking windows, you should be able to secure a booking. We decided to visit on a weekday in the winter, making the process even easier.


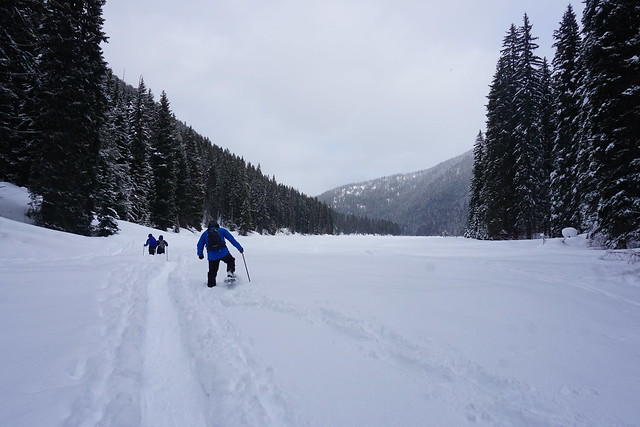
The challenge about visiting this hut in the winter is that there’s no shortcut to access it. In the summer, you can take the shuttle up the bus road, cutting out 11km of road-walking. In the winter, there’s no shortcut, you have to walk in the entire 11km road, plus the 0.5km trail to connect to the hut. This might not sound like a lot, but it is quite draining in the winter. It’s not a hard trail, but it is long and has a pretty steady uphill for most of it. The road does pass through a small section of avalanche run-out terrain in the first 5km, but for the most part, it’s a pretty safe trail. The one section goes through a run-out zone, rather than active avalanche terrain, so if the avalanche rating isn’t high, you don’t have too much to worry about.
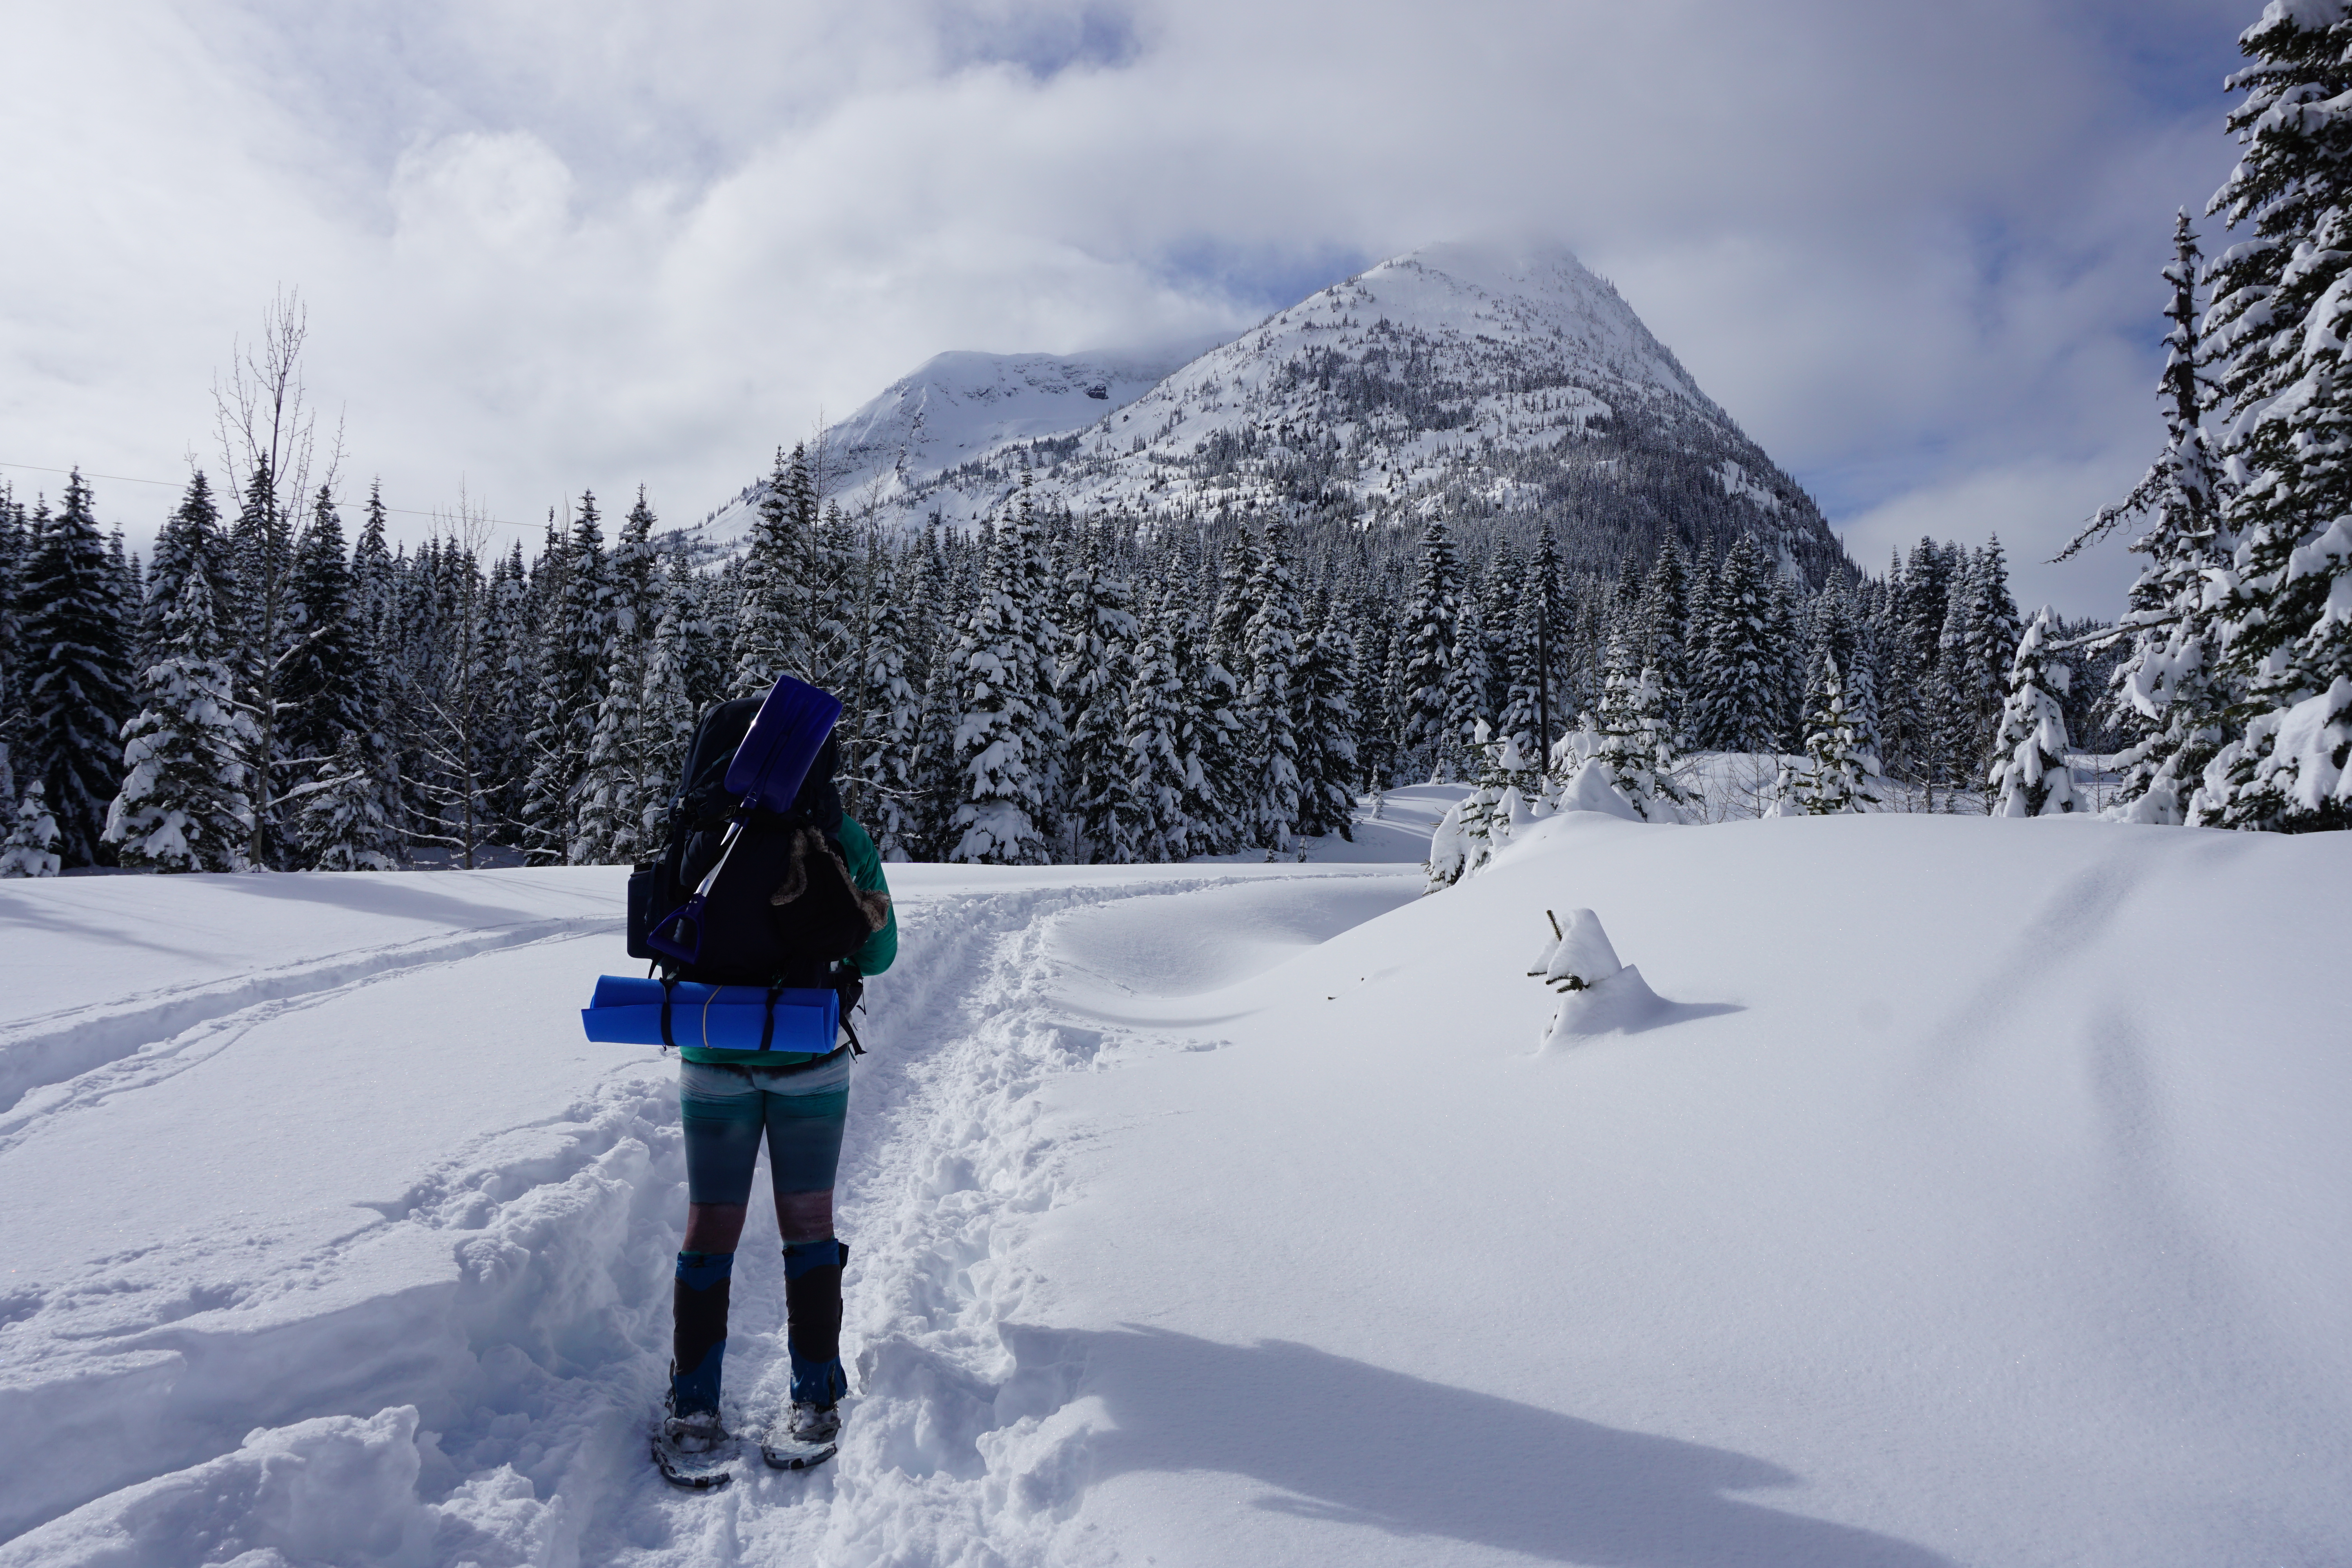
There’s a few ways that you can get there. The most common way seems to be cross-country skiing, which surprised me a little bit because there is a lot of uphill on the way there. I’d recommend having skins, but it’s a wide trail and very manageable. The attraction of cross-country skiing is that the skis are so much lighter, so it makes for a faster journey along the 11km road. Another option is ski touring, which is what we did. This is great if you want to do some touring and skiing from the hut, but touring skis are a lot wider and heavier, so we did find it very tiring. The last option is snowshoeing. There was no one on snowshoes when we stayed at the hut, but there was a big group heading in on snowshoes when we were leaving. I wouldn’t recommend spikes unless you’re sure it’s hard packed with no fresh snow incoming.


If you’re planning to visit, give yourself ample time as there is limited daylight in the winter. We didn’t do a great job at this because we had stayed at the A.O. Wheeler Hut the previous night, which meant we had to hike out 1.5km in the morning, drive to Field, and then do the 11.5km hike to the Elizabeth Parker Hut. This was made worse by the fact that we transitioned from Pacific Time to Mountain Time and lost an hour.
We didn’t start hiking until almost 1pm. It was mid February, so we had ~5.5hours of daylight. It took us 5 hours, compared to some cross country skiers, who were able to do it in 4 hours. I was feeling pretty good when we started, I figured I’d probably skied around 2km when I came across the trail marker for 1km, and that’s when I had to stop myself from despairing, as I knew we were in for a long day. If we’d started earlier, we could have taken our time and lots of breaks, but because we had limited daylight, we pretty much pushed forward all afternoon. We took one lunch break at the 5km mark, but otherwise only stopped to pee or re-adjust layers and equipment.

The biggest challenge for me was temperature control. It was around -20 degrees celsius when we did the trail, which is extremely hard to manage when you are working out. Normally, I would ditch my warm layers and just wear a base layer so that I wouldn’t be sweating into everything, but the challenge was that I was quite a bit faster than Brandon, who uses a splitboard. So I was continually having to start and stop, and I would get cold whenever I had to wait, so I didn’t want to layer down.
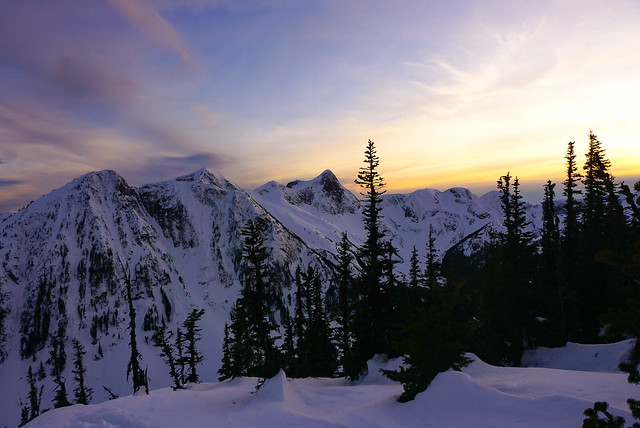
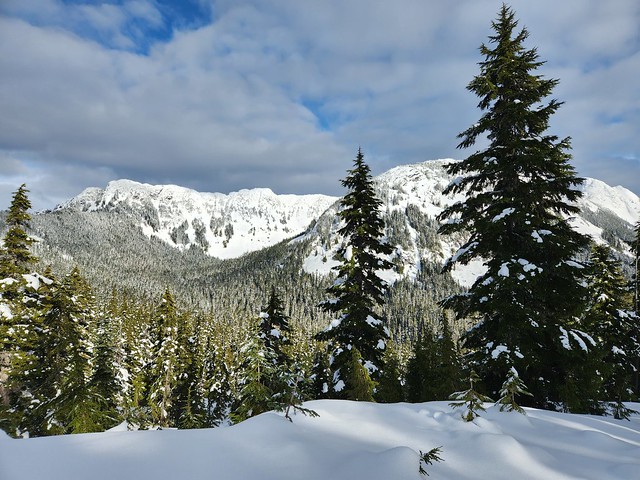
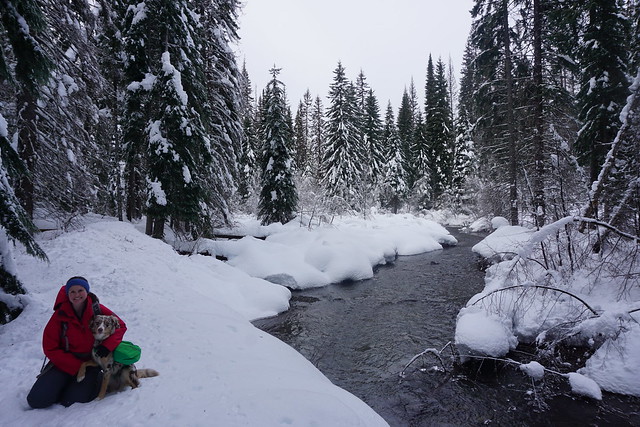
I managed well for the first half of the trail. There’s some picnic tables and a beautiful viewpoint at the 5km mark, so we stopped for a late lunch there. The weather was quite nice, mostly overcast, but there was some blue sky and we could see all the mountains, so it was very scenic. Around ~8km there’s a beautiful view of the glacier, so it was a nice hike, just very long. I definitely started crashing out around the 8km mark. I ate my snacks along the way, but our water bottles were becoming more and more frozen and I really needed an energy boost and a hot drink. Brandon put electrolyte powder in his water, which I wouldn’t recommend, because it turned the whole thing to slush. The trick is to store your water bottle upside down so that the lid doesn’t freeze on, and carry a thermos.


We finally made it to the hut around 6pm and I was so relieved to see the steam rising out of the chimney. There was a large group already inside the hut and I all but collapsed on the bench and started removing my boots, enjoying the toasty warm heat from the woodstove. The group consisted of 3 families and a lot of kids and they quickly encouraged us to move over to the Wiwaxy Cabin next door.
I didn’t realize there was a second sleeping cabin and their assumption that we would be more comfortable not sleeping with their big group was correct, but the group rubbed me the wrong way for most of the trip. It wasn’t appealing having to immediately go into another cold space and start a fire immediately after arriving. We managed fine, but the group was not respectful of the shared kitchen and dining facilities, spreading out and leaving a mess. Every time we tried to use the dining area I had to ask someone to move things so we could use a corner of the table. Although I will credit the dads for changing out one of the outhouse barrels while we were there.


But the Wiwaxy Cabin was very cozy. The main hut has a large bunk room that sleeps 16 people in the same room as the dining tables and woodstove. There are lots of racks to hang gear, but it definitely has more of a cluttered feeling than the Wheeler Hut, though that may have just been because the 3 families spread out everywhere. The Wiwaxy Cabin sleeps 8 on the bunks and has a small table and a woodstove, but no kitchen, so everyone has to use the main hut to cook. We quite liked the Wiwaxy Cabin, it was very cozy and we were the only ones in there on the first night, though we were joined by 3 more people on the second night. Once we got the fire going, it was quite warm. The woodstove was very efficient and it was pretty hot overnight, but we didn’t want the fire to die with -20 degrees outside, so we kept it going all night.
On our second day, there was less blue sky, but you could still see all of the mountains and it snowed pretty lightly throughout most of the day. We had breakfast and did our chores, namely restocking our woodpile (Brandon did a great job), before going out for a tour. It was the middle of the week, so we didn’t encounter any day users, it seemed to be just us and the family in the area. We didn’t have a lot of concrete plans of what to do for the day, and we debated between hiking up to Schaffer Lake or down to Lake O’Hara. Neither is very far, so we opted to hike up to Schaffer Lake to take a look at Mount Schaffer, which I’d read is popular for skiing.


There’s no trail markers to follow in the winter, but there is a pretty obvious route up through the trees. It’s only 1km from the hut, so it’s not a long way to go. We hiked up to the lake, which has a great view looking up on the base of Mount Schaffer. There was a lot of fresh snow and we could see a few lines coming down from previous visitors. We hadn’t actually planned to ski because I am pretty nervous in avalanche terrain, but the conditions were ideal when we were there. There was some fresh powder, but the avalanche rating was low to moderate and there were no slab problems. So we decided to hike up through the trees to ski down the main slope.
There were ski tracks coming down from quite high, but we only went about two thirds of the way up because we didn’t want to be in super steep terrain. So we hiked up and then picked a spot to transition. As with the previous day, the most challenging part of the trip was temperature management. It was still very cold, so it was challenging to transition and I added a lot of layers before skiing down. It was a short ski out, but probably one of the coolest lines I’ve ever done. It was my first time skiing in avalanche terrain, and I keep having second thoughts about it when I look back on the experience, but at the time I was feeling confident about the conditions and everything went according to plan, so I guess it was our first real touring line.


We just did one line since we’re pretty new to touring, but if I was to go back, I think I’d do a few more. My ski touring journey isn’t really driven by skiing epic lines, which sometimes makes me feel a bit at odds with other ski tourers I meet, as most seem very obsessed with skiing remote terrain. But maybe I’ll care more as I get more comfortable in avalanche terrain, but for right now, I like just being outside on skis, enjoying nature, and building up my experience.
We had a fun second night as we were joined by a couple that we had met at Wheeler Hut, as well as a single guy on holiday from Korea, who we were all impressed with as it was his first time skiing! They all came in on cross-country skis, which seems to be easier on a long access trail. We spent the evening playing cards and the couple shared a special moment the next morning and got engaged in front of the mountains!!


The sun came out to play on our last day and we woke up to a bluebird day in the mountains. It was still very cold, but at least we had the sun shining down to warm us up a little bit. We weren’t in a big rush to leave, but after packing everything up, we skied down to Lake O’Hara to enjoy the view before skiing out. Lake O’Hara is one of the most renowned views in the Canadian Rockies and it does not disappoint. It was very smoky when I visited in the summer of 2023, so dare I say, the winter view is even better? I felt like I was on another planet as we skied across the lake to get an incredible view of the surrounding mountains. Plus, we were the only people there, so it felt very special.
Usually the ski out is a lot more fun than the ski in, but the road is not a simple downhill the whole way, so it was still a lot of work to ski out. Ideally you would take off your skins and just ski down, but there are still lots of flat sections. I planned to just skin the whole way down, but there was still a lot of powder on the trail and it was really hard to pick up any speed on the downhill. So eventually we took our skins off and I was planning to just skate ski the flat sections, but it was too powdery for that too. However, because I was on skis, I was able to just put them back in touring mode without the skins in order to ski the flats and I did several kms that way. But Brandon was on a split board so he ended up carrying his snowboard through the flats.


It was still faster than the way in and we stopped again at the picnic tables for lunch, where there was a large group of women snowshoeing in. It’s 5km from the picnic tables and I put the skins back on for the first 3km, which are really flat. But the last 2km is the steepest part of the trail, so at that section, I was able to properly transition and ski out the final 2km pretty quickly. In total, it took us 5 hours on the way in and 3.5 hours on the way out.
Lake O’Hara is definitely a beautiful place to visit and we had a great time, but it is a slog on that road and I was really glad that we had planned to stay for two nights. It would have been a lot to ski in and out for only 1 night. If you’re dying to visit O’Hara and haven’t been able to secure summer permits, I definitely recommend checking out the hut in the winter. It’s much easier to reserve and in my opinion, the experience is even more special because there’s barely anyone around (at least on the weekdays). We had a great time!