Zupok Peak is a little bit off the regular beaten path, located on Highway 5 in the Coquihalla Summit Rec Area. It’s often paired with other peaks, like Ottomite Peak, Llama Peak, and Alpaca Peak. Ottomite Peak is a great option for snowshoeing and snow camping in the winter because it’s fairly short and stays in simple terrain, but I wouldn’t recommend any of the other peaks in snowy conditions because they go into challenging avalanche terrain, so stick to summer and fall when visiting those.
Me and Brandon have a tradition of going on a big hike every Thanksgiving weekend, and we picked Zupok Peak for our 2025 Thanksgiving hike. It was still early October, so we thought we might need microspikes for a small amount of snow, but were surprised to discover that the peak had gotten a dump of snow the night before we hiked the trail. So despite gorgeous sunny conditions on the day we visited, there was quite a lot of fresh powder on the trail.


The trail starts at the Zopkios Rest Area in the Coquihalla Summit Rec Area. You can park at the end of the lot and walk over to the west side of the washroom to access the trailhead. It’s a fairly well established trail, but it’s not very popular. Needle Peak and Flatiron, which are located on the other side of the highway, draw most of the crowds in this area, with Zoa Peak being the next most popular trail after those.
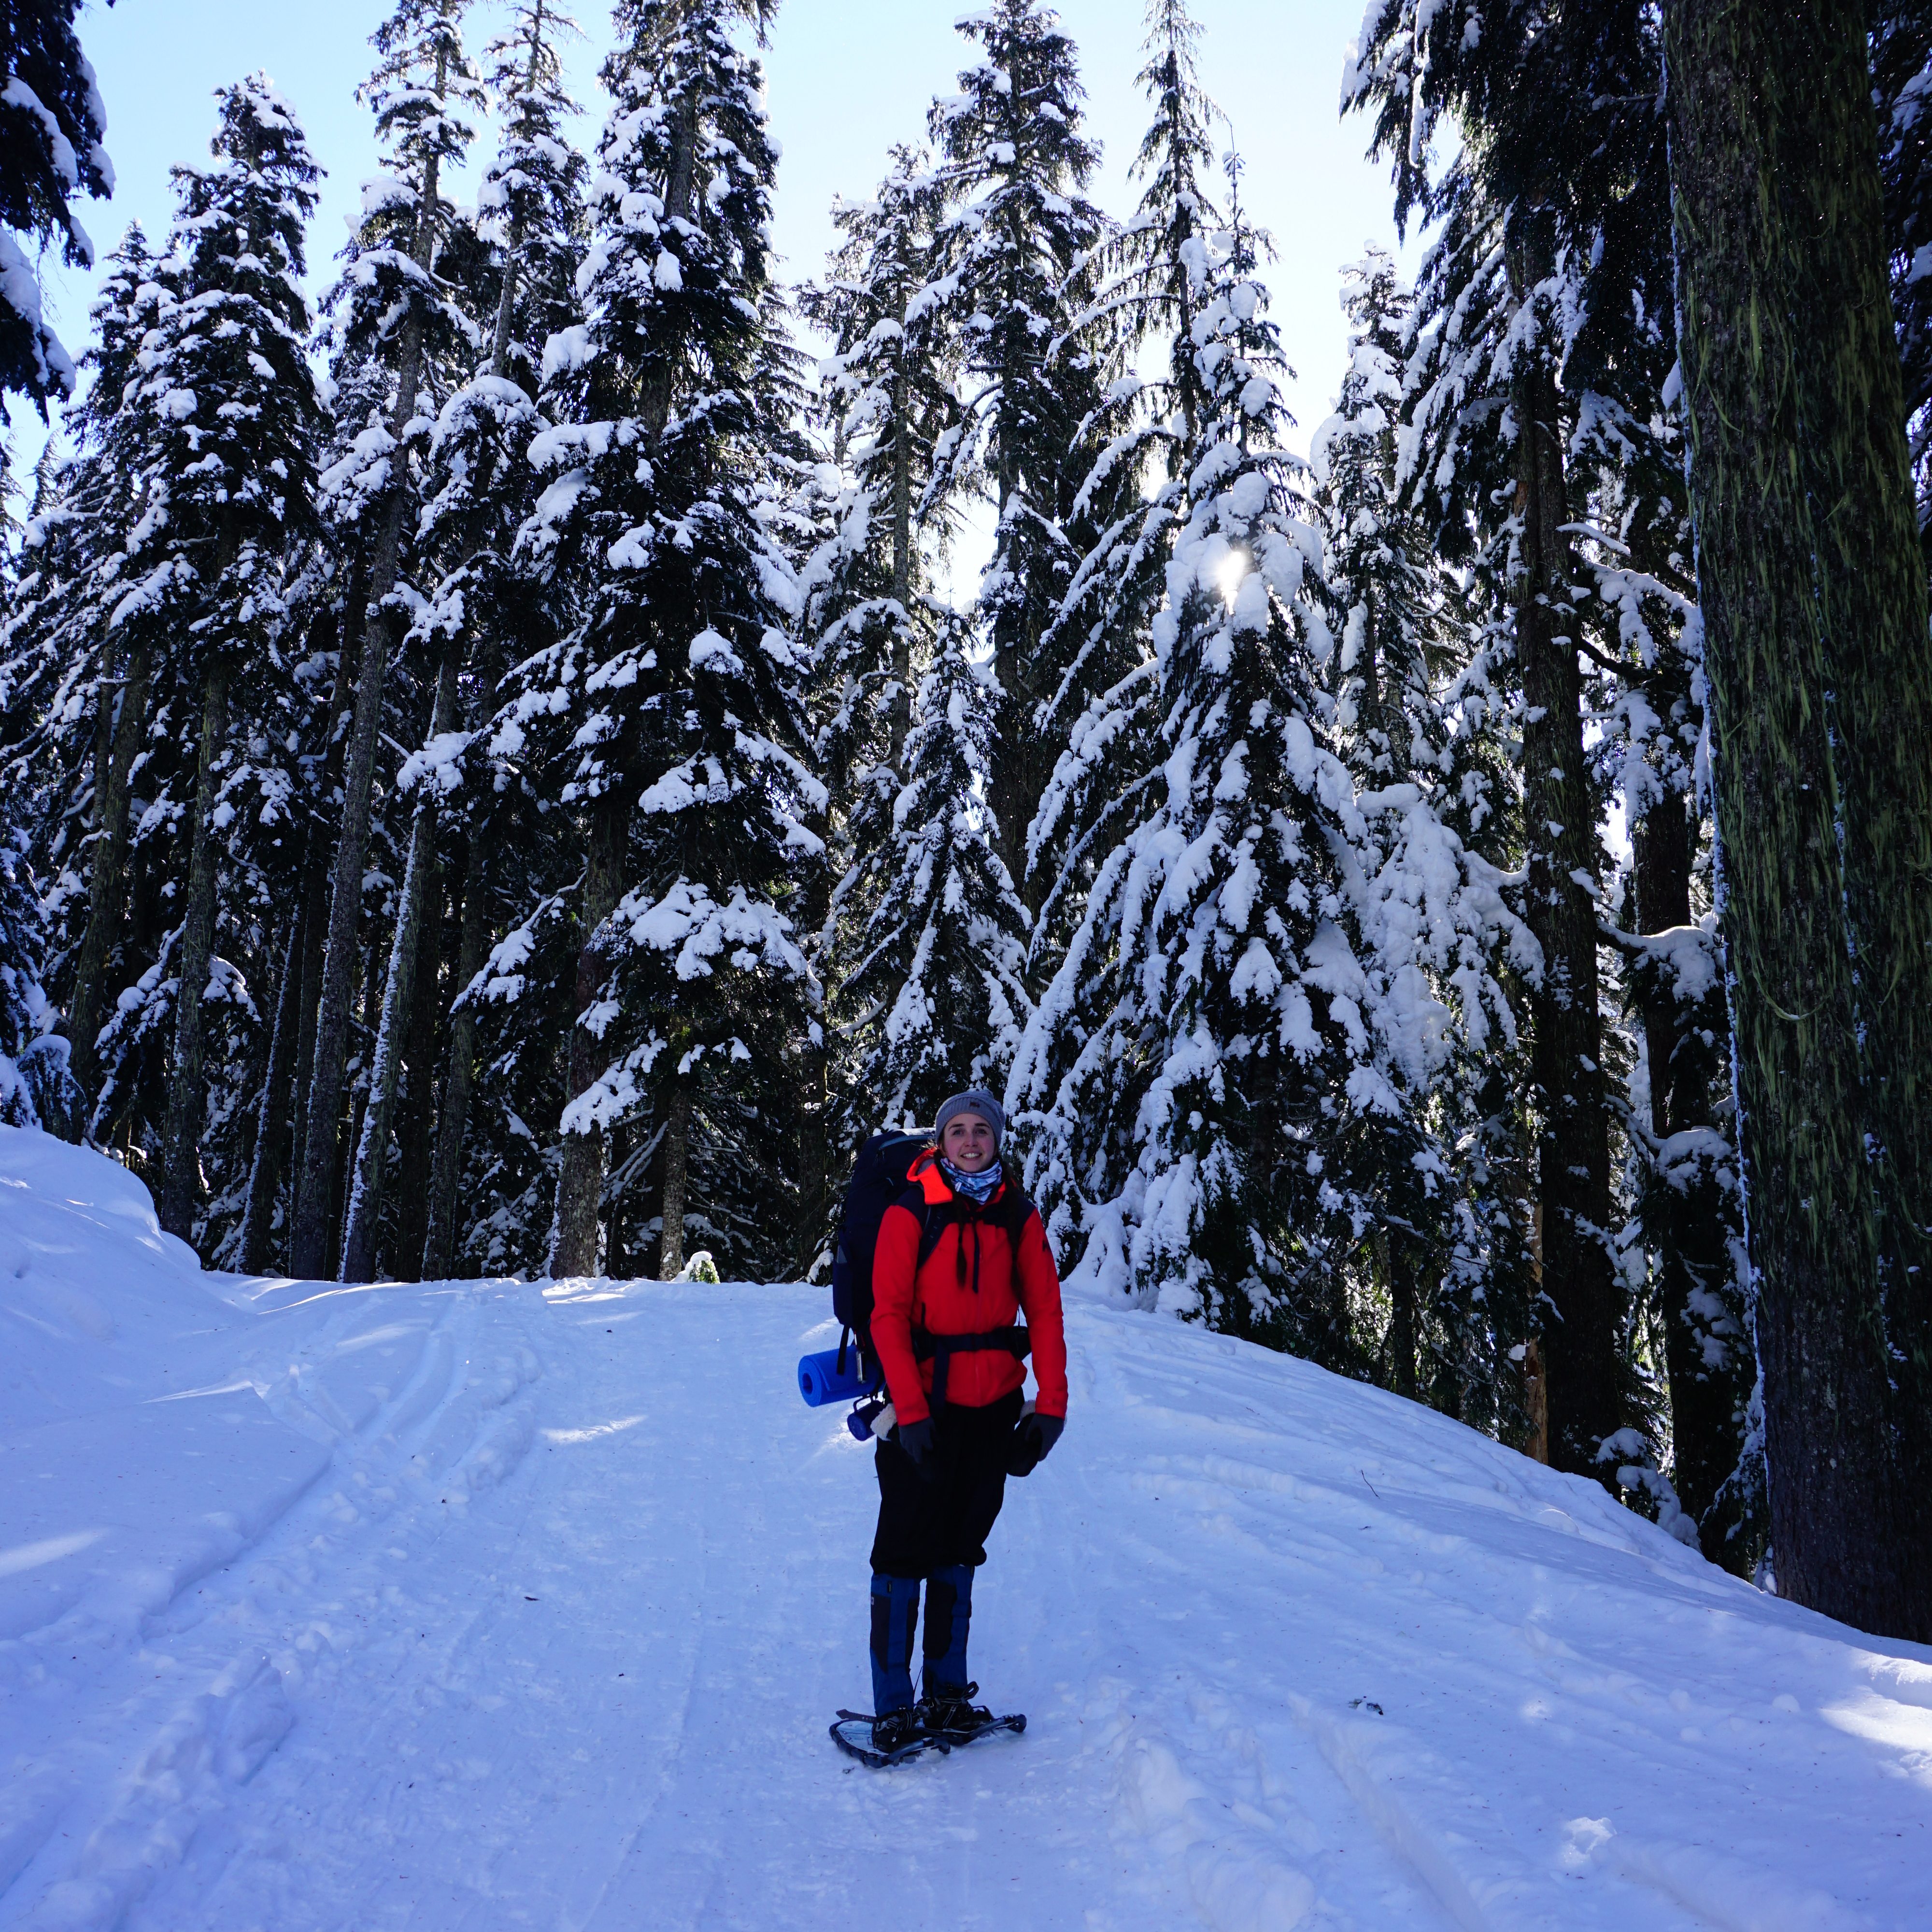
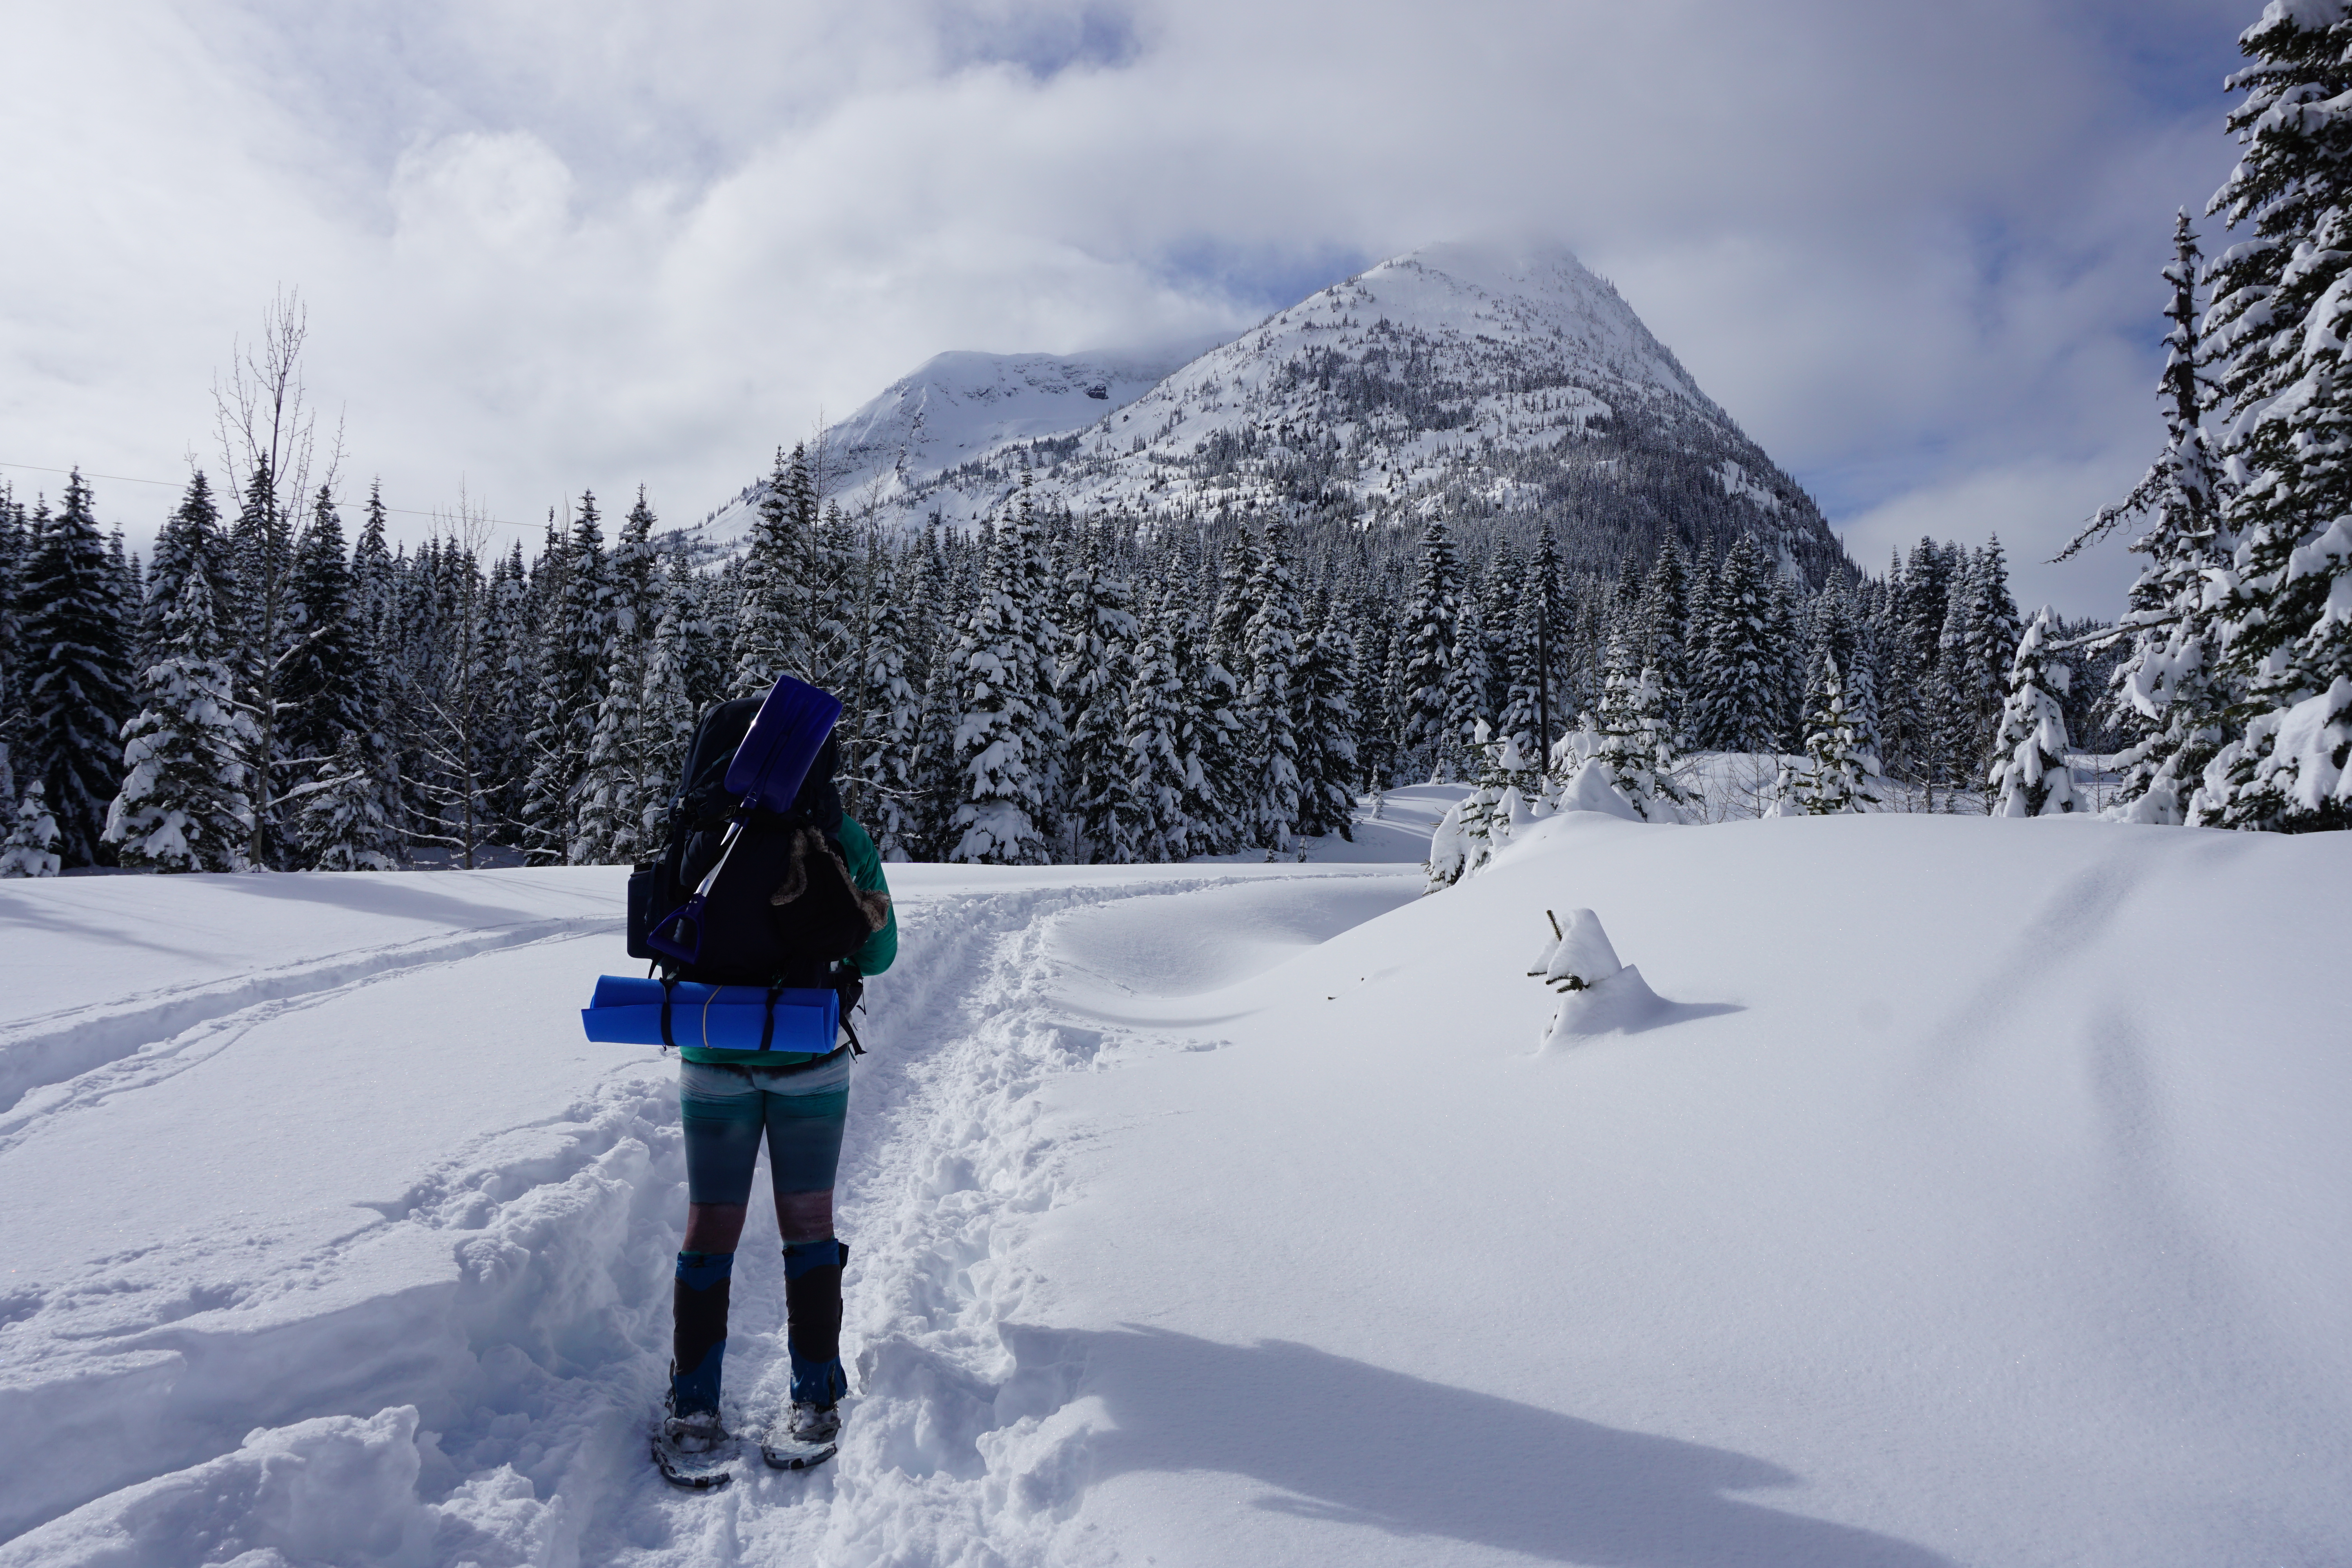
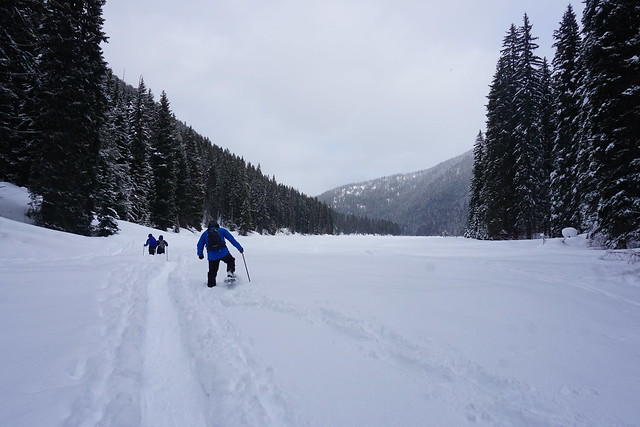
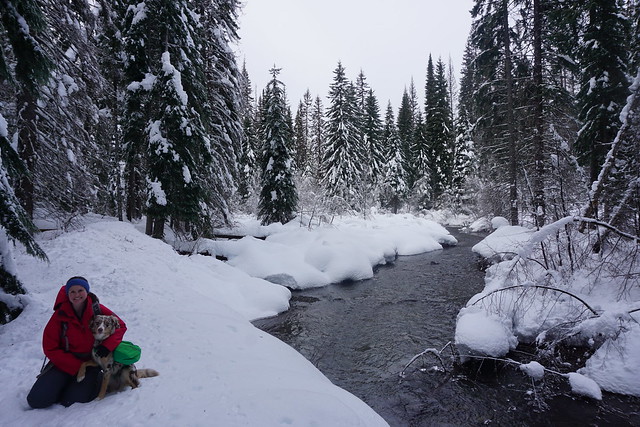
It’s a nice walk through the forest as you head towards Ottomite Peak. There is one river crossing and the bridge is in pretty rough shape, so take your time. There was snow along the entire trail, but it wasn’t very deep at lower elevations. Our biggest problem was that it was extremely cold. Usually I don’t need to layer up too much while hiking, even in winter, but on this particular day it was very chilly!


After ~3km of hiking along relatively flat trail, you will reach a junction to Ottomite Mountain. If you go in the winter or during snowy conditions, I recommend just visiting Ottomite and skipping the other peaks due to potential avalanche hazards. There’s a nice view from Ottomite and the trail is wide and still very easy to follow. Since it was the first snowfall of the season, we continued on towards Zupok Peak.
From here, the trail became harder to follow in the snow. There was one group that had started ahead of us, so they were breaking the trail. Once you start the ascent to Zupok, there’s markers on the trees that you can follow, but if the other group hadn’t broken the trail to the base of Zupok, it would have involved a lot more route finding for us. Instead, we were able to just validate the track using GPS to make sure we were on the right track.


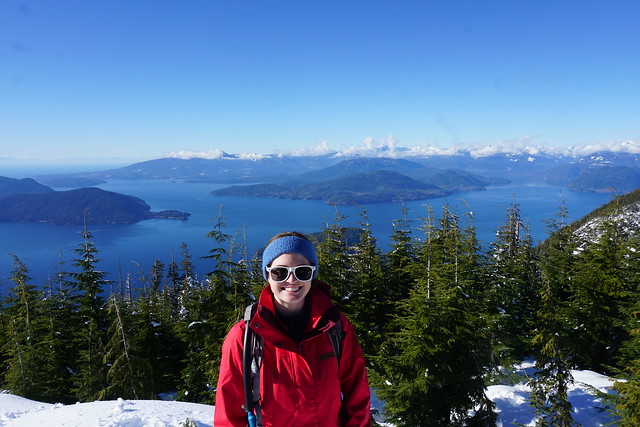
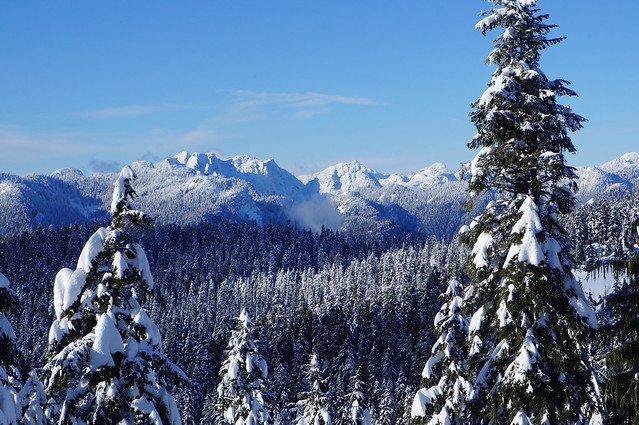
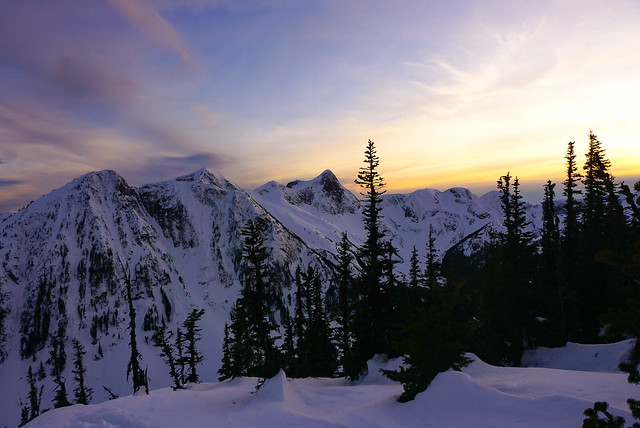
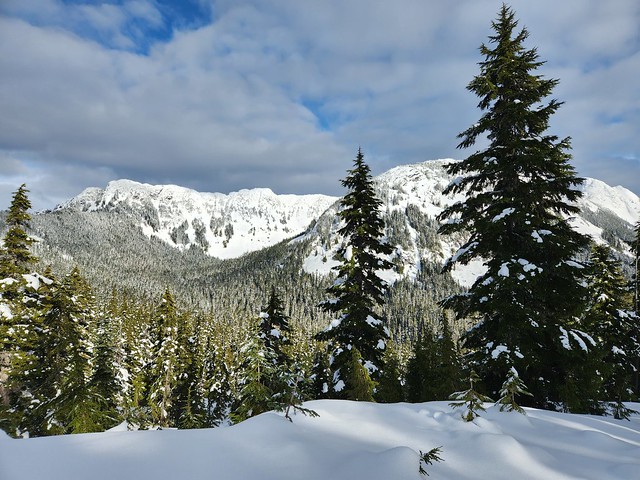
After the junction to Ottomite, it’s ~2km to the summit of Zupok. It doesn’t sound like a lot, but this part of the trail gets really steep and it’s a big slog to climb up to the summit. You climb ~500m of elevation in 2kms, so be prepared for a steep grade! Most of the trail is through the trees, but there is one nice viewpoint halfway up. Near the summit you pop out of the trees for an incredible view of the area. In the summer, I think the trail would be a lot easier to follow, but it was a bit of a struggle in the last 300 metres to the top. The snow was much deeper on the summit (knee deep) and it was very windy, so we were pretty cold.
When we started the day, we planned to continue to Llama and Alpaca Peak, which looked fun since you get to walk along the ridge after Zupok, but that plan was quickly abandoned when we got to the summit. We only had microspikes and it was evident that we would need snowshoes along the ridge. Plus, it was just too windy and cold, so we quickly amended the plan to eat lunch at the summit and then turn around.


If you visit on a nicer day, I’d definitely check out the other peaks, but be prepared for the hike to still be fairly strenuous. You have to climb down Zupok Peak, only to immediately climb up Llama Peak (and then repeat again for Alpaca Peak), so you do still expend a lot of energy on each ascent. Plus, you’re in the alpine the entire time, so on a hot day, be cognizant of the exposure and sun protection.
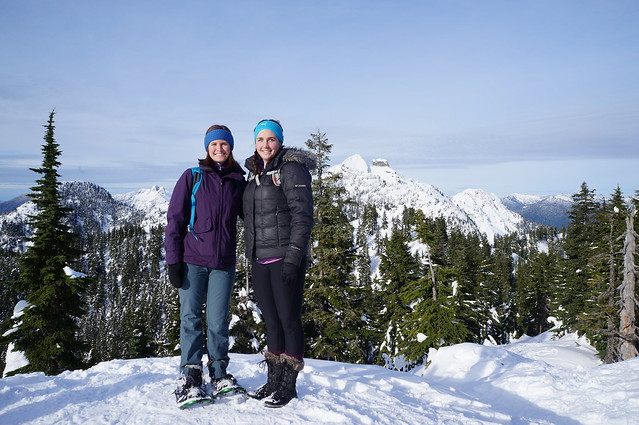
We stopped for a quick lunch and Simmer got herself in a bit of a pickle. She wanted to put on her snowpants, but she didn’t want to take off her boots because her feet were so cold. She accidentally put them on backwards and then got stuck in them trying to reverse them with her large boots on! So we had a good laugh at her before snapping a few photos and heading back down the mountain.


We didn’t spend much time on the summit and we hiked back down to the base of Zupok pretty quickly. It was like a different world down there. There was no wind and the sun was out, so we were able to take a proper break to warm up. Brandon decided to build a snowman to stand guard at the mountain base. Otherwise, it was a pretty quick hike back to the car and we continued back to Hope for a proper meal.
I thought the view from the top of Zupok was beautiful, but this is a pretty challenging hike. I don’t think I’d be in a rush to re-do it because the hike up is such a slog, but I would love to explore the ridgeline on a less snowy day. I have heard that Fall is a good time because the shrubs along the top change colour and it’s not too hot along the exposed ridge, but obviously we were a bit too late in the season on this occasion, so early September might be the sweet spot!