A Beginner’s Guide to Backpacking

Would you like to get into backpacking, but don’t know where to start? Whether you’re new to hiking or an avid hiker, it can be challenging to make the transition to backpacking. It can be hard to know where to go, what to bring, and how to stay safe. This Guide is meant to be a high level support to link you to other resources, help you assess your skills, and safely plan for your first overnight hike.

The backcountry can be a dangerous place. It can be easy to become lost, injured, or susceptible to adverse weather, and without the proper preparedness, sometimes one mistake can unfortunately prove to be fatal. I don’t think we need to be afraid of the backcountry, but I do advocate for smart planning to mitigate as many risks as possible up front.

I am not an expert on backpacking. I have done a lot of backpacking near the lower mainland and I am a Outdoor Adventure Trip Lead with Girl Guides Canada, so I focus a lot of risk management and preparedness in the backcountry.

IMG_4814

Assessing Your Skills

Before heading into the backcountry, I think it’s important to understand what skills you have and what skills you may need to supplement. Are you an experienced hiker? Are you comfortable on more challenging terrain? Do you have any special training such as first aid or avalanche safety? Do you have access to all the essentials? Are you good at map and GPS reading? Do you know what to do if you run into trouble?

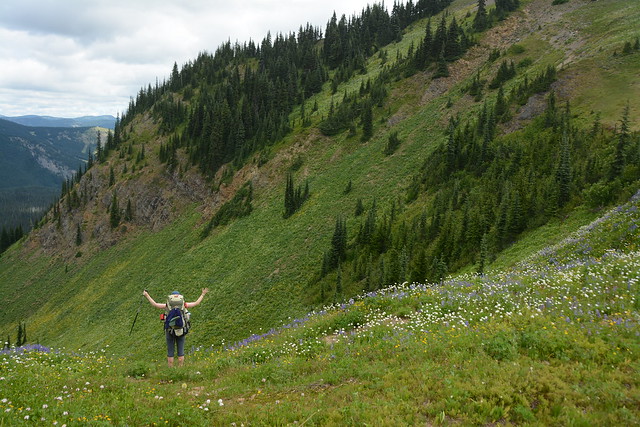
It’s important to have a good sense of awareness of your own body and to listen to it. It’s easy to get into trouble if you push your body too far or don’t recognize signs of stress. If you haven’t done much hiking, always start small to understand your limitations. Stop when you need a break, you are tired, the terrain looks dangerous, it’s too hot, etc. One of the most challenging decisions is accepting that you should turn around and not expose yourself to additional risk. Once you’ve started something, the inclination is always to push forward, because you’ve sunk time and energy into getting this far. But if the weather conditions are not right or your body is not feeling it, you should always feel empowered to stop for any reason.

Picking a Trail

Deciding where you want to go will help you plan appropriately for the rest of your trip. Once you’ve assessed your skills, you should have a better idea of what kind of trail you may want to do. Here’s some questions to ask yourself:

  • How far a distance do I want to hike?
  • Am I okay with hiking uphill, or do I prefer a flatter hike?
  • Do I want access to facilities like an outhouse, bear cache, tent pads, cooking shelter, etc?
  • How far am I willing to drive?
  • Can my vehicle safely access the trail?

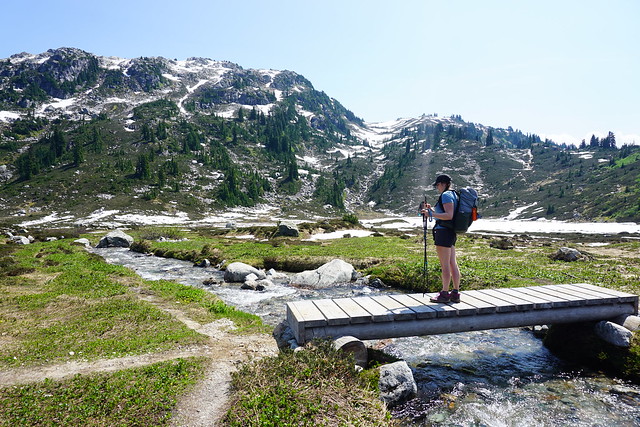
For new backpackers, I recommend starting with shorter trails that aren’t too steep. AllTrails is a great resource to research hikes, so look for trails under ~6-10km and with elevation gain of no more than 200-400 metres. The shorter the hike and the greater the elevation gain, the steeper it will be. As a rule of thumb, keep the elevation gain under 10% grade (100m of gain over 1km). I also recommend selecting campgrounds that have outhouses and bear caches. Unless you already know how to dig a proper cathole, or you have a bear cannister, it’s much less stressful if you have access to these facilities. A cooking shelter can also be a great resource if the weather is not good because it will help you to stay dry without needing to set up a tarp. Do as much as possible to make your first trip easy because it can be overwhelming trying to learn too many new skills as once. Next week I’ll be posting some of my recommended hikes for beginners near Vancouver.

PSX_20220818_214003

Packing the Essentials

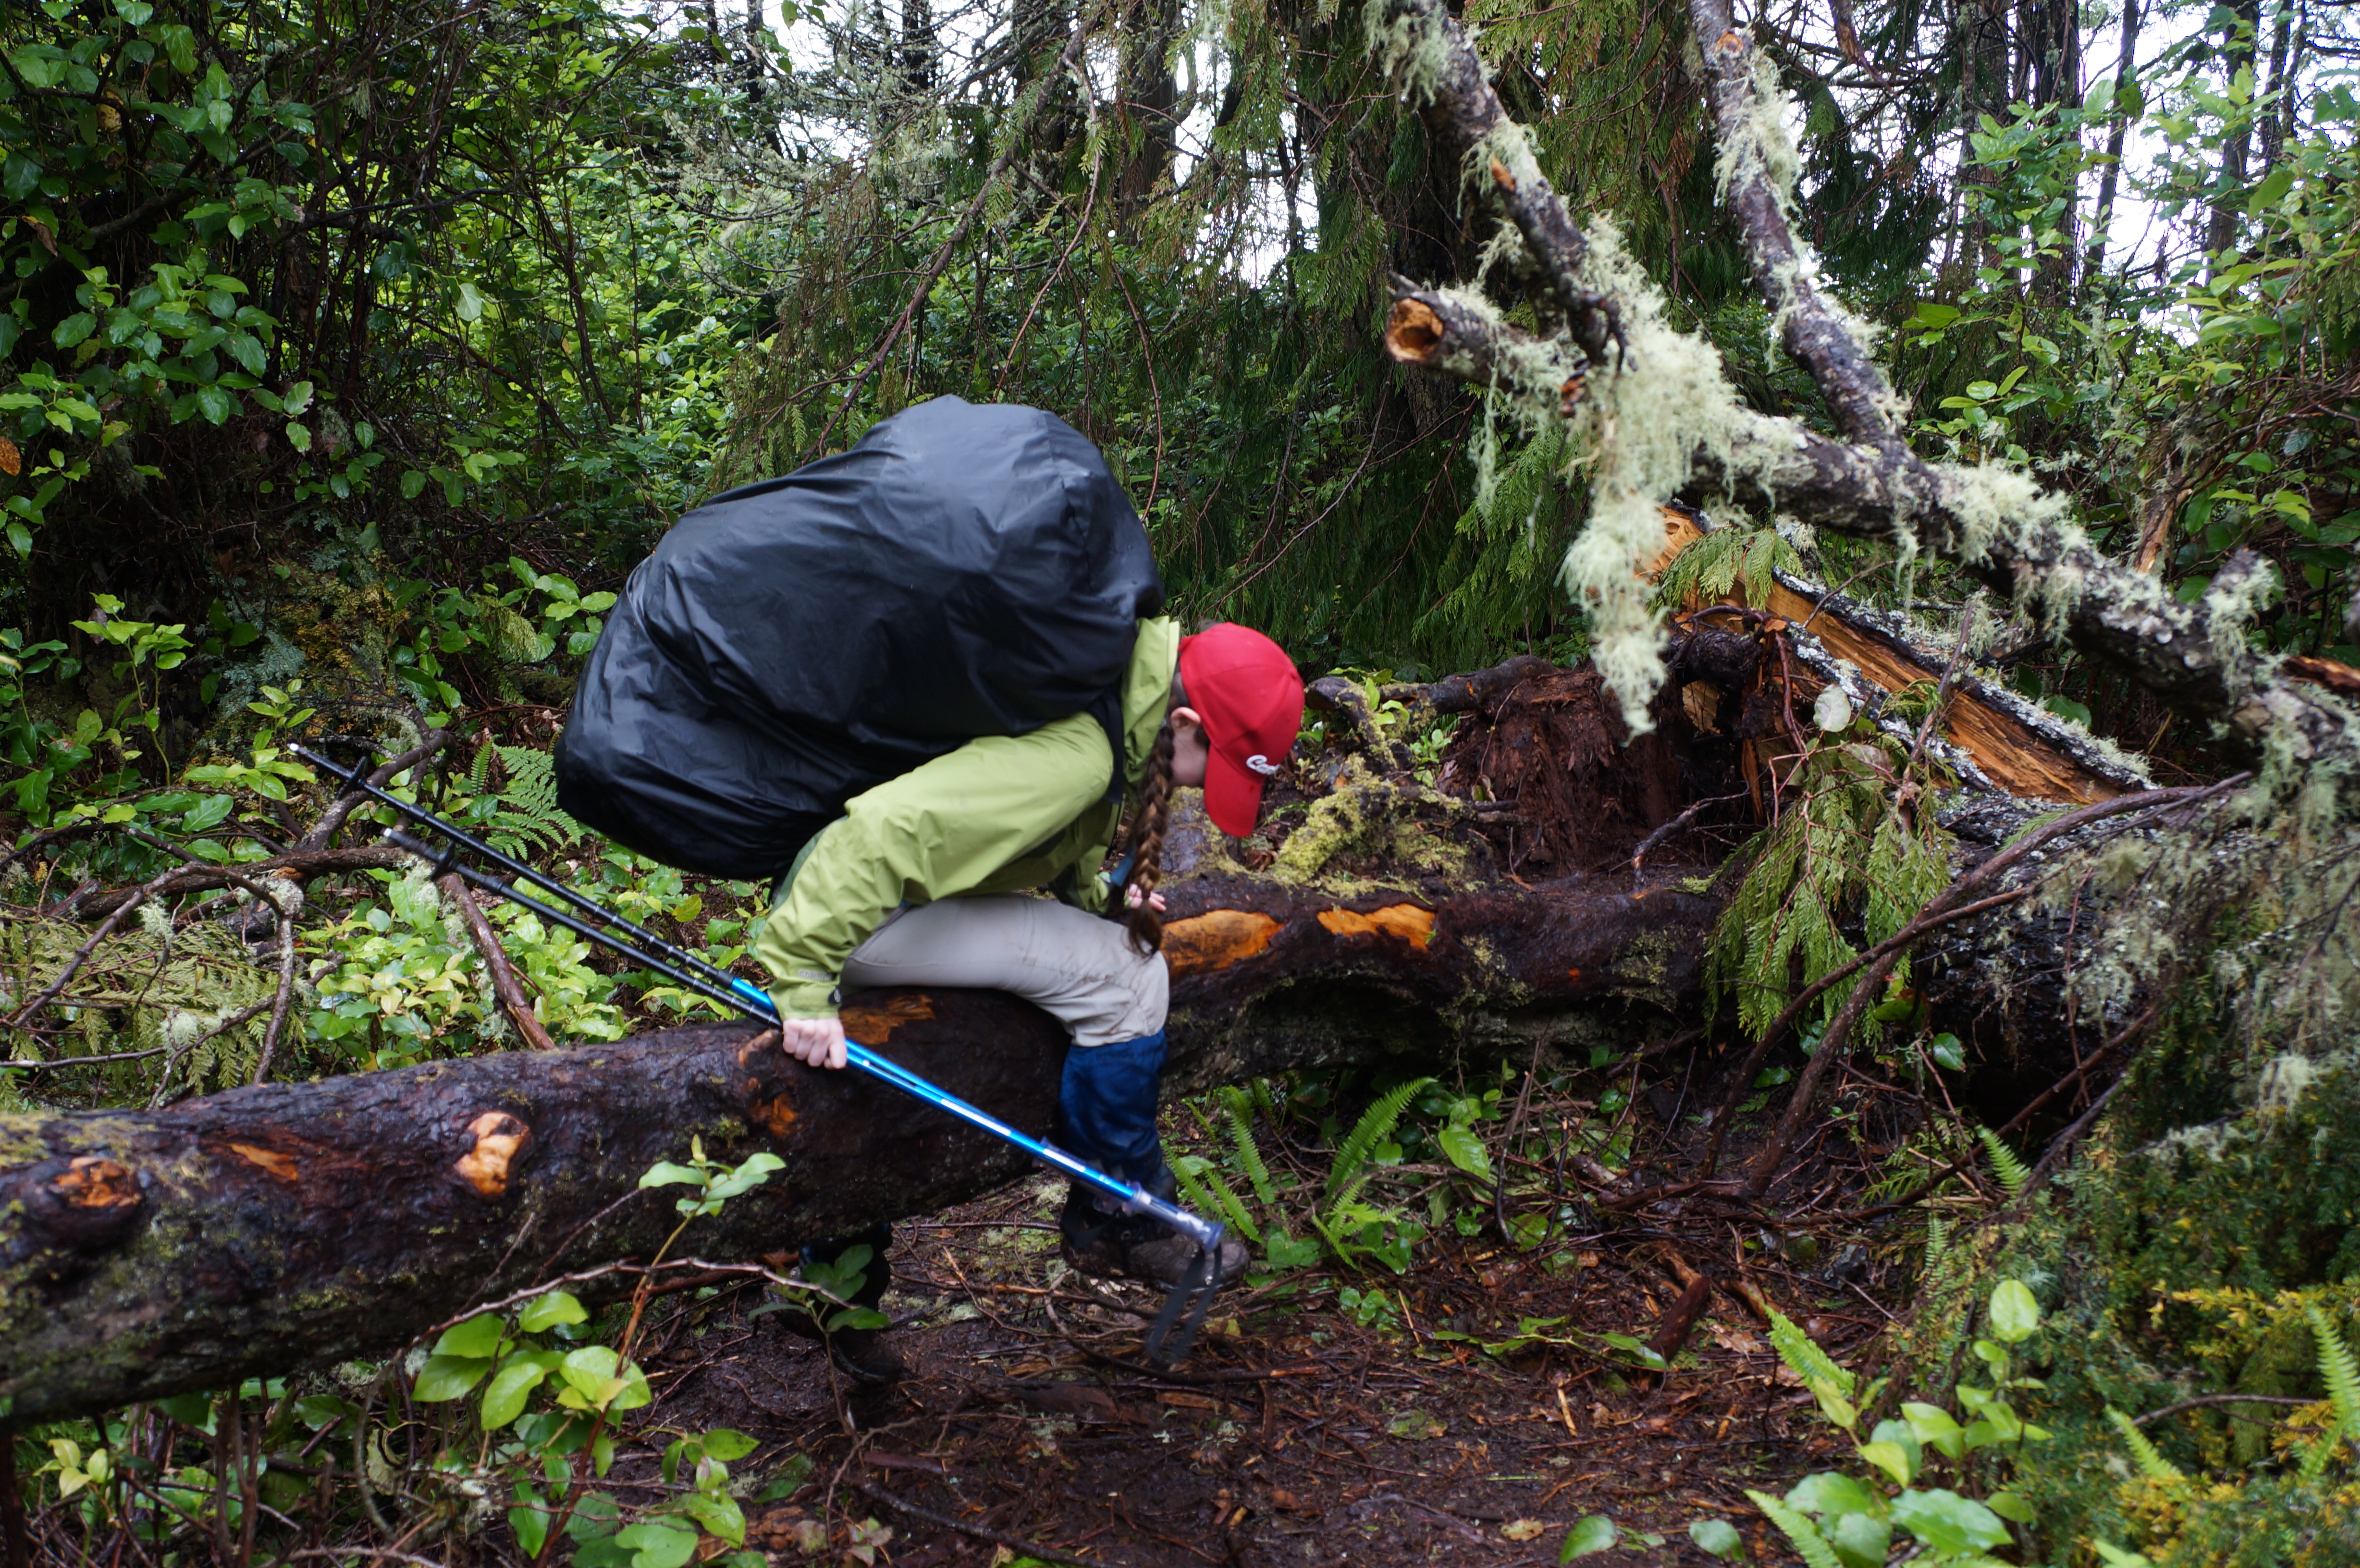
Backpacking is a balancing act between making sure you have everything you need to survive and trying to keep your pack light for physical comfort. It’s likely you will have a pretty heavy pack on your first trip because lightweight gear is expensive and you won’t have a good sense of what you really need versus what you can manage without. First time backpackers often bring way too much clothes, make sure you have warm and waterproof layers, but leave the extras at home. Embrace being smelly and just wear the same clothes for multiple days.

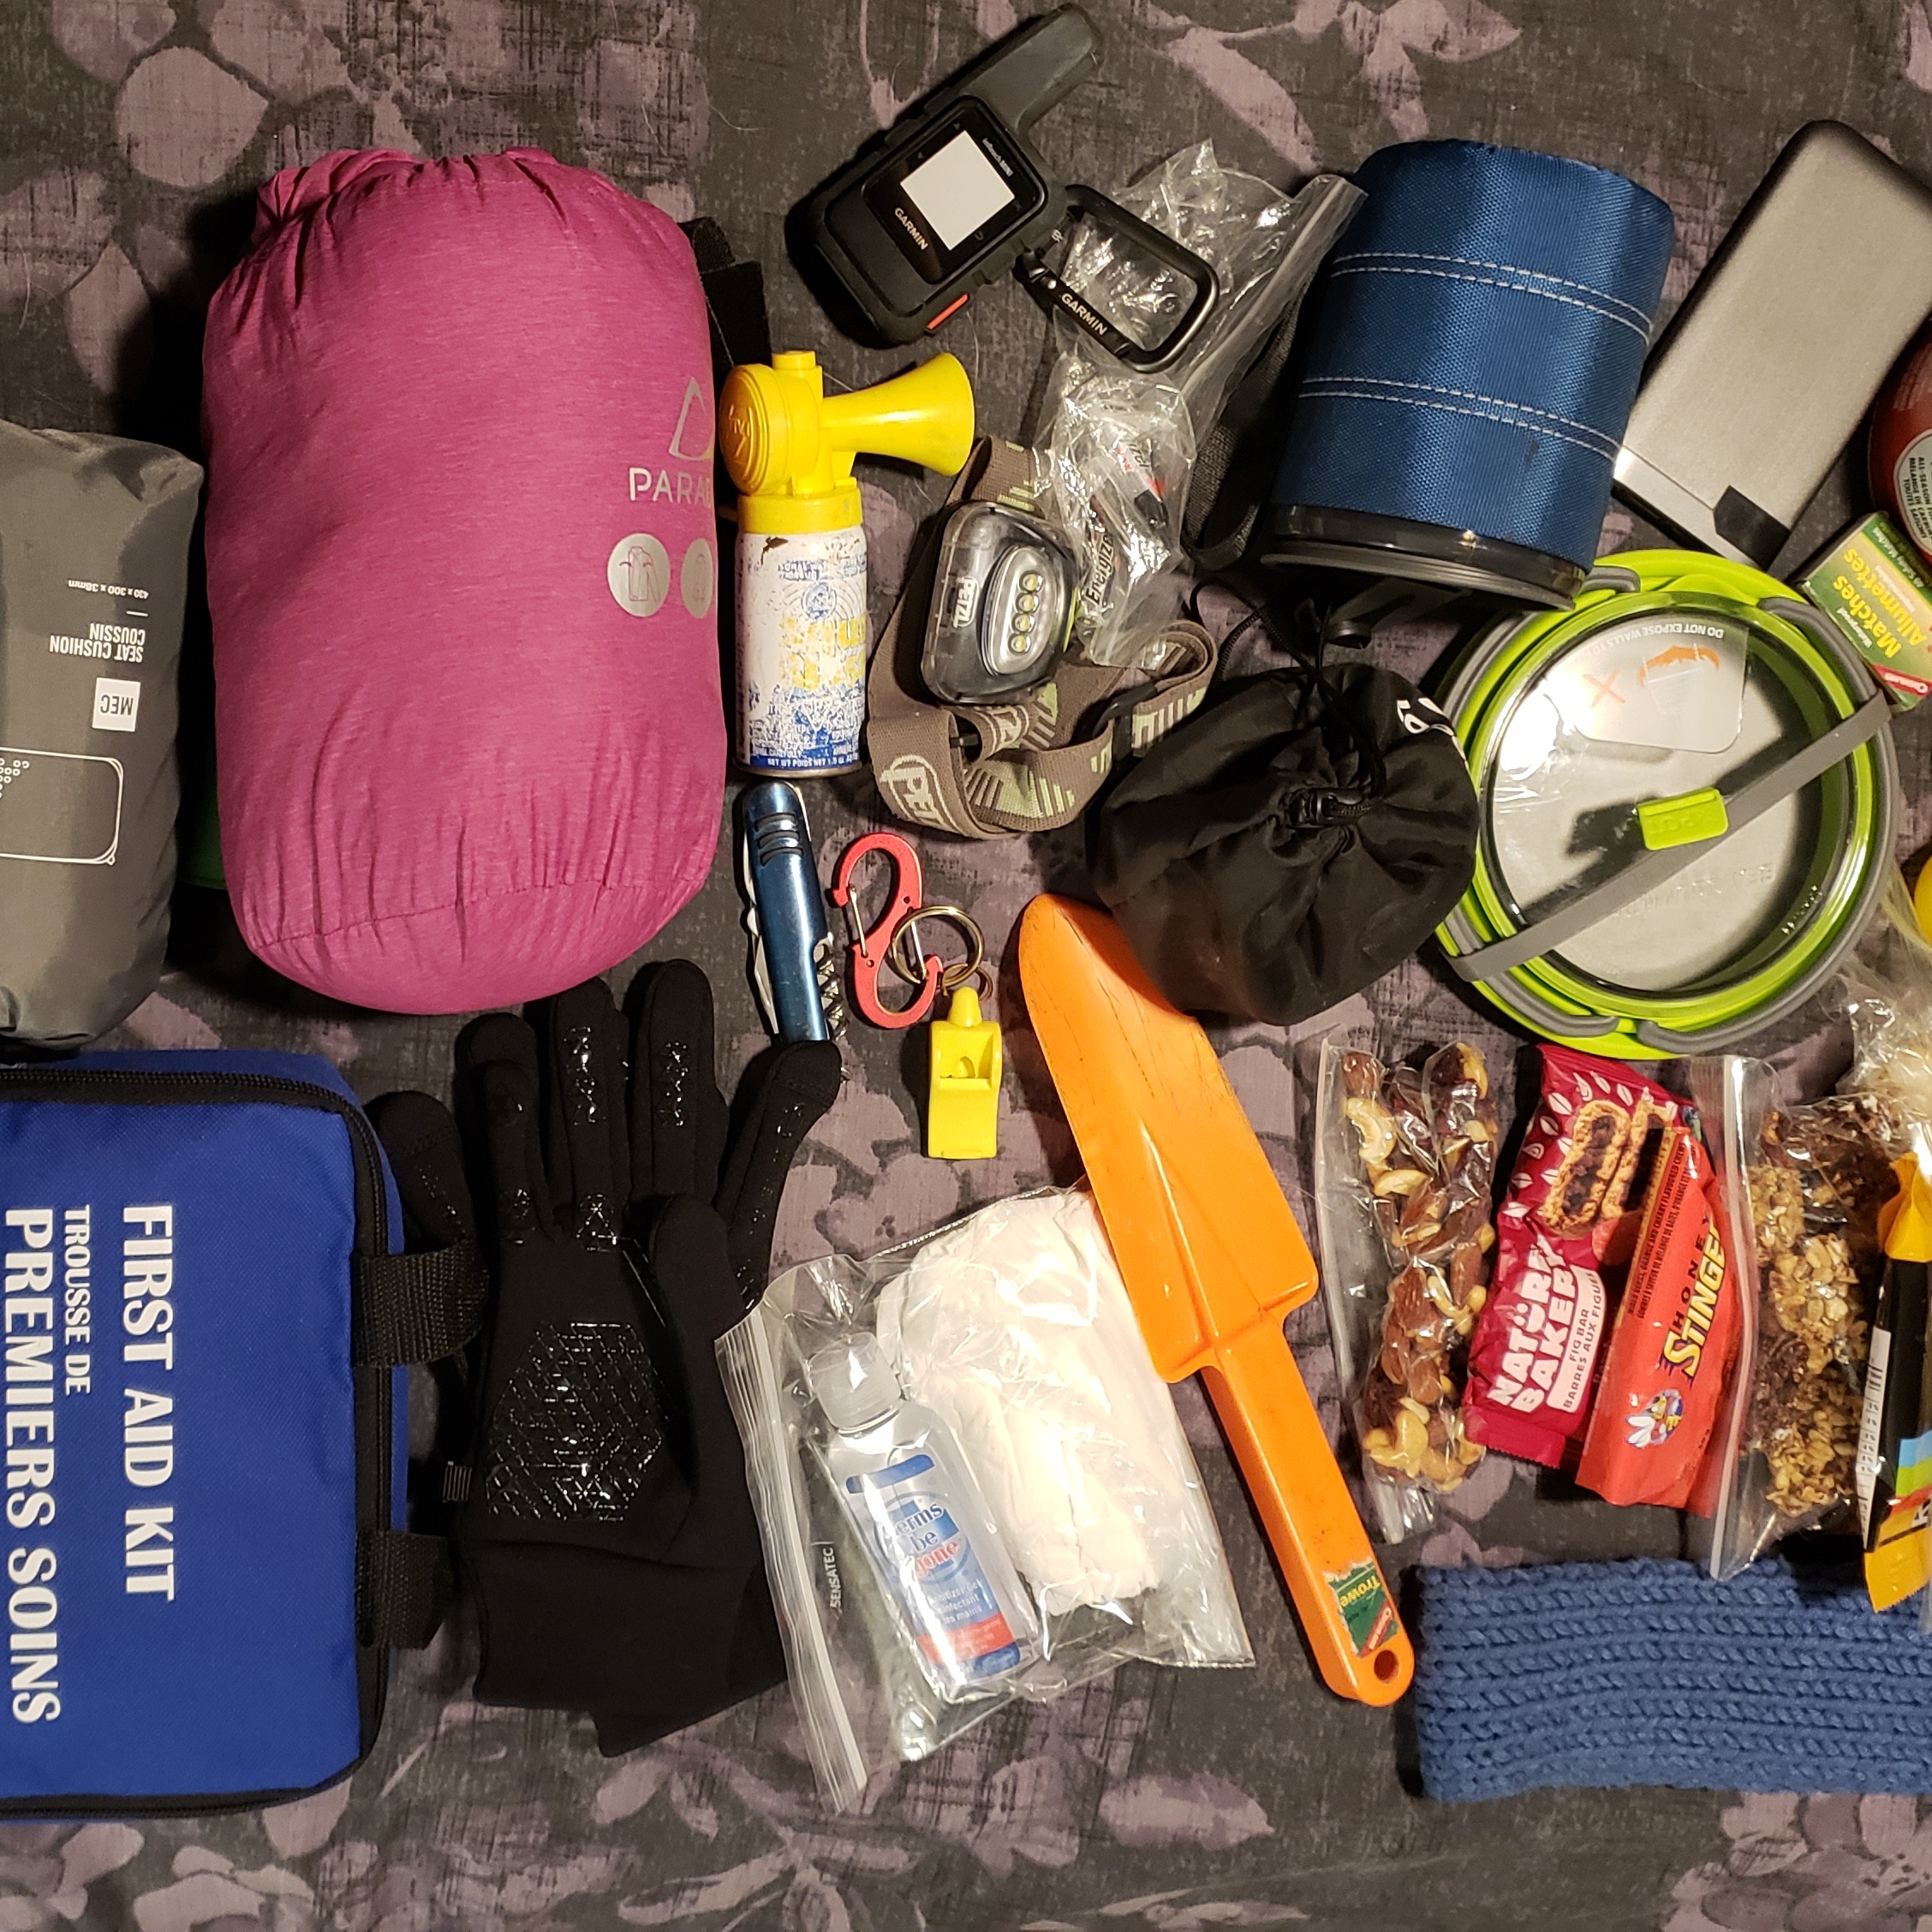
While there’s some things you can do without, you can’t compromise on your 10 essentials. I have a whole other blog post on Personal Safety and the 10 essentials and you can get more information from North Shore Rescue. Make sure you have all the essentials with you.

Safety

One of the most important things to do before heading into the wilderness is to leave a trip plan and have a plan for how you will manage problems on the trail. Your trip plan should include details on where you are going and when you are expected to return, and should be left with someone you trust to call 911 if you do not return. AdventureSmart is a great resource for creating a trip plan. Some other things to consider for safety:

  • Assess your first aid knowledge. Are you carrying a first aid kit and do you know what to do if you become injured?
  • Assess your navigation skills. Are you confident reading maps and GPS? Are you carrying an extra battery for your phone/GPS? Will your GPS app work offline?
  • Assess the ease of communication. Do you know if you will have service on this hike? Do you have a satellite device in case of emergency? If not, are you traveling with other people who can help in an emergency, or on a crowded trail where you can seek help from others?

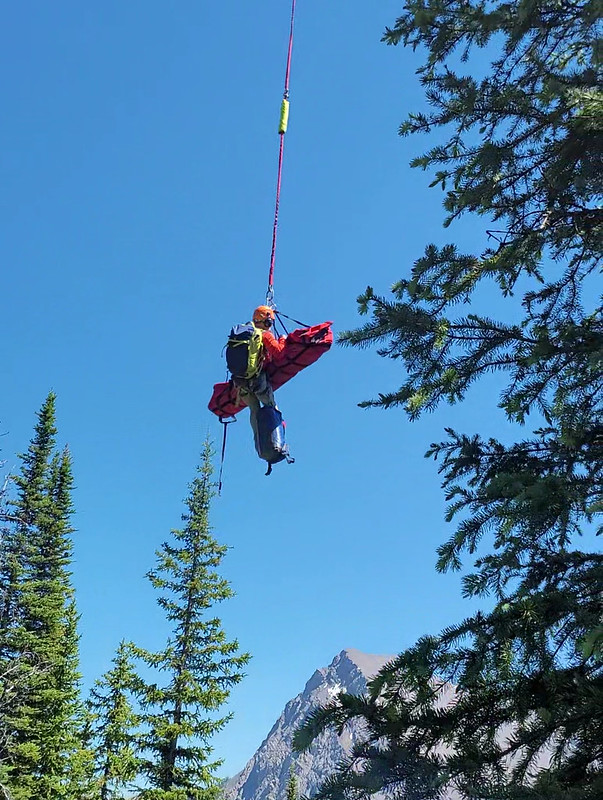
If you become lost or injured, always stop right away and call 911. Don’t call a friend, partner, or parent. 911 calls will go through on any network available and are traceable. If cell service is unreliable, don’t waste what might be your only call on someone who can’t trace you or meaningfully help you. I have written extensively about trip plans, navigation, and communication in my blog post on Personal Safety, as well as I have a blog post dedicated to First Aid and preparation.

DSC09647

Camping Permits and Reservations

Now that we’ve talked about the scary safety preparedness implications, let’s talk about some of the more practical preparation you can do. Camping permits and reservations can be really confusing, but are necessary for most campsites. There is a lot of camping you can do on crown land, but I recommend parks where possible because they have more infrastructure dedicated to visitors. It’s important to respect the natural landscape in which we’re recreating. Everyone makes mistakes starting out, so it’s easier to limit your impact when camping in parks with access to toilets, grey water disposal, bear caches, etc.

If you’re camping in a provincial park, you will need a permit or reservation. Both can be booked online at camping.bcparks.ca. Reservations are only required in popular parks where they are trying to manage overcrowding. A reservation guarantees you a campsite, but not a specific site. For example, Elfin Lakes has 50 tent pads, so they release 50 reservations and you can pick any available tent pad when you arrive. Reservations are available for Garibaldi Park, Joffre Lakes, Manning Park, Berg Lake, and Assiniboine. They release 4 months in advance of your desired date, so if you want to camp on Aug. 15, you must reserve your campsite at 7am on Apr. 15. These typically cost $10 per person, per night, with a $6 reservation fee.

All other parks require only a backcountry permit. Permits are available 2 weeks before your desired date, but there is no limit on the number of permits sold, so you can wait until the evening before your trip to purchase it. There is no guarantee of a site with a backcountry permit, it’s simply first-come-first-serve at the campground when selecting a site. These typically cost $5 per person, per night.

Camping Equipment

Your essentials likely will only account for a portion of what you actually want to bring in your pack. Equipment can be really overwhelming when you first start backpacking because gear is really expensive. On your first trip, borrow as much as you can and accept that you’re not going to have all the best gear and that you will likely have a heavy pack. I have a gear guide dedicated to talking about camping equipment. My piece of advice would be to start with investing in a quality sleeping bag, something both warm and lightweight, and then move on to other gear later. I have also shared a packing list from the 10-day trip I did on the Sunshine Coast Trail.

HOP_6458

Food Planning

Food planning can be very stressful or very easy. If you want it to be easy on your first trip, just purchase backpacking meals at any outdoor store. They are expensive, but they are simple because they only require boiling water.

If you want to save money, I have written a 3-part series on cheap and easy meals to eat in the backcountry (no dehydration required):

If you want to get into the exciting world of dehydrating your own meals, of which I am a huge fan, I’ve written another 3-part series on easy dehydrated meals:

DSC08950

Leave No Trace

If you are recreating in the backcountry, you have a responsibility to leave it the same or better than you found it. This means, take all your garbage, including your toilet paper; stay on trails, even if it means walking through mud; filter your grey water to keep food waste out of the streams and lakes; don’t harm the natural environment scavenging for firewood or take anything natural back with you; respect wildlife and be considerate of other people. Check out Leave No Trace Canada for more information.

Other Considerations

A few other things to be aware of:

  • Practice bear safety. Cook away from your tent; keep everything that smells in a bear cache, including sunscreen and toiletries; pick up all crumbs; and make noise while hiking.
  • Protect your water sources. Filter or treat your drinking water and get water from moving sources, upstream of where people are swimming or washing dishes.
  • Always prepare for the weather. Mountain weather is unpredictable, always be prepared for rain and cold conditions. Turn back if necessary.

Check back next week for a list of recommended overnight hikes for beginners!

HOP_6069

Let’s Talk: Kayaking Safety

Spring is my favourite time to go kayaking! It’s too cold in the winter and the alpine backpacking season is so short in the summer, that Spring has become my core kayaking season. I’ve been on several kayaking trips over the years and bought my own kayak last year, but I am by no means a kayaking expert. If you’ve read my avalanche safety post, this post will be a lot like that in that it’s mostly about me discussing some of the risks in hopes of convincing you to take a paddling safety course.

IMG-20210405-WA0014

I’d kayaked and canoed a handle of times as a kid and a teenager, mostly just renting a kayak for a couple of hours or going on a guided tour. We decided to take up kayak camping in 2018, but my first order of business was to take a basic kayaking safety course first. I didn’t know anything about self rescue and figured this was a basic skill before going paddling for anywhere longer than a few hours.

I was definitely right and took the Paddle Canada sea kayaking basics course. Most of what I was hoping to gain from this course was how to get back in my boat if I fell out, which I did learn, but I would say the most helpful part of the course was actually the focus on paddling skills. Even 4 years later, I’m still not a great paddler, so this is something I’m always focusing on. If your arms hurt after a day of paddling, then you’re not doing it right. If you’re in the lower mainland, I did my course with West Beach Paddle and highly recommend!

Kayaking is not inherently difficult, but like a lot of adventure activities, it does have a certain amount of risk associated with it. If you’re not prepared for the conditions and you capsize your boat, suddenly it has a lot more risk. Knowing how to do partner and self rescue is a skill that actually isn’t that challenging, but something that I think it’s really important to know how to do, and not necessarily intuitive without training. If you don’t know how to get back in your boat, then you should really consider what kind of conditions you go out in. If it’s summer and you’re just renting in a lake for an hour, it’s probably fine, but if you’re going into any kind of remote conditions for an extended period of time, definitely take a course.

In addition, if you’re renting, it’s likely the rental company will provide you with all the safety equipment you need, but if they don’t, make sure first and foremost that you have a PDF. Most kayakers I see are wearing lifejackets, but I see a lot of SUPs out and about in Indian Arm without any lifejacket on board and it boggles my mind. It’s the single most important piece of equipment, at least make sure you have it on board, and better yet, wear it. The other pieces of equipment that are required on a kayak are a whistle, hand pump, towline, and a paddle. I also recommend having a paddle float and a spare paddle. If you don’t know what a paddle float is, take the course.

20210522_124226

My experience has been that reading the conditions is also very important. The course I did focused on managing wind and weather, and a little bit about navigation, in your decision making. The mountains and topography in the lower mainland can create some really interesting wind and wave patterns and the best time for paddling is early in the morning or later in the evening. If the wind gets over 20km/h and you’re a beginner, it’s best to plan not to go at all. Seth and I once spent all morning loading the kayaks and driving to our destination just decide not to go at all because the wind had come up. On multi-day trips (and on some day trips), you also want to be prepared with extra provisions in case the conditions change and you can’t get back when you’d intended. It’s better to wait out strong winds and currents, especially if you’re not a strong paddler.

DSC07850

Since taking the basic sea kayaking course, we recently returned to take Paddle Canada’s Level 1 course, which is focused on day tripping. So we went over additional navigating skills, how to read current and tide charts, and worked on improving all our paddling strokes. If you’re a casual paddler, I think just doing the basics course is likely fine, as the main skill you want is the ability to get back in your boat. However, when we did the Basics course, it didn’t cover self-rescue, only partner rescue. Our instructor was great and taught us self-rescue anyways, but it’s an important consideration if you’re going solo or in a double, so check if your course teaches it.

20210522_135055_03

Before taking the course, I’d only ever been out in double kayaks. They’re bigger, but I viewed it as more fun and you do have more power in the boat with two people paddling. Though they have gained the nickname of “divorce boats” because of the tendency to argue with your partner when you’re both in a boat together. We learned so many skills at the course and decided it was safer to have 2 boats as opposed to one (for the purpose of rescue, but also so that we could each focus on our own skills and interests when out on the water). Since then, we’ve always kayaked together in singles, except when we went on a 3-day trip in New Zealand where the rental company refused to rent singles. This was due to how windy it can get and their doubles are a lot more stable on the water. So it does depend on location, but generally in BC it’s recommended to use 2 singles over a double.

DSC04082

So in conclusion, as always when it comes to safety, my recommendation is to make it a priority and take a course if you frequently kayak, are going on an overnight trip, or going anywhere remote or with challenging conditions. It is a bit pricey, which is why I mostly recommend the Basics Course, which is only 1 day and will cover all the most important aspects of kayaking. But if you’re interested, the Level 1 course is also great and runs for 2 days. We’d like to do Level 2 some day, but it’s a lengthy course that involves a multi day trip, so for right now, we’ll wait a few more years and continue to practice our skills on our own!

DSC04098

Let’s Talk: First Aid

First aid is one of those things I always knew was important, but it took me a while to really learn just how useful it is. Being able to swim was something that was always really important to my Mom, so she put me in swimming lessons as a kid and later signed me up for lifeguarding courses when I turned 14. I did junior lifeguarding until I was 16, when I completed my National Lifeguard course and was certified for 4 years. First aid is a major component of this course and it is something that has served me well ever since. I’ve done several variations of first aid courses for work and guiding ever since and I think it is so worthwhile to invest time in learning basic first aid. Even if you don’t have a formal certification, being able to recognize symptoms and treat simple emergencies is a huge asset in the outdoors.

I was employed for 2 summers as a lifeguard at age 18, other than that I’ve never had any formal capacity as a first aider. Yet, since then I’ve treated a seizure, heat exhaustion, heat stroke, a broken arm, injured knees, and any number of cuts, scrapes, and blisters. I never leave my first aid kit at home, and I’ve been surprised by how often I’ve needed it. You can be resourceful in the wilderness, but I’ve never regretted carrying along a few extra first aid items (and you will definitely regret if you need them and don’t have it). I think the most important thing is knowing what to bring and how to recognize symptoms.

First Aid Training

Let’s start with training. The easiest way to learn is to do a formal course. There are 3 basic first aid courses: Emergency, Standard, and Wilderness First Aid. Having done them all at least once, I think Standard First Aid is the best bang for your buck. I don’t like Emergency First Aid, it’s only a 1 day course and it covers very little outside of CPR and AED. While these are good skills to have, I don’t think they are the most practical. I’m much less likely to need CPR and much more likely to need to bandage a broken wrist, so I find Standard First Aid more practical (plus you learn CPR/AED in all 3 courses).

Standard First Aid is generally a 2 day course and covers diagnosing and treating all different kinds of ailments, which is why I think it’s more useful. Treating heat stroke was the most life threatening thing I’ve ever done and I was able to diagnose it incredibly quickly, to the benefit of the individual (read about that experience here). Even for simple things, diagnosis can make a big difference. I was once 3 days into the wilderness and had a frightened hiker approach me with heartburn, I gave him pepto-bismal and it resolved in no time (somehow he’d never heard of heartburn – he described his symptoms and Emily immediately diagnosed it as heartburn since she gets it a lot, while I sang the pepto-bismal rhyme and he looked at us like we had 3 heads). So in my opinion, Standard First Aid is more practical than Emergency.

Wilderness First Aid sounds like it would be the most applicable for outdoor adventure (and it is), but it’s also the most expensive and has the biggest time commitment (2 long days or 3 shorter days). In my opinion, Wilderness First Aid is glorified Standard First Aid. It covers the same material, but from the perspective of someone in the wilderness with limited resources. So you practice splinting with sticks, homemade stretchers, and hypothermia wraps, but it’s not substantially different. Though once you have Wilderness First Aid, it’s half the work to re-certify it every 3 years (just a day), so I try and keep mine up to date. So if financial is a concern, I’d recommend Standard First Aid as the best course.

An idea of what “technical” means

Understanding Your Abilities

The second part of first aid is knowing what to bring with you and keeping a cool head in an emergency. If you panic, your patient will panic, so my approach has always been to be reassuring while asking lots of questions. Honestly, the presence of a first aid kit and care from someone who seems like they might be able to help is often reassurance enough for the patient. The other important thing is knowing when to call for help and doing so immediately. For example, you can probably handle small cuts and scrapes yourself, as well as mild dehydration. When my friend broke her wrist on a hike, I was able to wrap it for her to make her comfortable enough to walk back to the car on her own.

Dehydration is one of the more dangerous problems you can encounter, so being able to recognize it is important so that you can self treat. When I did the North Coast Trail, on the third day, me and Emily were both feeling really low and when Emily started to complain of an upset stomach, I immediately made the whole group stop hiking and we took a break while we both chugged a litre of electrolytes. While Emily’s energy remained low, our quick action prevented it from getting worse and we were able to finish the day in good spirits, with no injuries. In contrast, when my friend got heat stroke on the trail to Assiniboine, I didn’t know she was feeling bad until it was really too late. Her muscles started cramping, she couldn’t stand, and she even started losing feeling in her legs – all of these symptoms occurred within 15 minutes of her stopping to say she felt sick. In this case, I immediately made an SOS to emergency services on my inreach and spent 3 hours rehydrating her while waiting for help. Don’t try and be a hero; sometimes professionals and a quick extraction are needed and you are much wiser to make the call in those scenarios. Read my post on personal safety for more about communication devices and preparedness.

VideoCapture_20210707-104610

What to Bring

And the last thing I want to highlight is the more practical side of what to bring with you. Lots of places sell small first aid kits and most people opt for a tiny one to throw in their backpack. I wouldn’t say my first aid kit is large, but it is more sizable than what most people bring. Sometimes I lament the extra weight, but I always bring it. REI has a pretty comprehensive list of what to bring, which you can view here. Personally, I like to bring band-aids in varying sizes, a blister kit, sutures, antibacterial wipes, dressings, compression gauze, a tensile bandage, surgical scissors, triangle bandage, tweezers, safety pins, medical tape, polysporin, and latex gloves. I also bring electrolytes, advil or tylenol, pepto-bismal, and an emergency blanket and bivvy sack. Depending where I’m going, sometimes I throw in a small bottle of aloe and in the winter I will add hand warmers. One thing I don’t have is a sam splint, which I’ve been considering adding because it’s on a lot of first aid kit lists, but I’m not convinced I couldn’t just use a stick or a hiking pole in an emergency.

Your first aid kit is only meant to complement your 10 essentials, so make sure you also have extra clothes, food and water, as these can also help in a first aid emergency. If someone in your party is injured and it takes you longer to hike back – you don’t want to further endanger yourselves by not having other essentials, like a headlamp. I always remind myself to pack for the hike that goes wrong rather than the hike that goes right. I bring my insulated seat cushion on most hikes as well, because it can make a big difference to your comfort if you’re stuck sitting on the cold ground for hours waiting for help.

To conclude, my biggest recommendation is to get a first aid kit and learn what to do with it. Learning how to diagnose symptoms and how to treat them can make someone feel a lot more comfortable in an emergency, and may even save your life or the life of a friend. Stay safe out there!

DSC09384