The Ultimate Guide to Snowshoeing near Vancouver

Hiking in Vancouver is definitely becoming less and less of a fair-weather activity. People want to be outside all year round, not just in the summer, and snowshoeing is a great way to do that! While going into the backcountry has inherent risks in every season, they are definitely increased in the winter. It’s colder outside, you have less daylight, trails can be harder to follow, and depending where you’re going, there’s the added risk of an avalanche. I’ve written an entire post on avalanche safety and my biggest recommendation is that, if you don’t have avalanche safety training, don’t go into avalanche terrain. 

Even if you plan to stick to easy trails, without taking a course, it can be hard to know if you’re putting yourself in avalanche terrain or not, which is why I recommend for everyone to take an AST1 course. Did you know that popular winter trails like Pump Peak, Elfin Lakes, Hollyburn Mountain, St. Mark’s Summit, and Joffre Lakes all go through challenging avalanche terrain at some part of the trail? Just because a trail is popular, it doesn’t mean there is no risk.

The safest option is to take a course, but if that’s not in your budget right now, I’ve compiled a list of trails that are in simple terrain, so the risk is greatly reduced, though never removed! Always check the avalanche forecast and only go out if the avalanche rating is low or moderate.

Lower Mainland
DSC08284

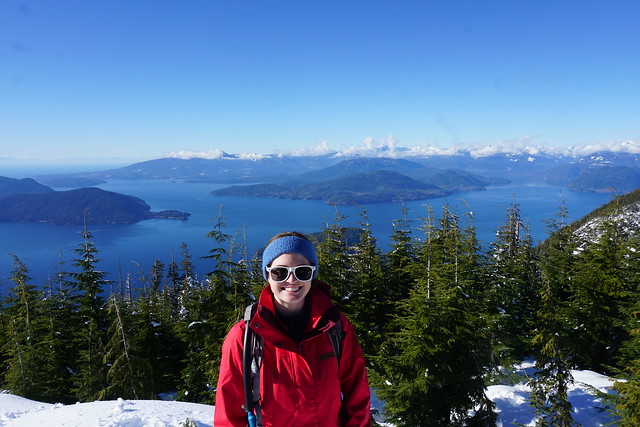
Bowen Island Lookout – Located in Cypress Provincial Park, this is a great option for beginners. The trail is 4km round trip, with 125m of elevation gain and follows a staked trail. It leaves from the resort, you just need to pick up a free backcountry pass from the BC Parks Black Mountain Lodge (not available online, only self-registration on site). The trail hikes through the woods to a beautiful viewpoint overlooking Bowen Island.
DSC03348

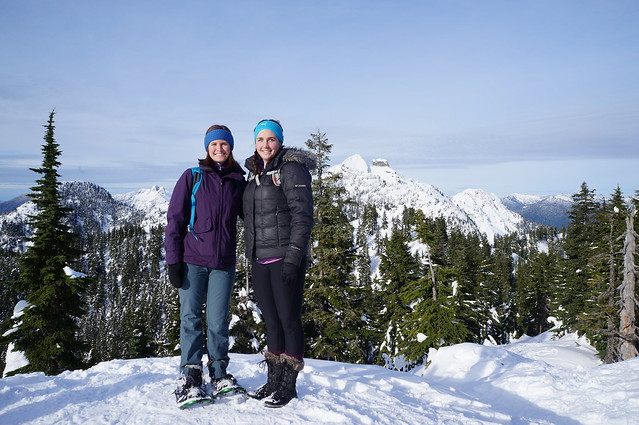
Dam Mountain and Thunderbird Ridge – Located on Grouse Mountain, take the gondola to the top and follow a 5km there and back trail up to the top of Dam Mountain. With over 300m of elevation gain, this is a more challenging trail, but it’s easy to add a walk along Thunderbird Ridge for another 1.5km once you make it to the top of Dam Mountain. Both trails boast incredible views of the city.
DSC03247

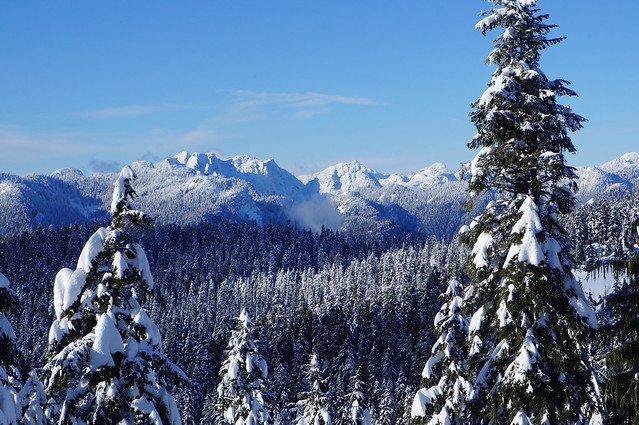
Dog Mountain and Dinkey Peak – Located in Mount Seymour Provincial Park, this trail is popular in all seasons. It’s a 5km there and back trail, with 150m of elevation gain to the Dog Mountain Lookout. The trail is in the forest, except for the city viewpoint at the end. Add another 1km if you want to add Dinkey Peak, which has fantastic views of the backcountry. In the winter, you will need a free day pass to visit the park, which can be obtained from BC Parks 2 days in advance of your visit. The walk from the parking lot to the trailhead adds an extra 1km each way.

PSX_20220118_204616

Brockton Point – Located in Mount Seymour Provincial Park, this is a more challenging hike than Dog Mountain. The overall length is 5km there and back, but there is 250m of elevation gain, making it a steeper hike. The views from the top of Brockton Peak are incredible as you’ll be able to see both the city and the backcountry. The same day pass rules apply as for Dog Mountain.

The view of Cypress Mountain ski resort from Black Mountain in the winter along the snowshoe trail near Vancouver, BC.

Black Mountain – Located in Cypress Provincial Park, this is a 5km there and back hike that covers 300m of elevation gain, making it one of the steeper hikes on this list. Trail access is from the resort and the trail hikes through the forest along the edge of a ski run. The same rules apply as for Bowen Island Lookout, you must obtain a free backcountry pass from Black Mountain Lodge.

North of Vancouver

Brandywine Falls or Alexander Falls – These are beginner trails that often don’t need snowshoes (just microspikes, or sometimes just boots). Brandywine Falls is located off the Sea to Sky Highway on the way to Whistler. It’s a 1km there and back trail to see the waterfall, but if the gate to the parking lot is closed or there are no parking signs along the highway, you won’t be able to visit. Alexander Falls is a good alternative, which is located in the Callaghan Valley, off Callaghan Valley Road. The trail is 500m there and back.
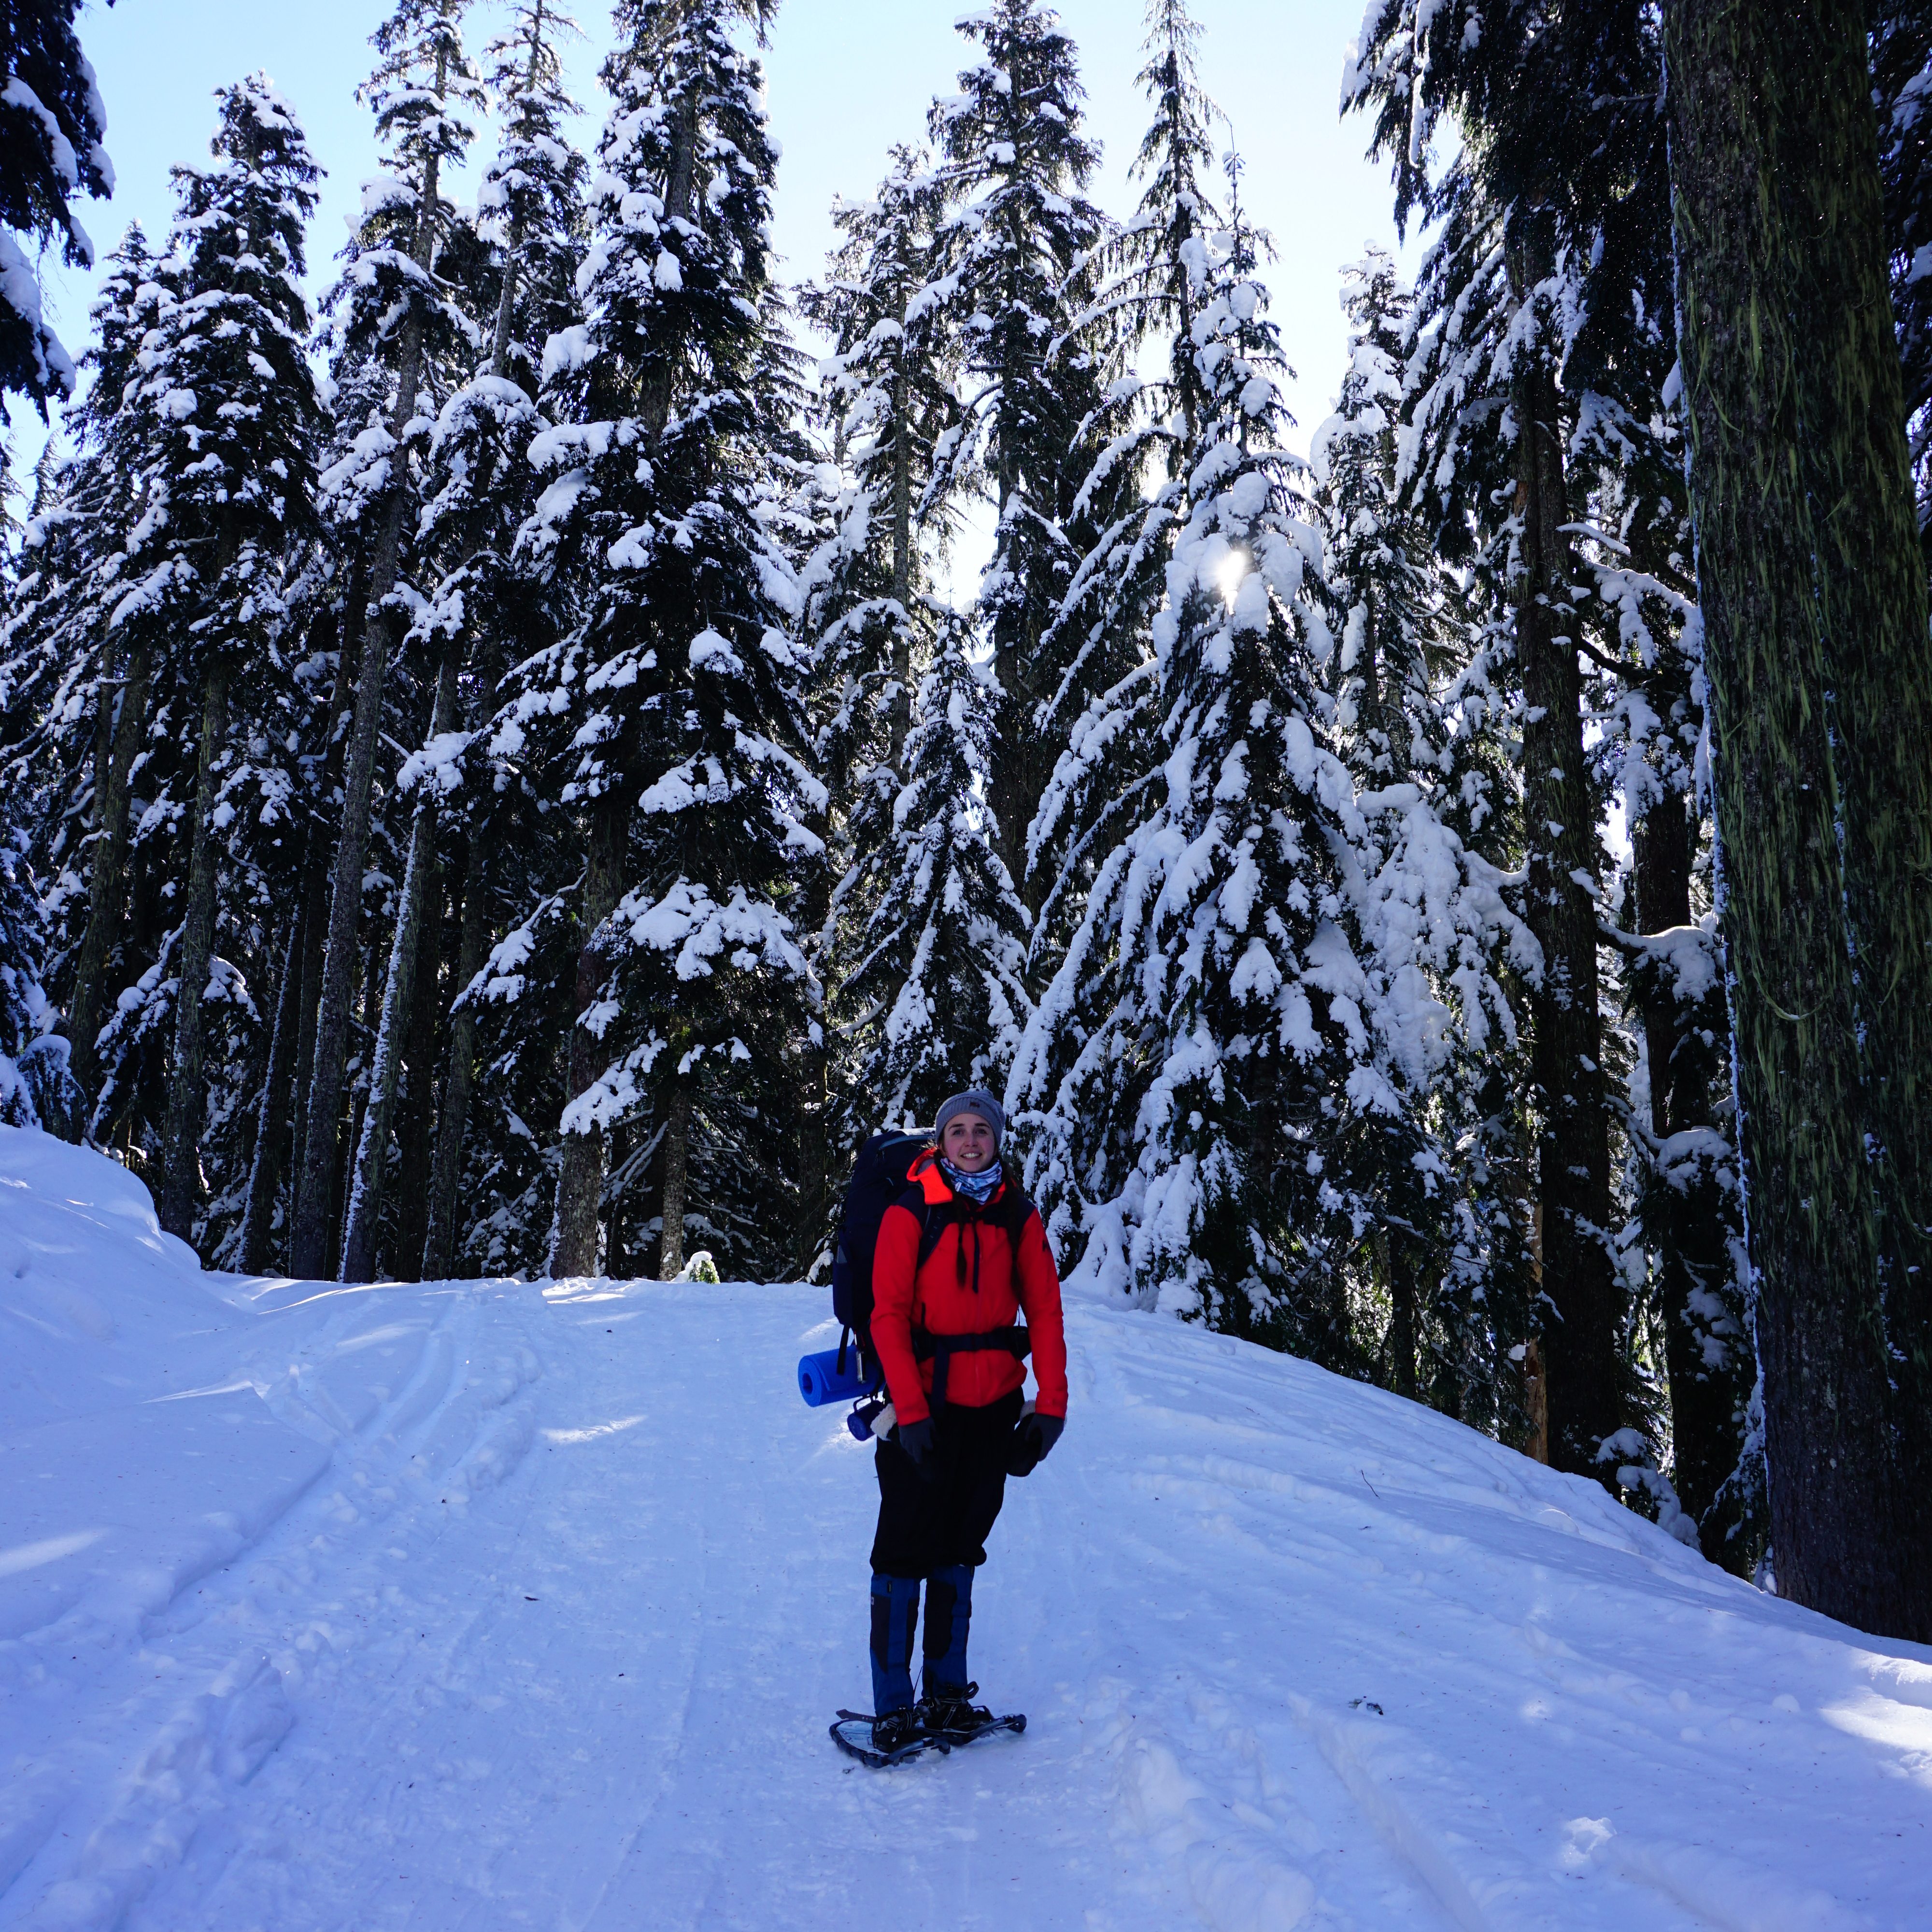
A female snowshoer backpacks on the snowy trail to Elfin Lakes with the snow covered forest in the background in Garibaldi Provincial Park in BC.

Red Heather – Located in Garibaldi Provincial Park, this is one of the more challenging hikes to access. Red Heather has the same trailhead as Elfin Lakes and is located at the end of Garibaldi Park Road outside of Squamish. In the winter, you must have chains to travel the last 2km along the road, so be prepared to hike an additional 2km each way without them. The trail follows an old forestry road for 5km to the Red Heather Hut, with 400m of elevation gain. It’s a steady uphill, but it’s not challenging. This is one of the longer trails on the list, a total of 10km from the main parking lot.

20231001_171501

Edwards Hut – Located in Tetrahedron Provincial Park on the Sunshine Coast, this is the hardest trail to access. Winter tires are a must along the forestry roads and chains may also be required pending the conditions. It may be necessary to park at the lower lot, which adds 1km to the trail in each direction. It’s 5km to the Edwards Hut, but under 100m of elevation gain. You can customize this trip, ending at Edwards Lake, or to do a loop trail around Batchelor Cabin. The total trail length is 10km from the upper lot. I have only done this one in the Fall.

Coquihalla Summit Rec Area
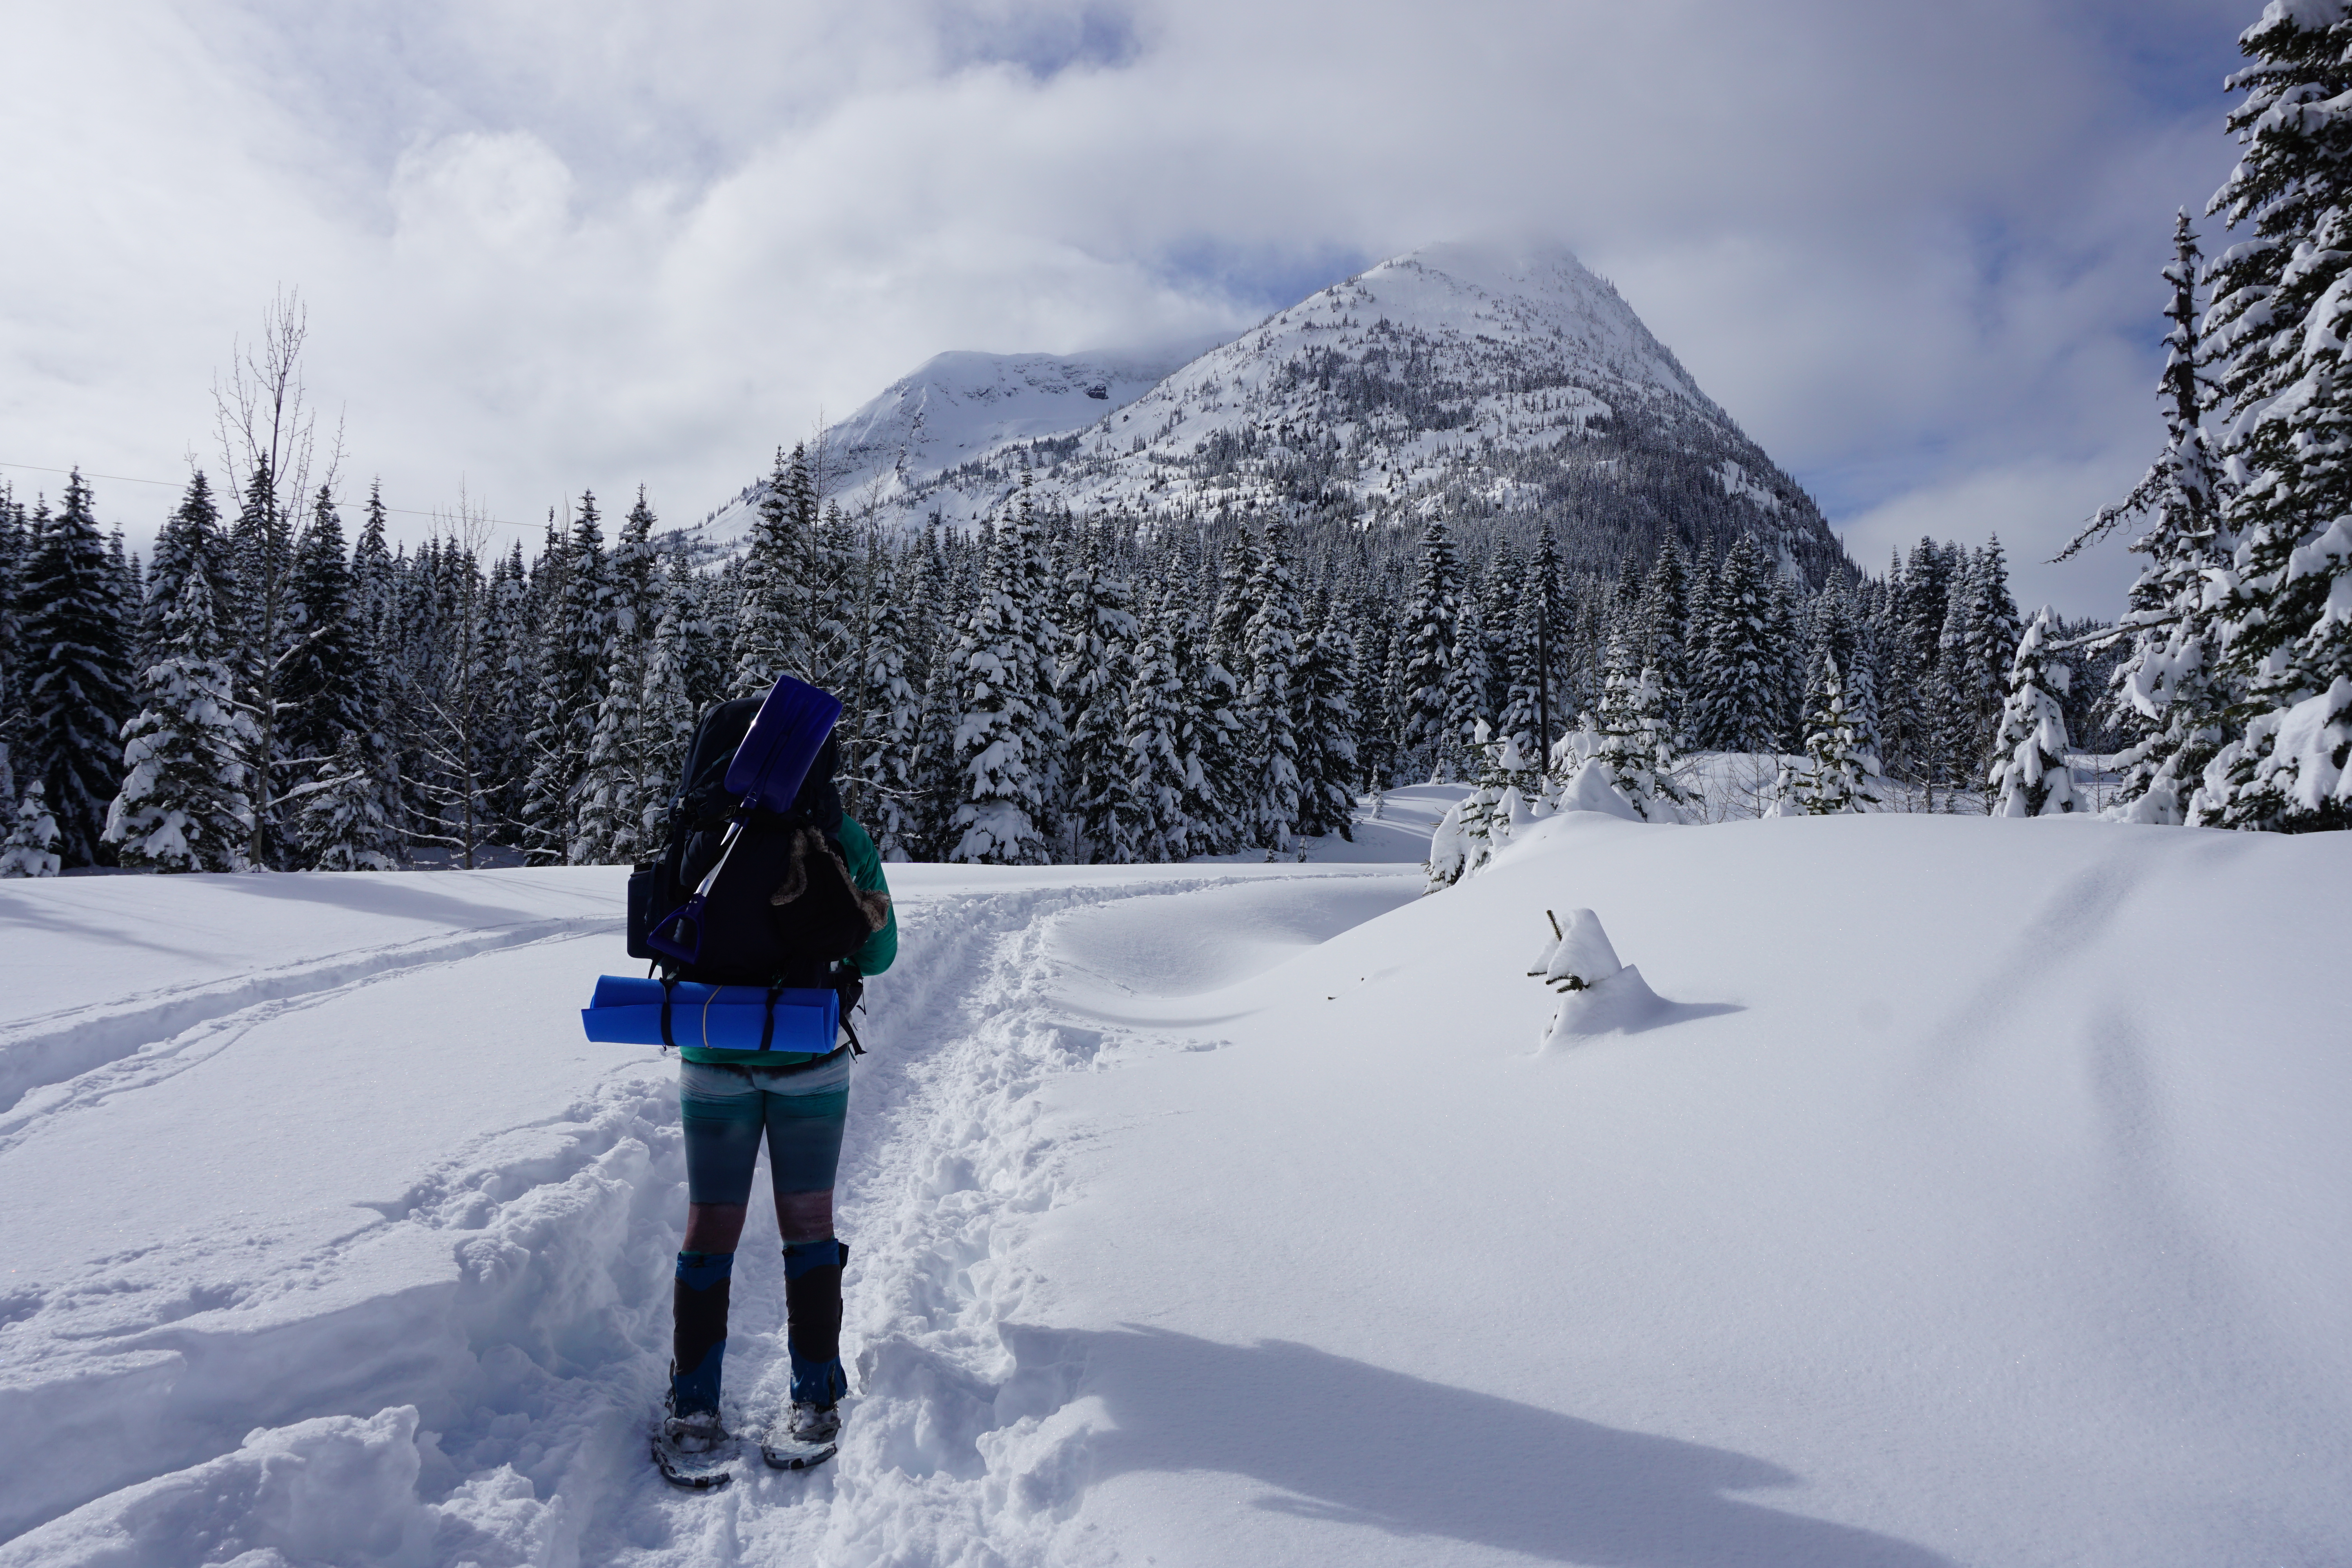
Falls Lake – This is a great beginner trail located just off the highway at the turnoff for Falls Lake Road. Falls Lake Road is not plowed in the winter, so you can park in the pull out and it’s a flat 4km there and back trail along the road to Falls Lake. 
PSX_20210314_215927

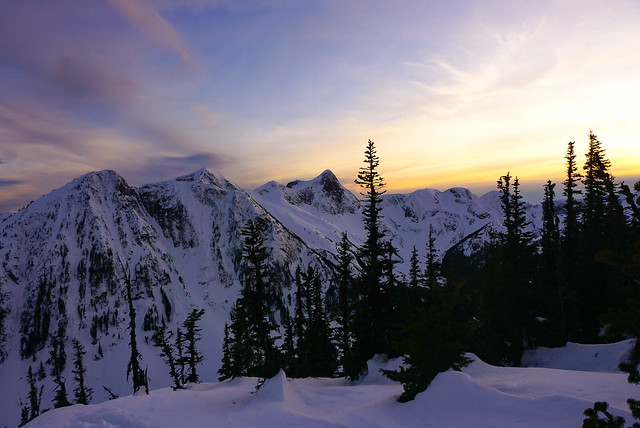
Zoa Subpeak – Located at the same turnoff to Falls Lake Road, this is an 8km there and back trail that covers 550m of elevation gain. The first 1 km of walking along the road is flat, but be prepared for a steep climb up Pipeline Road, followed by another steep hike through the forest. This trail isn’t staked, so be on the lookout for summer markers and be prepared with GPS. Don’t hike beyond the subpeak as the trail to the true peak passes through avalanche terrain. The best view is from the subpeak!
20230204_135419

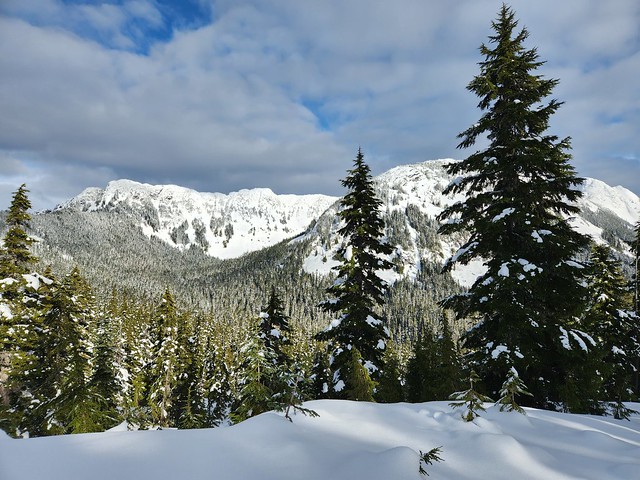
Ottomite Peak – Located at the Zopkios Rest Stop, this is an 8km there and back trail with 300m of elevation gain. This is an easier and less busy alternative to Zoa Peak. However, this trail is not staked, so make sure you are prepared with GPS navigation. Do not continue on the trail to Iago Peak as this will take you into challenging avalanche terrain.

E.C. Manning Park

DSC08519

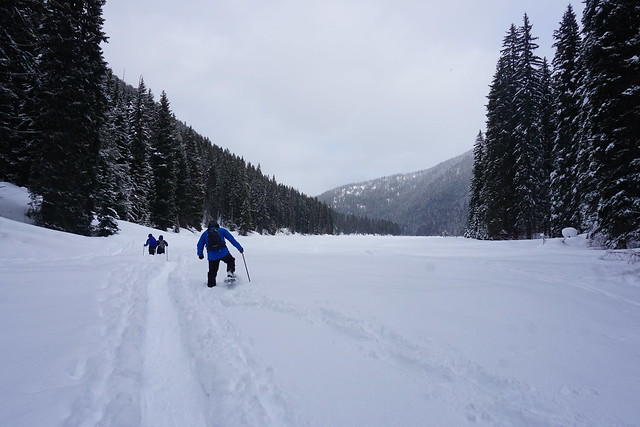
Shadow Lake – Located at the Strawberry Flats parking lot, this is a 4km there and back trail across flat terrain that is popular among beginners. It’s shown on the park snowshoe map and I’m pretty sure it’s a staked trail. Hike through the forest to the edge of Shadow Lake and take advantage of the strawberry flats warming hut on the way back. Some people continue on to the 3 Falls Trail, but I don’t recommend this as it passes through complex avalanche terrain.
DSC05423

Lightning Lakes – Located at the Lightning Lakes parking lot, follow the trail around the first lake and/or the second lake. If the conditions are appropriate, you can even snowshoe across the lake itself, but make sure to return to the trail before the second lake as the river between the two lakes doesn’t normally freeze. You can customize the trail length to do one or both lakes and the trail is completely flat. 
DSC08551

Similkameen River – Located at the Windy Joe parking lot, this is a there and back trail that hikes through the forest along the river. You can customize the length, hiking as far as you want and then turning around. There is a bridge 2.5km in that you can cross, but the trail on the other side of the river is cross-country ski only in the winter, so just return the way you came without crossing the bridge.

IMG-20220123-WA0032

Poland Lake – Located at the base of the ski resort, this is a more strenuous trail and not recommended for beginners. Park at the base of the resort and follow signs for uphill travel along the long green ski run for 2km. Once you reach the top, you’ll see a sign for backcountry access and you can follow the trail for another 4km to Poland Lake. If staying overnight, you have to park at Strawberry Flats and hike from there. As a day trip, it’s 12km with over 500m of elevation gain.

Hiking Skookumchuck Narrows

Skookumchuck Narrows is a short hike on the north side of the lower Sunshine Coast. I’ve been aware of its existence for years, but because it’s a short hike and quite far away, I’ve never had a good reason to visit. In 2023, I attended a wedding in Pender Harbour, which gave me a great excuse to finally make a trip out to the Narrows. 

Skookumchuck Narrows is a natural phenomenon on the Sunshine Coast that requires a little bit of explanation of the area. The Sunshine Coast is actually connected to mainland BC, but can be confusing because it requires taking a ferry to get there. There’s no road to get there because it’s separated from the mainland by Howe Sound and the vast mountainous wilderness, so the easiest way to travel there is a 40 minute ferry from Horseshoe Bay to Langdale. 

20230813_145802
20230813_141440

Once you arrive on the Sunshine Coast, you have to drive an hour and a half along the coast. Right before you reach the 2nd ferry at Earl’s Cove, you branch off the highway to drive out to Egmont. The interesting thing about this area is that, from Sechelt to Earl’s Cove, the Sunshine Coast is almost an island. The ocean flows down a large channel at Earl’s Cove and then Sechelt Inlet extends all the way back to Sechelt, with several arms branching off the main inlet. What this means is that every time the tide changes, there’s a significant amount of water flowing in and out of the inlet. The narrowest part of the inlet is the Skookumchuck Narrows, which is why, twice a day, you get this natural phenomenon happening in this area, known as the Sechelt Rapids.

If you’re an experienced paddler, you can paddle up to the narrows from Egmont, or if you’re less of a thrill seeker, like us, you can hike 4.5km from Egmont to the Skookumchuck Narrows Provincial Park. It’s a fairly easy trail. It’s partially on forestry road and then switches to nice forested trails. You can circle around Brown Lake and then you eventually come to 2 viewpoints of the rapids. 

20230813_134545(0)

The first viewpoint is the more official viewpoint and gives you a great look at the inlet. It’s really beautiful, even without the attraction of the rapids. We enjoyed the view here for a while, and then continued on less maintained trail to the large flat rocks at Roland Point where you can watch the real thrill seekers attempt to whitewater kayak through the rapids. Because there’s so much water coming in and out of the inlet, in this area it creates these rapids where you can paddle almost stationary because of the conflicting currents. It’s a bit hard to describe, but a picture is worth a thousand words in this instance.

If you want to watch the paddlers, you do need to be cognizant of your timing. If I’m being honest, we didn’t really plan this visit at all and had no idea when was the best time to visit. There was no one paddling when we visited the first viewpoint, but our timing must have been perfect, because a bunch of paddlers showed up right when we got to the second viewpoint and we ended up sticking around for quite a while to watch them. It was very entertaining!

20230813_141237

Once we had our fill, we started the hike back. The nice thing about this hike in the summer is that there’s a little cafe near the end of the trail, which is a great place to stop for treats. So we rewarded ourselves before returning to the car. I won’t end the blog here though, because we caught one more attraction before leaving Egmont. We started to drive back to the highway, but just out of Egmont, there’s a big lake called Waugh Lake that you can access directly from the road. There’s no beach and limited parking, so it’s more of a roadside stop, but I saw a dock and a few kids swimming there. Since it was so hot, I wanted to swim too, so we made a quick stop and me and Seth both went for a refreshing swim before starting our journey back to Gibsons. 

So while I wouldn’t place this trail super high on the bucket list, it’s a great option for beginner hikers or if you just want to have a more relaxing, slower paced day. I had a really fun time and I’m glad I finally got the chance to visit this well known, but not super busy, area.

20230813_153041

Hiking Cirque Lake

Hiking Cirque Lake is a really unique experience located in the Callaghan Valley. I’ve never seen anything about this hike anywhere on social media, I literally stumbled across it while scrolling around GaiaGPS (something I do on a regular basis). So I wasn’t expecting it to be very busy, but other people are clearly aware of it because it was much more crowded than I anticipated.

What makes this hike unique is that you need to paddle across Callaghan Lake to access the trailhead. And in order to get to Callaghan Lake, you need some kind of slightly more rugged vehicle. Lots of information online says you should have 4WD and high clearance to access the lake, but that’s definitely overstating it. I have an AWD Hyundai Tucson SUV and I didn’t have any trouble. Callaghan Valley Road is paved, followed by an 8km drive along Callaghan Lake FSR, which is gravel. What makes it challenging is that there are water bars along the first half of the road, which is uphill. After that, it’s relatively flat and very drivable. The water bars aren’t so large that you need 4WD, although I do think AWD was helpful on one challenging water bar, but having slightly higher clearance is an asset. I wouldn’t take a sedan up to the lake (although I know people do), but I think any SUV could drive the FSR.

20250727_111606

Once you make it to Callaghan Lake, there’s a FCFS campsite that is very popular. We arrived around 10am on a Sunday and there were lots of people camping, as well as a decent amount of day users. From the campsite, it’s a 2km paddle across Callaghan Lake to the Cirque Lake trailhead on the far side. Most people were using SUPs to access the trailhead, with the exception of me and Seth (we used our 16′ touring kayaks), and 1 or 2 canoers. There’s lots of room to store your boat at the trailhead and I’d guess there were 20 vessels piled up along the waterfront. So it was busier than I expected, but it didn’t feel crowded once you start hiking. 

The thing about this hike is that it’s very short, but very steep because you’re hiking up to a hanging lake. It’s just over 1.5km each way, but it has 350m of elevation gain. I don’t think it’s a frequently maintained trail, so be prepared for a more technical hike. The biggest challenge I had was that when I got out of the kayak, I realized that I’d left my hiking socks in the car! I wore my water shoes in the kayak and had packed my hiking boots, but I didn’t remember to take my socks out of the trunk of the car.  

PSX_20250811_165248
PSX_20250811_165324

If this trail had been any longer, I probably would have quit there rather than risk the blisters, but it was short enough that I decided to try anyways. I rooted around in my bag for something I could fashion into a pair of socks. I debated cutting up a buff, but landed on utilizing my first aid supplies. I made one sock out of a tensor bandage, and the other one out of a gauze roll. The gauze roll sock felt lighter and more comfortable at first, but became more scratchy the longer I was wearing it. The tensor bandage was bulkier, but mimicked sock material better. They held up, but I was definitely glad to take them off at the end of the hike!

The trail starts by hiking through the woods and quickly comes to a little stream that you have to cross. If you’re willing to get your feet wet, I recommend just walking through it, but that was the last thing I wanted while wearing band-aid socks. It’s a bit tricky to get across otherwise, it’s not fast moving, there’s just not a lot of great places to cross. We sized it up for a bit before using our poles to walk across a log.

20250727_143432
PSX_20250811_164823

After that, the trail continues uphill through the forest. It’s not too steep at first, but it quickly becomes technical as you climb up through the trees. There’s a rope section, although I didn’t find the rope particularly helpful and used the tree roots as handholds instead. Eventually, you pop out of the trees and have to climb up a boulder field. This is the most challenging part of the hike and I highly recommend poles. There’s some scree and loose rocks, so put some space between you and your hiking companions. But there are really nice views looking back towards Callaghan Lake and we could see more paddleboarders heading in as we climbed. 

Once you get to the top of the boulder field, there’s still more uphill, but it gets a little less technical. You go back into the trees for a bit and then you climb up over the rocky headland. The trail can get confusing in this section as it branches off in a few places. There’s one place especially where the trail looks like it goes down towards the river flowing out of Cirque Lake, but it actually goes further uphill. I think either way will get you to the lake, but we followed the official trail up. This trail takes you to an overlook looking down on Cirque Lake that is really beautiful.

20250727_130704

The worst part of this hike was probably the mosquitoes. Once we got a few photos from the viewpoint, we climbed down some more scree to get to the lakefront. There’s no real beach, but you can spread out along the rocks. This is where the flies got pretty bad. Fortunately, we had our thermacell and set it up right away. Then we went for a quick swim to get away from them while the thermacell worked its magic. The water was really cold, but so refreshing! The wind picked up after we went for a swim, and between that and the thermacell, we were able to tolerate the mosquitoes and ended up hanging out for about an hour while we had lunch.

This is a really beautiful area. It’s located at the start of the alpine and you can just see some of the glaciers peaking over the mountain tops. The mountain tumbles down into the lake on the west side and the east side is carpeted in lush green meadows. You could explore further around the lake if you were inclined, but you have to navigate more boulder field and I didn’t want to trample the meadows. I had debated camping at this location, but because it’s still in Callaghan Lake Provincial Park, there were signs indicating that camping is not permitted, so it’s a great day trip option. 

PSX_20250728_193503
PSX_20250818_082700

Hiking back down to Callaghan Lake definitely had its challenges along the steep terrain of the boulder field. There’s a fair bit of scree here and poles were really helpful. Our big kayaks had looked excessive as we paddled across flat water on the way to the trailhead, but going back in the afternoon wind, we were thrilled to have them. Typically, the wind always picks up on the water in the afternoon (at least, that’s always been my experience as a paddler). There was a headwind on the way back that we were easily able to counteract in the kayaks, but several of the SUPs were struggling. People tend to go straight across the lake since it’s a relatively short paddle, but if it’s windy, always take the longer route and stick to the shoreline. 

Just because it’s a short paddle, it doesn’t remove the danger. Callaghan Lake is glacier fed, so it’s very cold – much colder than going overboard in the ocean. You’ll want to be able to get back in your boat relatively quickly if you fall in, so you should never forego a lifejacket. I didn’t see a single person other than me and Seth wearing a lifejacket. We saw two guys paddling a canoe backwards across the lake (they were sitting forwards, but didn’t realize the entire canoe was backwards), so it was obvious a lot of people weren’t avid paddlers and were just using any means necessary to access the trailhead. In my opinion, it’s not worth that risk. It’s not a hard paddle and most beginners will be fine, but at the very least, wear a lifejacket and understand that it may be much windier on the water if you come back in the afternoon.

But overall, I really enjoyed this hike. I was surprised to see it gaining so much popularity, but it’s definitely for good reason. It’s a beautiful place and it’s relatively low effort to access!

20250727_155632