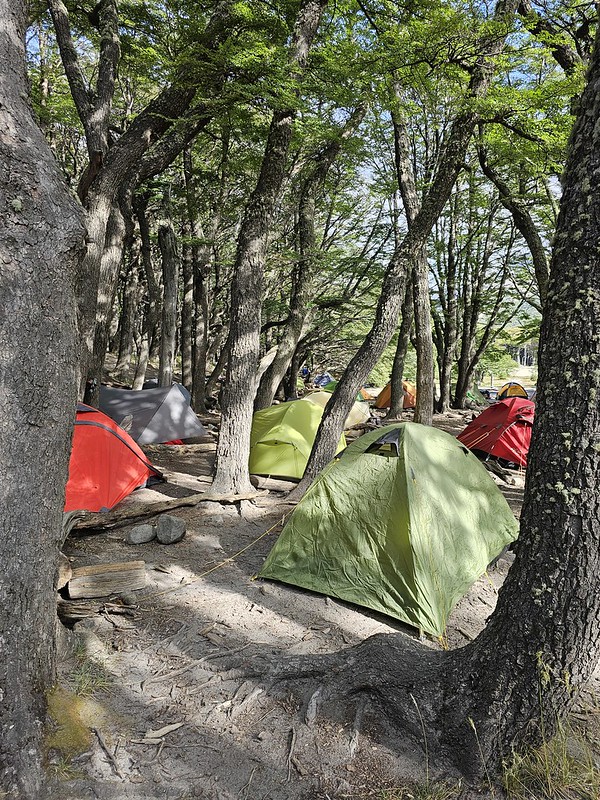
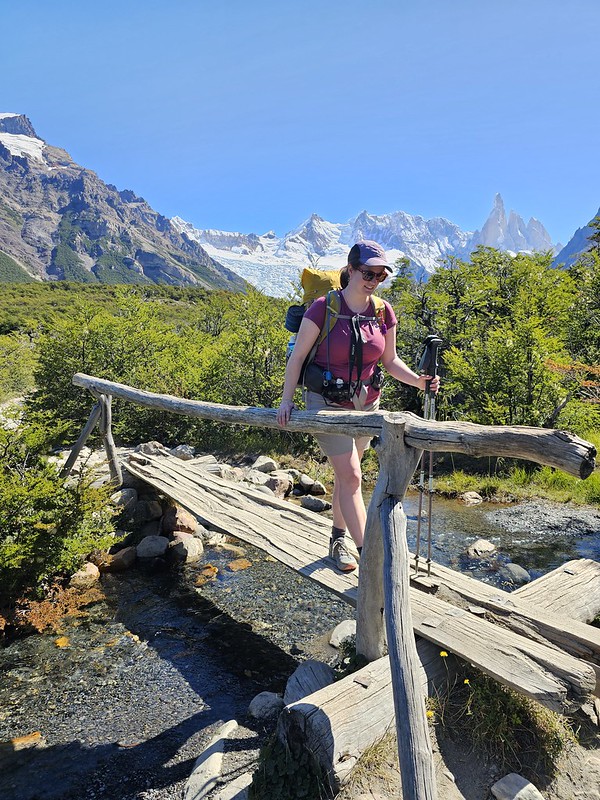
Continued from Part I and Part II. On day 3, we set our alarms for 5am to start our sunrise hike up to Lago de los Tres. However, the campground was extremely crowded and other hikers started getting up as early as 3am to prepare for their sunrise hike (and they were not quiet)! I mentioned in my previous post that I really didn’t like Poicenot Campground. People were noisy and partying late into the night and just generally disrespectful. We ended up starting our hike at 4:45am because we were awake anyways.
Unfortunately, the clouds had rolled in overnight and it was even drizzling a little bit when we started walking. The clouds were pretty high, so you could still see all the lower elevation mountains, but the top of Mount Fitz Roy was hidden. It’s an interesting experience to hike to the top for sunrise because you have to do pretty much the entire trek in the dark. It’s only 2km of hiking, but there’s 400 metres in elevation gain, so it’s very steep. You walk for a couple hundred metres on flat ground and you can see a steady trail of light criss-crossing the rockwall ahead of you where people are climbing. It’s not for the faint of heart!
Like usual, I think I was running half on adrenaline. The rain didn’t really last and we ended up layering down once we started the climb. Eventually, I layered down to just a t-shirt, but I had to add every single layer back the second we got to the top because it was so cold! We ate some protein bars and took a lot of breaks on the way up, but Seth struggled with the steep climb. I felt like we were going really slow, but our pace was fine and we got to the top around 6:45am (with sunrise shortly after 7am). So it was ~2 hours of hiking for just 2km.
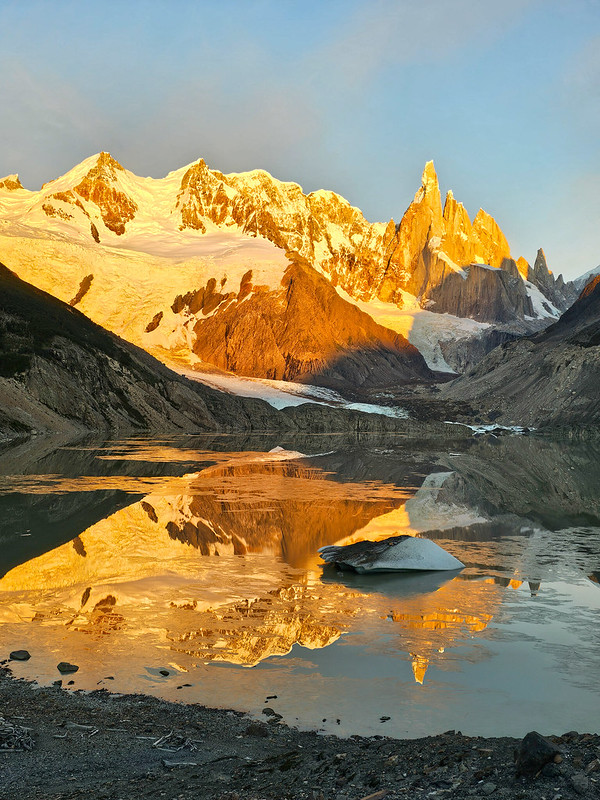
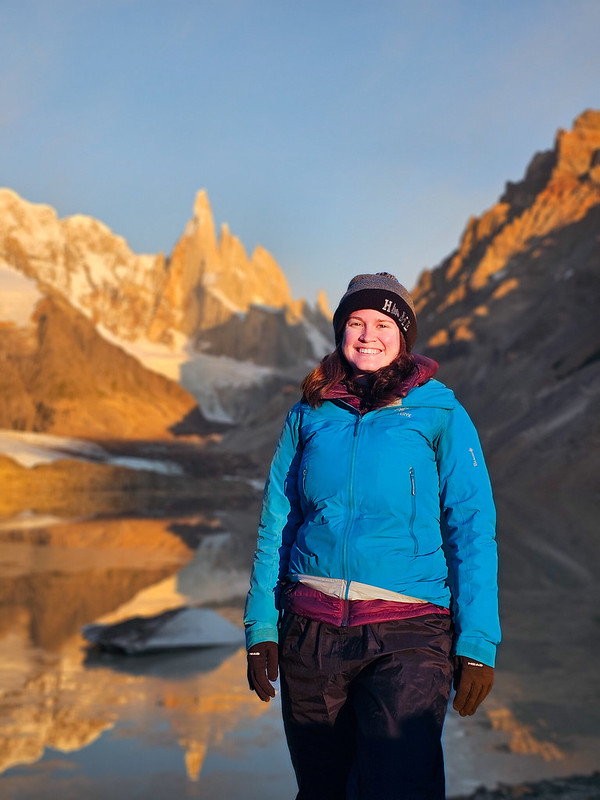
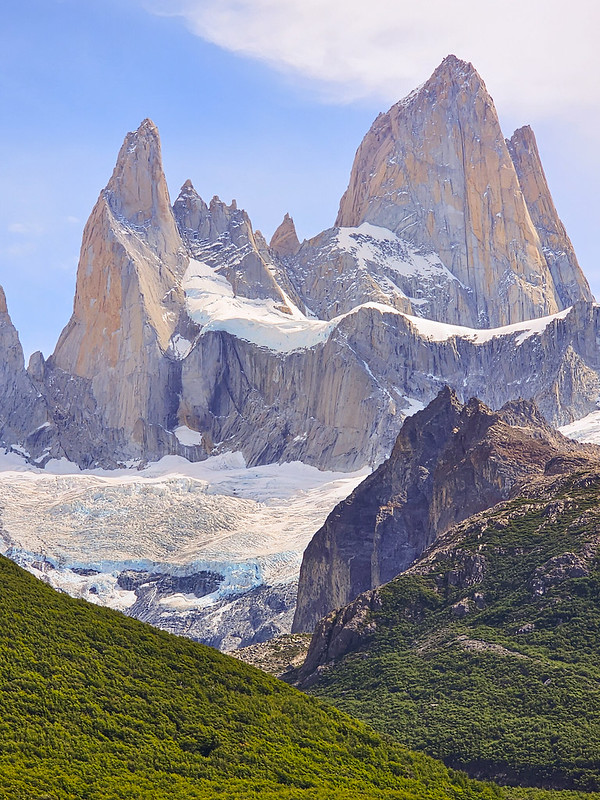
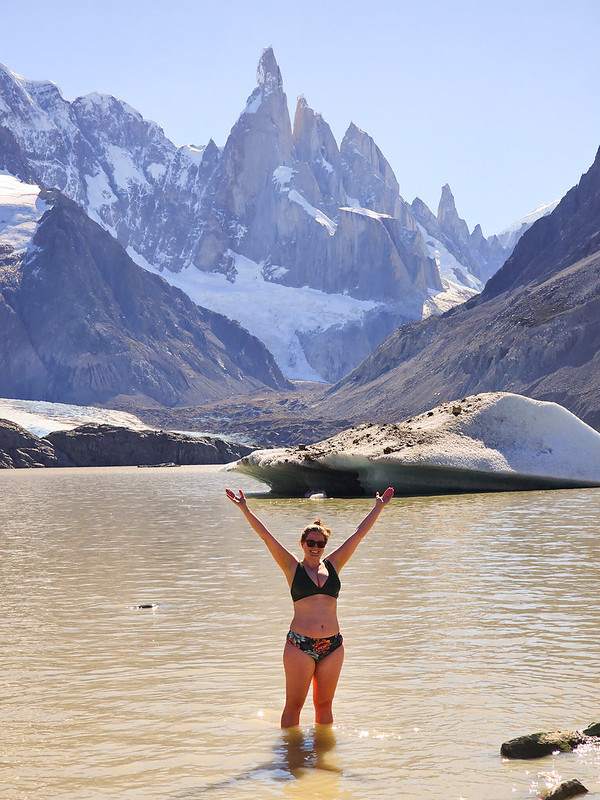
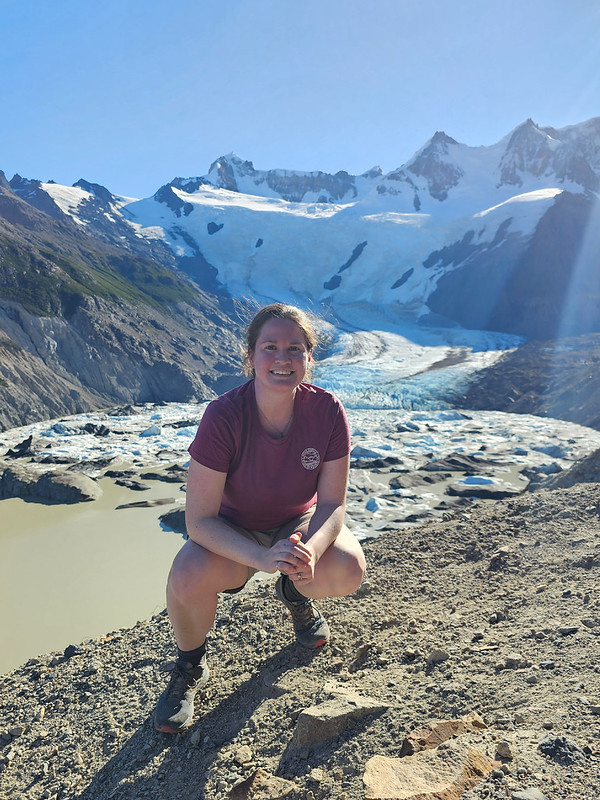
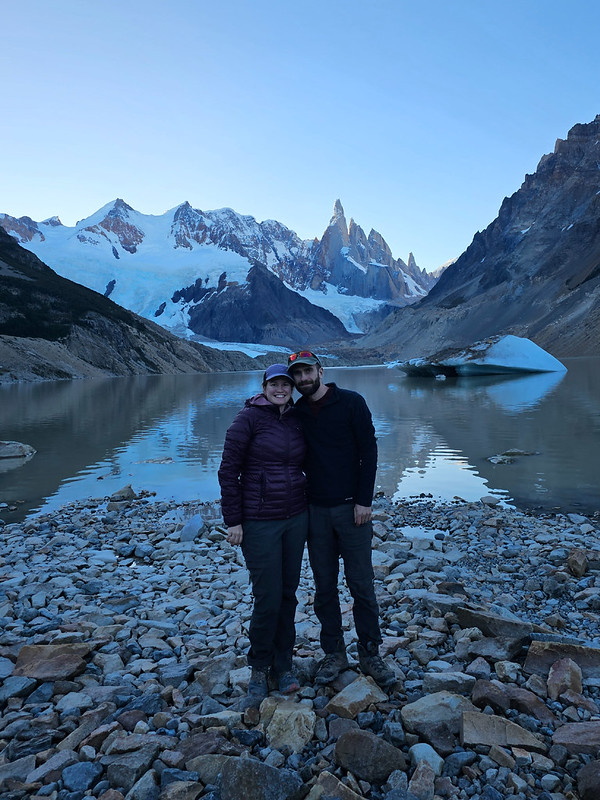
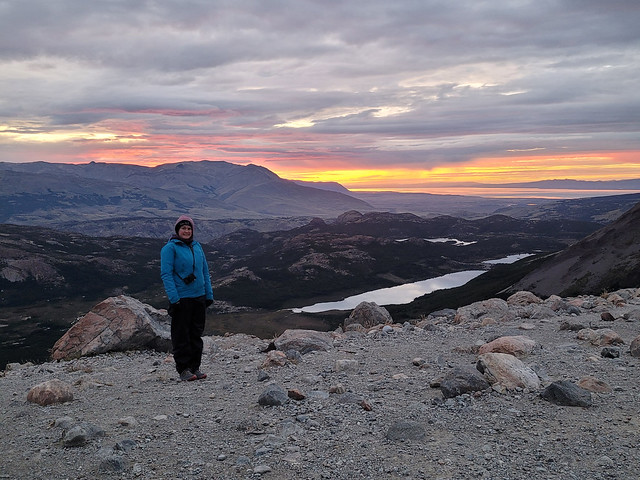
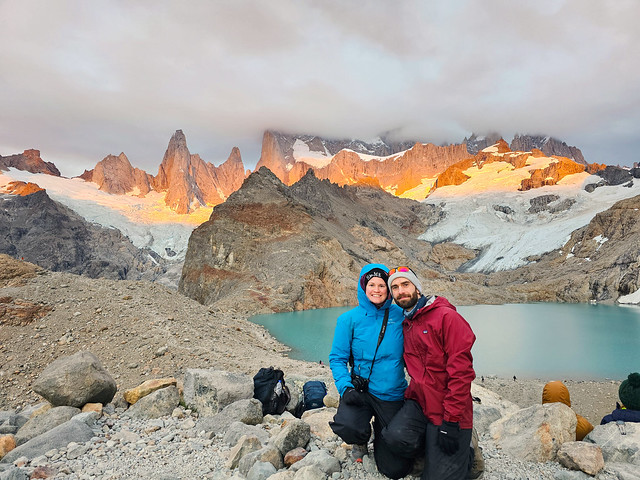
The top of Mount Fitz was in the clouds, but you could see everything else. It is quite a beautiful view and the sky was just starting to get light when we summited. But like I said, it was absolutely freezing! We quickly layered up into all our clothes and Seth made us hot oatmeal for breakfast. I mentioned in my last post about how Lago de los Tres and Laguna Torre are so iconic at sunrise because the sun comes up on the opposite horizon, turning Mount Fitz Roy orange at dawn. I experienced this at Laguna Torre, but we didn’t get the full ‘orange mountain’ thing at Lago de los Tres because the sun rose directly into the clouds. It peeked out for a few minutes now and then and would light up the mountain a little bit. So if we’d reversed the trip and done Lago de los Tres on the first morning, I think we would have nailed it, but weather is fickle and we still had excellent conditions, all things considered.
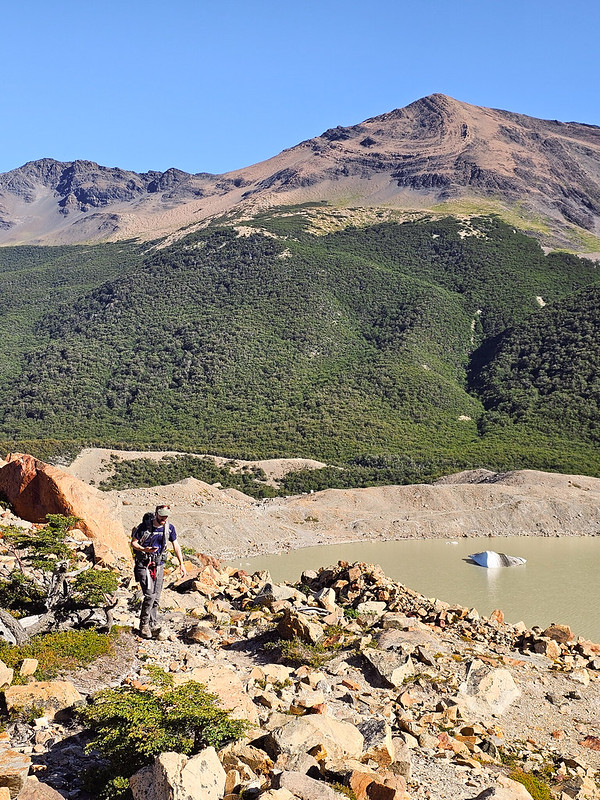
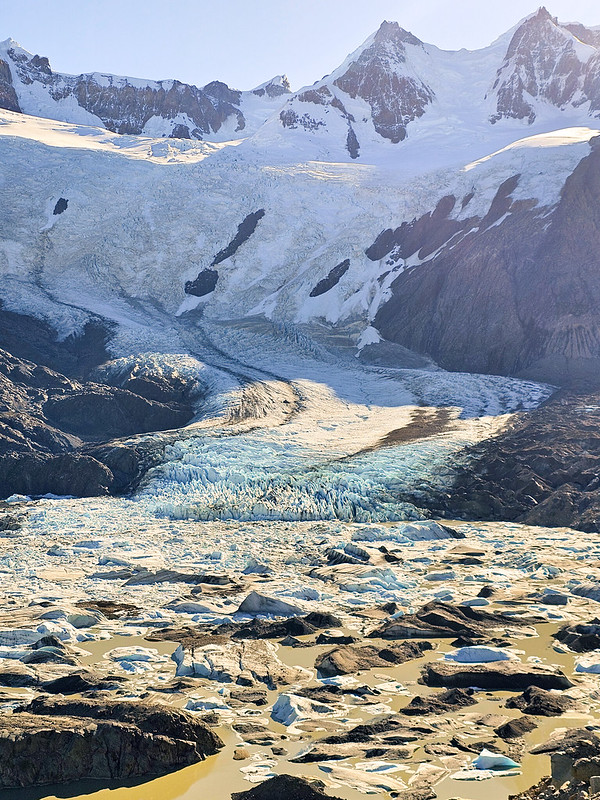
The lake is packed with people at sunrise, but as soon as it’s over, the crowds disperse really quickly because of the cold. We still had to hike all the way back to town to catch a bus to El Calafate, but I didn’t want to rush our visit at the lake too much, so we hung around for about an hour exploring the lake. There’s a second viewpoint next to the lake that you can hike up (only takes about 10 minutes), and that lookout had a fantastic view of Laguna Sucia. So we got to see what we’d missed the previous evening and Seth was adamant that the trail looked like it would have been a struggle (which I think he is right about if you attempt this one in the future).
As tough as it was hiking up the mountain, it’s worse hiking down. I think we left around 9am and returned to the campsite to pack up the rest of our equipment. The hike down was pretty hard on my knees and irritated them for the rest of the day. However, the remainder of the hike seemed to pass in a bit of a blur. I believe there was a bus at 2:30pm and 3pm, and then no more until 6pm, so we really wanted to catch the 3pm bus at the latest. Which meant we had to hustle for the rest of the hike.


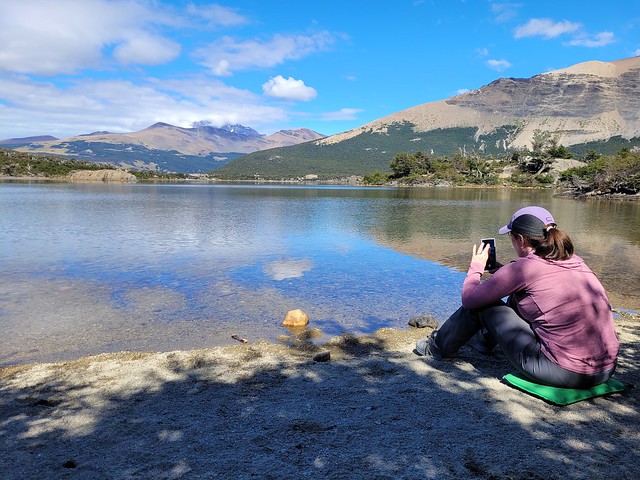
Once you leave the campground, the trail is pretty flat for ~5km to Laguna Capri. Our walking pace was really fast, but it was still slow going because the trail is SO crowded with day hikers. It can be narrow in some parts and you have to wait for people to pass often, so that slowed us down. The weather cleared up throughout the day and it was quite nice, but the clouds never did clear from around Mount Fitz. We stopped at Laguna Capri for lunch, which is the last big lake on the trek, but opted not to swim in the interest of time.
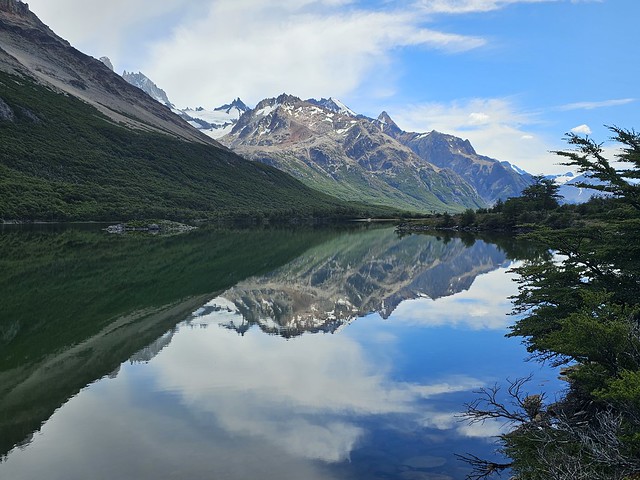
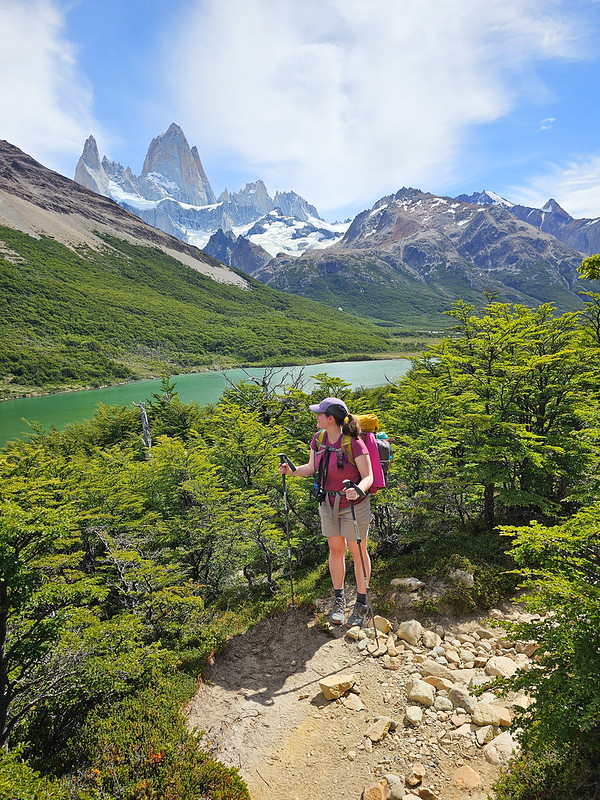
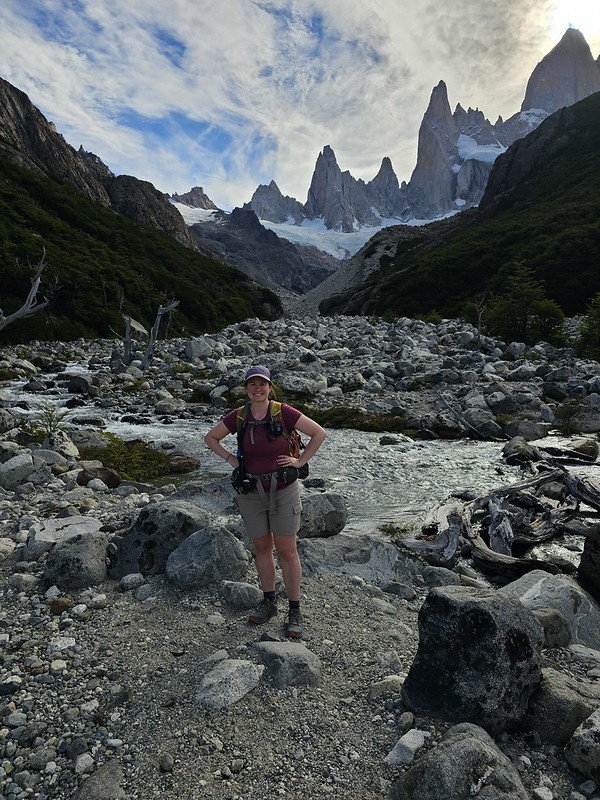
The rest of the hike from Laguna Capri was much more beautiful than I was expecting. Overall, the entire 3 days of hiking was very scenic. I thought it would just be forested, but the last 5km of the trail follows the canyon back to El Chalten and has sweeping views down the valley, so it was a very different vibe than the rest of the park. You feel like you’re coming out of the mountains towards the desert; it was a cool vibe and I enjoyed the walk down, even if my legs were killing me.
By far, the worst part of the trek was the 1.5km of hiking through town at the end. The bus station is located on the complete opposite end of town from where the trail starts, so it was brutal having to pound down the asphalt after 14km of hiking. We had to rush and made it to the bus station just in time to get a ticket! I pretty much passed out on the bus for the entire 3 hour ride back to El Calafate, but Seth had a fun time trying to count how many rheas’ he could spot running through the desert (a big bird like an emu)!
We returned to the same guesthouse and had a bit of a chaotic welcome back when we realized that our guesthouse did not have the advertised laundry services we were depending on and that my credit card had bounced our tour to Perito Moreno Glacier the following day and so they had cancelled our tour. To top it off, I had clearly started developing a cold while on the trek. The entire hike I tried to convince myself my throat was just dry from the desert air, but I had to finally admit I was getting sick.

Thank god for teamwork. I showered while Seth figured out an alternative option for doing laundry (which was desperately needed), and then while he showered, I found a replacement tour for the following day. I think things actually turned out better in the end. Our new tour was private (we basically just paid a guy to drive us to the glacier and wait for us), which had the benefit of a later start time, allowing us to catch up on sleep. Seth found a drop-off laundromat, and we dropped off everything on our way to town for dinner, with a pick-up time for the following day. We treated ourselves to a nice meal in El Calafate and enjoyed the Calafate berry ice cream for dessert! The town is obviously named for the berry, which is common in this region. If you eat a calafate berry, legend is that you are destined to return to Patagonia! I feel pretty confident I’ll be back, with or without eating the berry, but the ice cream was tasty! We tracked down some cough drops and tissues for me to manage my cold, and then hit the sack for the night! Check back next week to read about our visit to Perito Moreno!