Zoa Peak Snow Camping

It hasn’t been the best year for winter activities. Between the pandemic restrictions and the avalanche ratings, it’s been hard to get out and enjoy the snow. We went snow camping at Lightning Lakes in late January and we’ve been trying to fit in a second trip ever since. The avalanche ratings have been pretty consistently at ‘Considerable’ and ‘High’ throughout the last month and we ended up cancelling our trip twice. But we finally got decent conditions this past weekend and decided to go for it as one last snow activity to close out the season.
IMG-20210315-WA0007

Zoa is popular among backcountry skiers because it’s a relatively easy hike up an old forestry road and thanks to the low incline, most of the hike is in simple terrain. Interestingly, the first time Carolyn and I ever snow camped was at the base of the Zoa Peak trail. We’d intended to go to Manning, but a wrong turn on the highway landed us in the Coquihalla Rec Area and we decided to snowshoe 1km in to the Zoa Peak/Falls Lake trailhead and camp on the summer parking lot (which isn’t plowed in the winter). So we felt like we’d come full circle by returning to this area and hiking up to Zoa.

20210314_110814

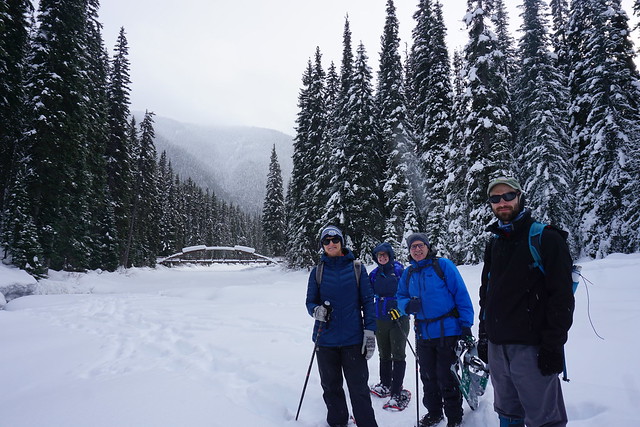
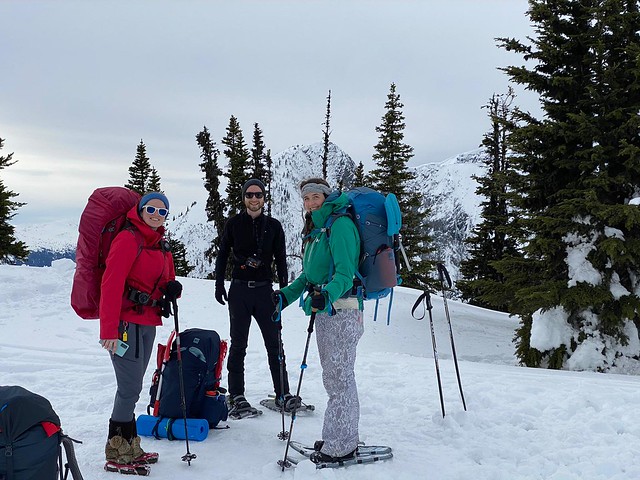
It was a busy day on the trail with both skiers and snowshoers, but we were the only ones staying overnight and the crowds quickly thinned out when we reached the top. However, it was a very challenging hike up the mountain. Because it was mid-March, it wasn’t really ideal snow conditions for any kind of activity. We debated for ages whether we should wear snowshoes or spikes and ended up with me and Brandon hiking in spikes and Carolyn and Steve in snowshoes. There was really no right answer, but in retrospect, I think snowshoes were overall the better choice.
PSX_20210314_180305

The first kilometre along the access road was very well packed and I had no problem in spikes, but once we started climbing up the old forestry road, snowshoes were preferable. It was really sunny, so the snow became a bit slushy and while we weren’t punching through the snow with spikes, it was a bit like walking on sand and made for a very draining hike up. Most of the elevation gain is done on the forestry road and with the sun beating down on us and reflecting off the snow, it ate up a lot of our energy. We all wore sunscreen on our faces, but I ended up getting burned on the underside of my chin from the reflection off the snow!

PSX_20210314_215122

After about 2.5km, you need to exit the road and hike into the woods. The summer trail exits the road earlier, but in the winter it’s better to continue further up since the grade is lower there. There is some pink flagging tape to mark the turn-off, but it’s easy to miss so I recommend being on the lookout and using a GPS. From there you hike up through the woods until you reach the ridge. It’s still steep, but the trail is more packed through the trees, so my spikes worked better here. It can be a bit confusing because the skiers take all kinds of different paths down through the trees, but as long as you keep going up, you really can’t go wrong and will eventually reach the ridge.

PSX_20210314_180622

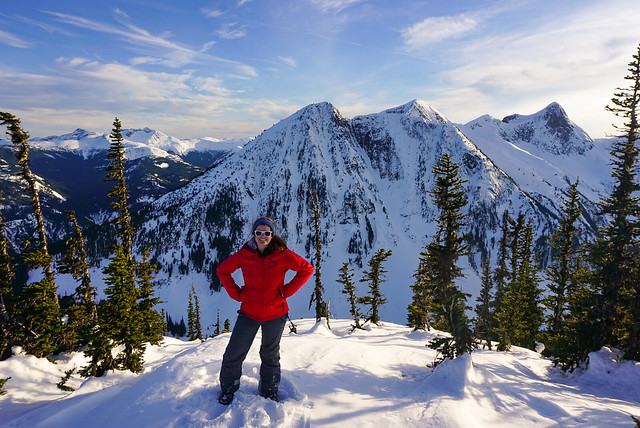
Snowshoeing along the ridge up to the sub-peak is gorgeous! I did part of Zoa in the fall once, but it’s much more scenic in the winter because the snow lifts you up higher among the trees, resulting in a better view and not confining you to a single area. In the summer, the brush makes it impossible to travel along the entire ridge and the trees limit a lot of the view, so I much preferred the winter views.

In total, it’s about 5km from the highway to Zoa Peak. We decided from the beginning that we would cut off a kilometre and only hike as far as the sub-peak. This is because after the sub-peak the trail gets steeper and the avalanche terrain changes from ‘simple’ to ‘challenging’. The avalanche risk on the day we went was ‘moderate’ in the treeline and ‘considerable’ in the alpine. Zoa seems to be kind of on the cusp between treeline and alpine, so we decided to play it safe and camp at the sub-peak.

PSX_20210314_181717

By the time we reached the ridgeline, we were all exhausted, so we decided to camp just below the sub-peak. It was calling for a bit of wind overnight and we wanted to be sheltered, plus the views are gorgeous all along the ridge. So we found a good looking spot and got right to work on setting up camp. Unfortunately, stopping triggered a few issues for me and after a few minutes of shoveling I found myself getting really lightheaded. I think I was dehydrated, so I took a break and tried to re-hydrate with some electrolytes. We all suffered some mild dehydration throughout the hike, so it was a good reminder to drink lots of water prior to a hike as well. Fortunately we had lots of electrolytes and were all able to recover.
IMG-20210315-WA0003

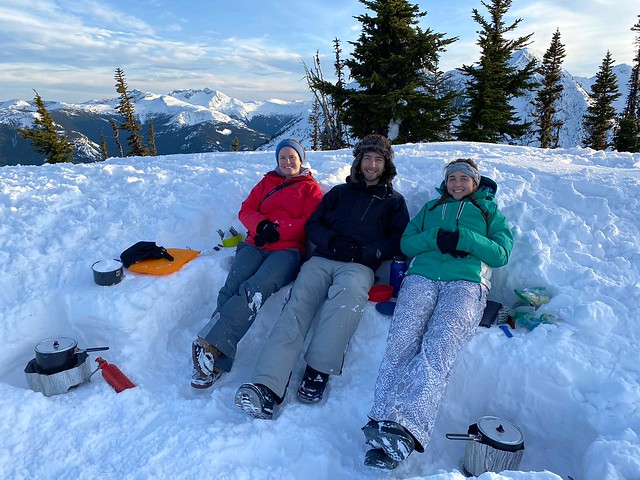
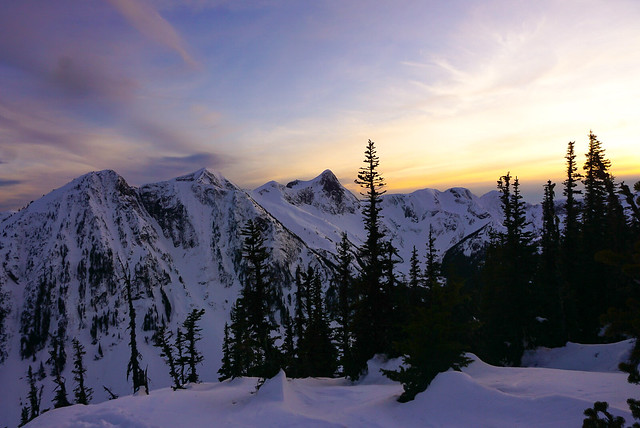
So Brandon did a lot of the shoveling for our set up and eventually I got to work on a snow kitchen. The snow was really sticky so it was good for setting up a kitchen and we didn’t have to pack it down too much. There were 4 of us, so Brandon and I shared one tent and Carolyn and Steve shared another. We had a great view of what I think was Thar, Nak, and the back of Yak Peak and enjoyed hanging out watching the mountains. One of the benefits of going so late in the season was that we had a bit more daylight in which to enjoy the view.

Brandon made us miso soup to help with rehydrating and then we all got to work on melting snow for dinner. I shared Brandon’s classic thai curry chicken, which is my absolute favourite backcountry meal! My parents had sent me some chocolate from Newfoundland Chocolate Company, which we enjoyed as a treat for dessert.

DSC08805

Usually when we go snow camping, we go to bed super early because it gets so cold and dark, but it was a warmer evening and the clouds had completely cleared out, leaving a beautiful view of the stars! So we stayed up much later than we usually do and I took star photos while Steve messed around with his radio to get us some tunes. Two night hikers passed us right after it got dark, but otherwise we were the only ones around and enjoyed a beautiful sunset. It ended up being 9:45pm by the time I finally crawled into the tent for bed, which is by far the latest I’ve ever stayed up snow camping!
PSX_20210314_215927

I didn’t get the best night’s sleep as the wind picked up overnight and shook us around a bit. Nothing to be concerned about, but it did make it a little harder to sleep. I made an egg and bacon hash for breakfast and then Brandon and I hiked the last few metres up to the sub-peak to check out the view. Otherwise we just took down camp and packed up again to head home. It was a lot easier on the second day because the sun stayed behind the clouds, meaning the slush had become more solid and was easier to hike out in spikes. We didn’t see as much traffic and powered down the trail in just an hour and a half (versus the 3 hours it took us to hike up).

So overall it was definitely one of the more challenging hikes, but the weather and views from the top were amazing and we ended up having a great time!

PSX_20210314_173321

Snowshoeing Lightning Lakes

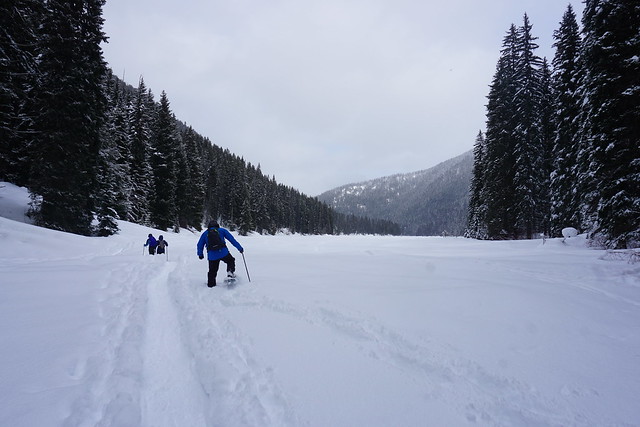
After Shadow Lake, Lightning Lakes is one of my favourite places to snowshoe in Manning Park. Unlike Shadow Lake, this trail is outside of the resort managed trails and is free to snowshoe, so subsequently is attracts more traffic. The Lightning Lakes Trail is part of a 24km trail network that goes around both of the Lightning Lakes and then continues on to 3 other lakes. However, in the winter I recommend you just stick to the first two lakes as there’s low avalanche risk on this trail.

DSC05423

Usually you can park right at the lake day-use area, but pending whether it’s recently snowed and how far into the season it is, they don’t always plow the road to the parking lot, in which case you can park along the main road and snowshoe in. The trail goes around first and second Lightning Lake, which are connected by a small river that runs between the two. There’s a beautiful bridge constructed over the two lakes and you can customize your trip to do either lake (or both). The second lake is my favourite (with the view from the bridge being the highlight), so I usually head clockwise around the first lake, which is the shorter route, to get to the second lake much faster.

DSC05411

In the winter, the lake usually completely freezes over and most people will snowshoe right across the lake. Be careful if you opt for this route – check the weather the week before visiting to ensure it’s below freezing all week and make sure it’s not too early in the season to cross. I prefer only to cross in January or February. If in doubt, make sure to check the depth of the ice before crossing or just plan to stick to the trail in the trees. Also note that the river between the two lakes rarely ever freezes, even in the middle of the season, so always plan to go back to the summer trail in the trees before getting to the river.

DSC05437

If you decide to go the long way around both lakes on the summer trail, the distance will be about 8.5km. If you just do the second lake using the summer trail, it’s about 7km. And if you cut across the lake and head to the back of the second lake, it’s about 6km, so there’s lots of room to customize your trail. My preference is usually to walk the summer trail to the back of the second lake and then come back along the edge of the lake (I’m too chicken to go across the middle of the lake, so I’ll walk on it, but stick close to the treeline). I’ve never done the entire first lake in the winter, only in the summer.

IMG-20200217-WA0000

To date, I’ve now snowshoed the lake twice. The first time was a real treat because my parents had come to visit and it was the first year I got to spend Family Day doing an activity with my actual family. We snowshoed to the back of the second lake, had lunch and made some hot chocolate, and then snowshoed back. More recently, I returned and went snow camping in the woods at the back of the second lake, but more on that later because I can definitely write a whole post on that adventure!

IMG-20200217-WA0012

Snowshoeing Shadow Lake and 3 Falls Trail

Now that I’ve written about all the snowshoe trails I’ve done on the North Shore, it’s time to move on to Manning Park! There’s a lot to explore in Manning Park in the winter and it almost always have great snow. Unlike the North Shore, Manning Park reliably stays below zero for most of the winter, so you don’t get the same freeze-thaw cycles as the North Shore. I think I’ve snowshoed there 4 or 5 times and only once did I not get fresh powder.

DSC08519

I’ve only done the beginner trails in Manning, but there are lots of more advanced trails for backcountry skiing and a nordic trail that extends right through the park. To date, Shadow Lake is my favourite winter trail in the park. The trail leaves from the strawberry flats parking lot, meandering through the forest to the lake and ending at the bottom of the downhill ski resort. Strawberry flats is a large parking lot with the nordic trail running parallel, so make sure to enter the trail at the outhouse. From there, you just have to cross the nordic trail once and then you should see the trail continuing into the woods (don’t follow the nordic trail). The first part of the trail winds through the trees and is the most beautiful winter wonderland! I’m sure it would have a different feel without fresh snow, but both times I’ve done this trail it has been snowing, making the snow covered boughs of the surrounding trees extremely scenic.

DSC08475

Most of the trail is in the forest, but there are a few small meadows along the way where you can jump off the trail if you want to frolic in the snow or cut fresh tracks. It’s only about 4.5km from the parking lot to the base of the ski hill and back, so it’s a short trail, probably around 2 hours in length. The trail crossing the nordic trail once more, just before the ski hill, but you should see the trail continue into the woods on the other side. I prefer to stop and have hot chocolate at the lake, so we usually spend closer to 3 hours on the trail. Shadow Lake is located shortly before the end of the trail and depending on the time of year you may be able to walk out onto the lake and get beautiful photos of the surrounding mountains. The first time I did the trail was in January or February, so we were able to access the lake, but the second time I did it in December and the river running into the lake hadn’t quite frozen over yet, so we couldn’t cross the marsh to get over to the lake. Either way, there’s still a nice view even if you can’t get on to the lake.

DSC07938

From the ski hill, it is possible to extend the trail if you’re looking for something a little longer. If you cross the bottom of the slope, you’ll see a narrow trail going back into the woods along 3 Falls Trail. In the summer there are 3 waterfalls that you can view from the trail, in the winter you can still see the first frozen waterfall, but depending on the conditions you may not be able to see the other two. It’s not a difficult trail, but it does run along a very steep slope on the North side of the trail, so you do have to be careful and prepared along this trail as it does run through avalanche terrain. The first stop along the trail is the Shadow Falls viewpoint, which was in my opinion the best viewpoint, so you could just go as far as the first lookout. When we went we couldn’t even get to the third viewpoint because the snow conditions were too sketchy and we turned around instead. If in doubt, just stick to the Shadow Lake Trail. If you do extend to include 3 falls, you’ll double the trail length to 10km round trip.

DSC07895

The important thing to note about the Shadow Lake trail is that it is one of the trails in the Park that is managed by the resort. Most of the trails are free to snowshoe on, but there are a collection of trails that are flagged by the resort. From a safety perspective this is great because the trail is well marked and easy to follow, but it does cost $10 to use. In the past you could get the trail pass right at the lodge for $10 (where you can also rent snowshoes), but with covid you can now purchase the pass online and redeem in the lodge when you arrive in the park. In my opinion the $10 is well worth it and I always have a great time on this trail!

DSC08447

Finally, keep in mind there is no cell service in Manning Park, so make sure to leave a trip plan and check the avalanche bulletin before you go. There is service at the lodge, so I usually park there before and after the trail just to update my emergency contact via text about my progress.

received_389537011808789