Cape Spear Path is such a classic on the East Coast Trail that I’m surprised I haven’t already written about it. The trail runs from Cape Spear to Maddox Cove and is approximately 11.5km long. I first hiked the trail in full in 2013, but doing an out-and-back trip from Cape Spear to North Head is one of my favourite day trips when I’m home for a visit. It’s ~9km to North Head and back, but it’s really easy and flat hiking, so I recommend it to visitors a lot.
When I was home in Summer of 2024, I decided to do a re-do of the thru hike with my parents and Brandon. The first time I did it, I hiked from Maddox Cove to Cape Spear, but this time we did it in reverse. I don’t think you can really go wrong, but the Cape Spear side of the trail is definitely easier, so knocking out the Maddox Cove section first has its benefits. The trail from Maddox Cove is mostly in the trees and winds up and down the coast, so it’s a little more tiring. Eventually you pop out of the woods and the rest of the trail is exposed along the coast and incredibly scenic.
Overall, there’s barely any elevation gain in either direction, just a small climb up over the bluff at Herring Cove as the trail continues to North Head. North Head is pretty much the halfway point (distance wise, but maybe not time-wise), so it’s a great place to stop for lunch. My favourite thing is to walk out to the viewpoint and watch for whales. You don’t need to be constrained for whale watching though, it’s rare that I hike this trail and don’t see whales in the summer! On this occasion, we were shocked to see flying tuna jumping out of the water! I’ve never seen tuna in Newfoundland, but on this trip (in early September), I saw tuna jumping on two different occasions (and received a report from my uncle in Twillingate that he saw one too), so it was a very eventful trip!
My other favourite part of Cape Spear Path is the blueberries. Like I said, the trail is completely exposed from North Head to Cape Spear. There’s only low shrubs along the trail, most of which are blueberries! They get a bit picked over close to the lighthouse, but there’s lots of good berry picking close to North Head, so we stopped a few times for snacks along the way. The only downside is that it can get pretty windy along the cliffside.
So I definitely recommend this trail to locals and tourists alike. It’s a pretty good trail for beginners and if you just hike to North Head and back, it’s a really easy and scenic day. Plus, most tourists plan to visit Cape Spear (the most easterly point in North America) at some point during their visit, so it’s a fun way to tie in some hiking and make a day of it.
While I do think hiking from Maddox Cove to Cape Spear is a bit easier, the benefit of hiking the other direction is that you can finish your hike with a stop into Petty Harbour to get ice cream at Tinkers! Petty Harbour is a cute little outport community and is home to the most outrageously large ice cream concoctions. You can easily drop a bit of cash here, but it’s worth it for the photo op and the delicious snack! Enjoy your ice cream on the patio after a rewarding hike!
In addition to my series on the East Coast Trail, I’ve also been writing about the Rockcut Trail, both located in Newfoundland. For those new to my blog, I grew up in Newfoundland and spent the first 23 years of my life there. I’ve explored most of the 300km long East Coast Trail by section hiking (I just have 3 left) from St. John’s, where my parents live. My Nan lives in Twillingate, which is a beautiful island on the central north part of the (big) island. It’s accessible by causeway and is popular among tourists for whale watching and iceberg hunting. They recently re-branded all the trails on Twillingate Island as the Rockcut Trail and have been improving them, so I’ve been trying to hike them all. See my other posts on Little Harbour and Top of Twillingate.
In Summer 2024, I visited with my sister, Emily, and my friend Brandon, who came all the way from BC to explore Newfoundland! Our biggest priority was to go fishing (which we were able to do twice) and visit with Nan, but we managed to find a bit of time to hike Codjacks Cove. This trail is located on the northeast side of the South Island and leaves out of Durrell. Drive down Horwood Lane to find a small parking lot. The road continues on from there, so if you take the left branch (the right branch goes to the dump), you can drive a bit further, but it was a nice day, so we just walked it.
Once you hit the coast, there’s a wooden staircase that heads down to Codjacks Cove and you can hang out on the beach. There is a single tent pad at the back of the beach that is newly installed if you feel like camping out! The trail is an out-and-back, so we skipped the beach on the way in and continued along the trail. The trail goes through the woods and along the rocky coastline of Gunning Head, with beautiful ocean views wherever you look! The trail supposedly continues all the way on the Little Harbour, as they’ve been working to connect all the trails into one longer thru-hike, but we just hiked for ~3km before turning around and heading back, since we only had one car.
We had a beautiful day for it, though it was windy of course! We stopped into the beach on the way back and I went for a little skinny dip by myself because Emily and Brandon were too chicken to participate! Well, Brandon was too chicken, Emily just didn’t want to. Like every trail on the island, it’s very beautiful. They’re all pretty similar, so you really can’t choose wrong. You can read more about the other sections of the Rockcut Trail on their website. I only have one section of trail left to explore in Purcell’s Harbour, but it’s been many years since I’ve done some of the other sections, so I plan to re-do them before writing about them. Twillingate is really special to my entire family and I feel lucky to call a little slice of this island home.
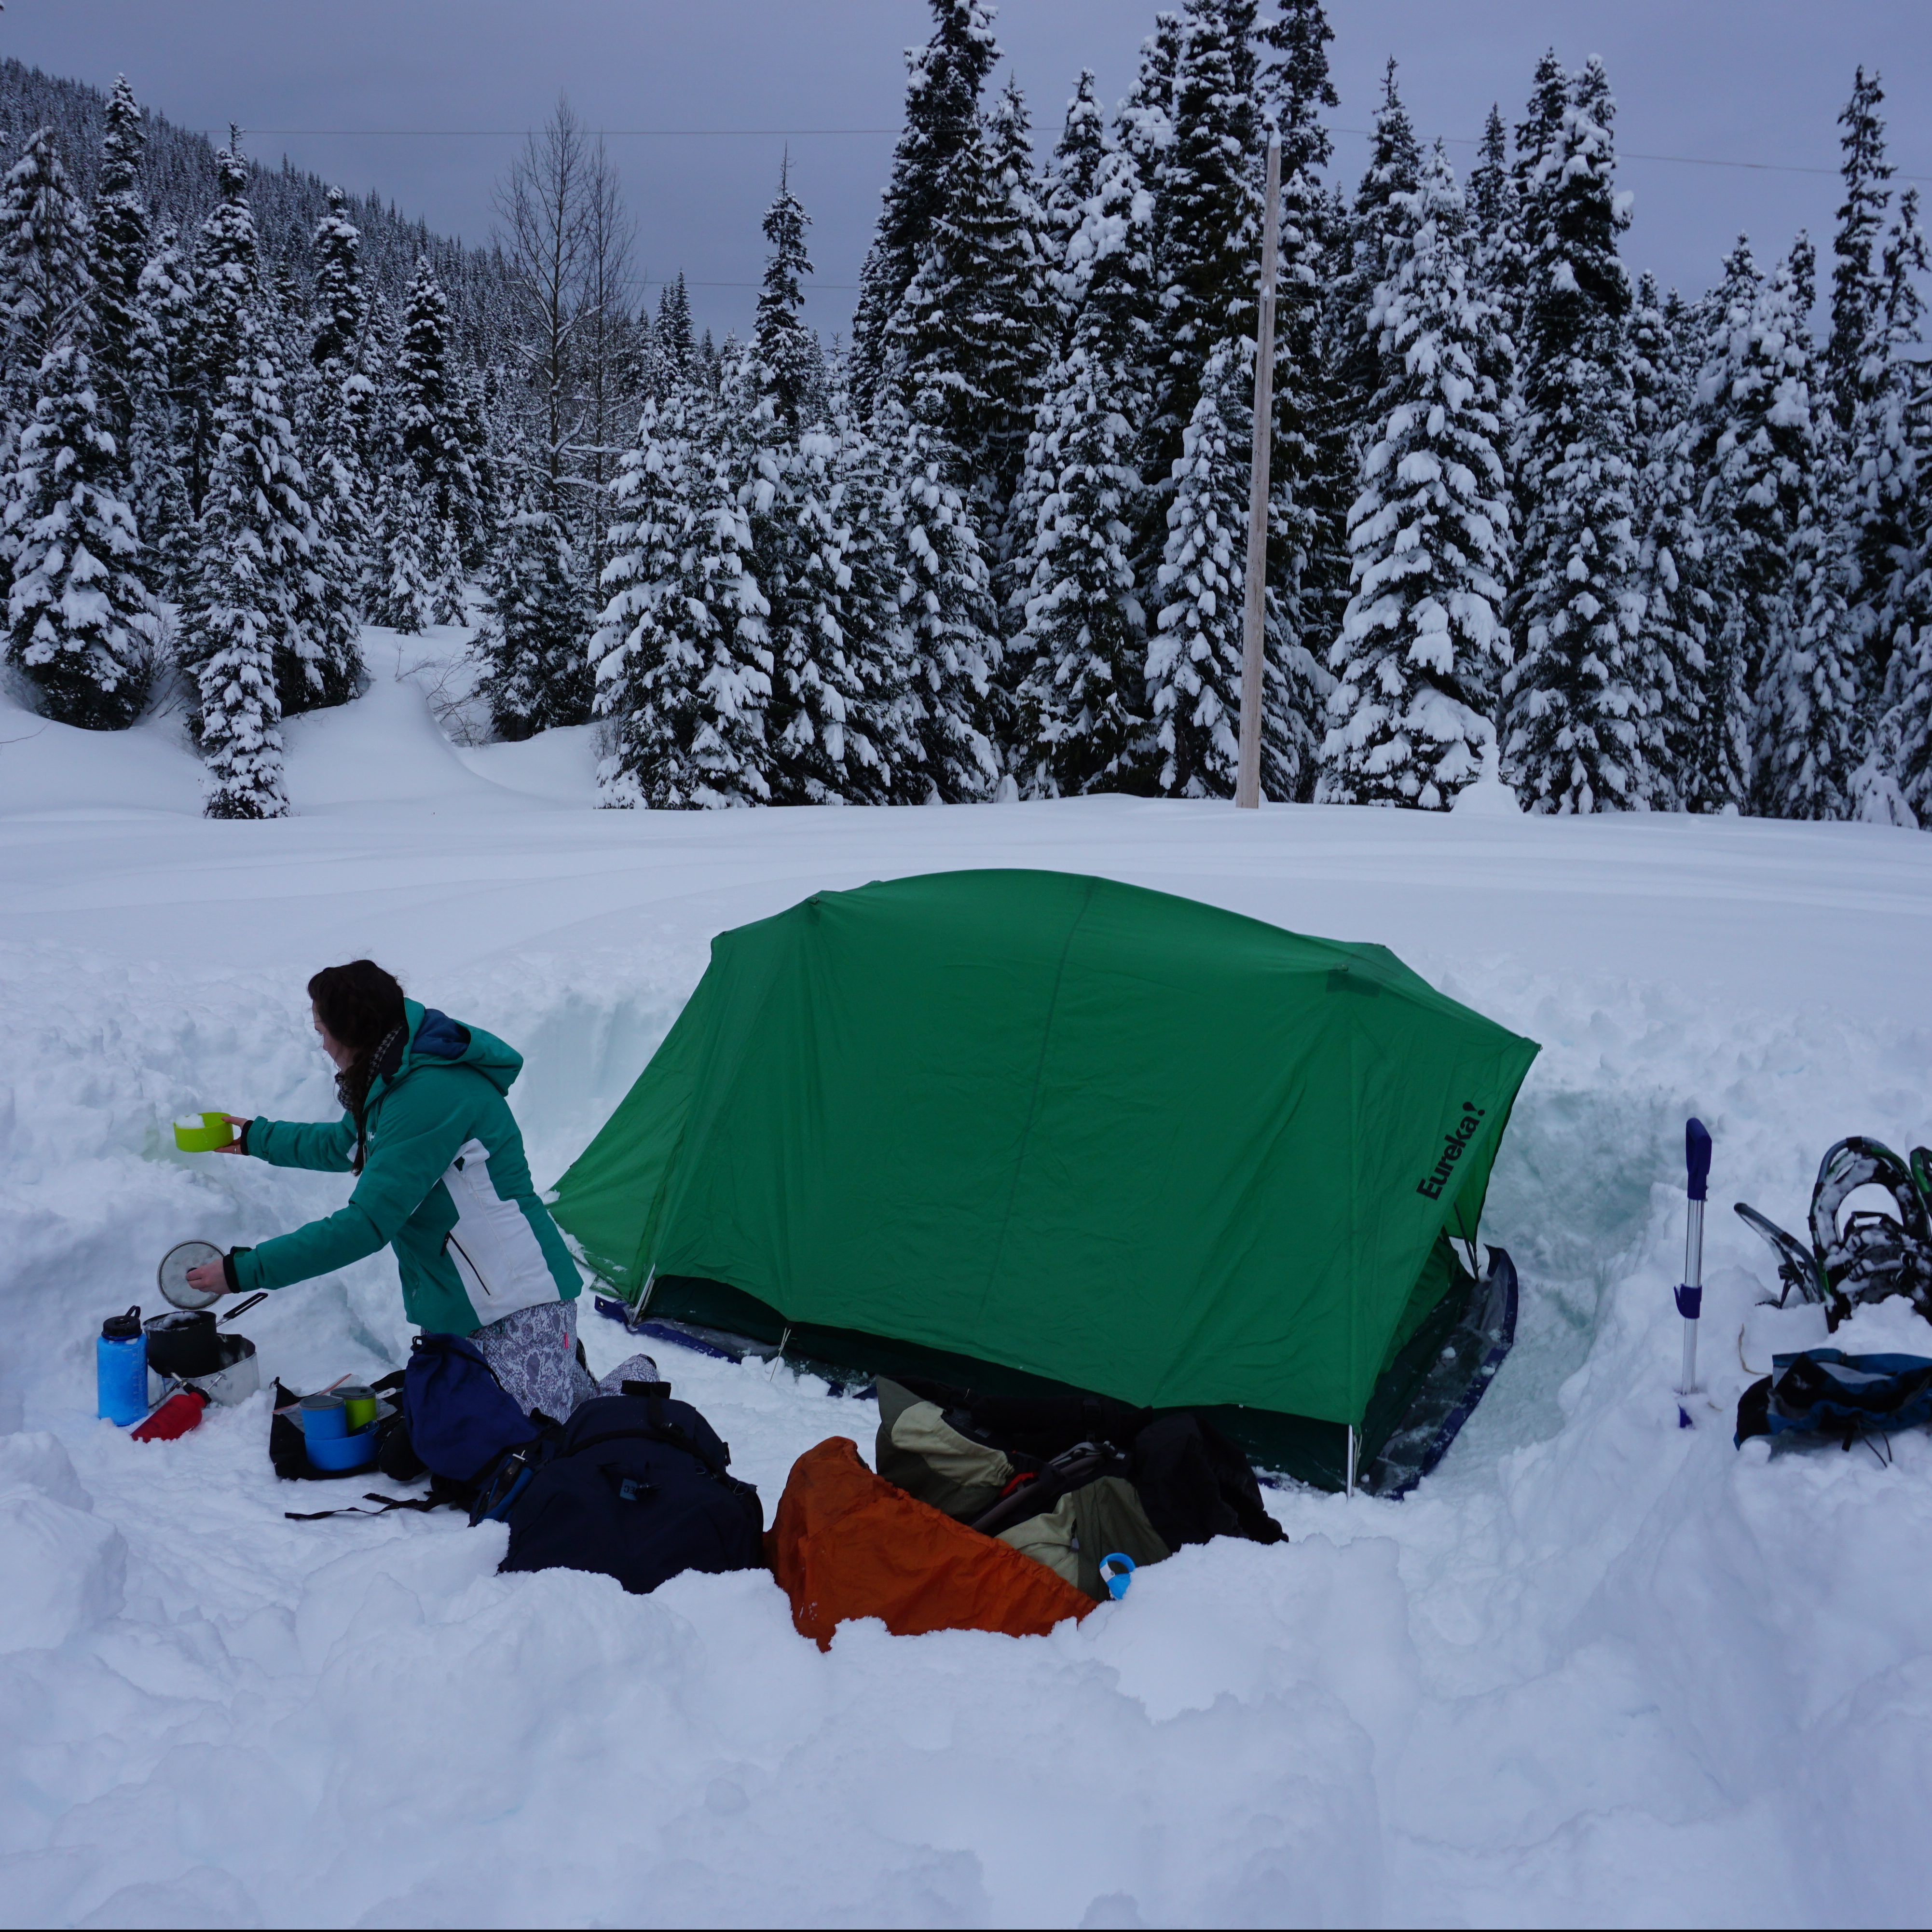
Camping is one of my favourite things to do in the summer, so I would always be sad when the season ends and I’d have to wait a whole year to sleep in the backcountry. I quickly came to the conclusion that I didn’t need to wait and decided to get into snow camping!
It’s definitely not for the faint of heart. It is much more intensive than camping in the summer and it is a lot of work to stay warm. Not to mention, quality 4-season camping equipment is not cheap. I’ve written an entire guide to winter camping and how to stay safe and warm. Once you’ve established you’re ready to try winter camping, the next dilemma is assessing where to go! First check out my guide to avalanche safety and then take a look at some of these recommendations.
This is my number one pick for snow camping if you’re brand new to it. The Lone Duck I Campsite is located in Manning Park and is a first-come-first-serve site through the winter. It has a field for tenting and a communal hut with a woodstove for eating and hanging out. You do need to bring your own firewood, but the benefit is that this campsite is only a couple hundred metres from your car. So if you don’t have the money to invest in quality winter camping equipment, you can just lug in a bunch of gear from your car and not have to worry about fitting everything in your backpack. The site is located right next to Lightning Lake and has immediate access to cross-country skiing and snowshoeing trails. Permits are available through camping.bcparks.ca
As the name suggests, this is a group campsite, so if you’d like to use it, please make sure you actually have a group. But if you do, this is one of the easiest and closest options to Vancouver for snow camping. Its located off Mount Seymour road, just below the ski resort. The site is a large field with a warming hut and outhouse, only 100 metres from the parking lot. Similar to Lone Duck, you can use the hut to keep warm and it’s easy to carry in lots of warm gear. Reservations are required and can be booked through camping.bcparks.ca
Falls Lake is my top pick for beginners that want to go backpacking because it’s only a short hike from your car. It gives the illusion of remoteness, but in a pinch, if you’re really cold in the middle of the night, it’s not too far to hike back out. Falls Lake is located off the Coquihalla Highway at the exit for Zoa Peak. In the summer, you can drive almost to the campsite, but the road isn’t plowed in the winter, so it’s a short ~2km hike to the lake along the unplowed road. There is an outhouse at the lake and reservations or permits are not required.
Lightning Lakes is another great option for snow camping when the lake is frozen. In the winter, the lake usually completely freezes except around the bridge between the first and second lake. Technically, there’s no official campground here, but there is some open forest area at the end of the second lake (~3km hike) where you can set up camp. I know some people will head as far as Flash Lake to get access to the summer campsites, but the trail to Flash Lake is adjacent to steep terrain where there could be overhead avalanche risk, so I haven’t gone past the end of the second lake. There is no outhouse, so only consider this location if you’re comfortable digging winter catholes. A permit is required from camping.bcparks.ca
Red Heather
Red Heather hut is located halfway to Elfin Lakes in Garibaldi Provincial Park. You can’t camp here in the summer, but snow camping is permitted in the winter. It’s a 5km hike up an old forestry road to get to the site. This hike is a bit longer than the other beginner options and is all uphill, but I include this in beginner backpacking because there is both a warming hut and an outhouse at this site. You cannot camp in the warming hut, you must set up somewhere in the meadow, but it’s a great option to have access to the hut. Chains are required to drive the last 2km to the trailhead (or you can park at the lower lot) and a backcountry permit is required from camping.bcparks.ca
Ottomite Peak is located off the Coquihalla Highway at the Zopkios Rest Stop. This trail is a bit longer than the beginner trails noted above and has uphill travel to the peak, but overall it’s not a challenging trail. It’s ~4.5km along an old forestry road and it passes through simple avalanche terrain only. There is no official campsite, but there’s a nice place to pitch a few tents at the top of Ottomite Peak. The area is more popular for ski touring, but I was the only one camping there where I visited. There’s no permits for this option, but also, no outhouse.
Zoa Subpeak is also located off the Coquihalla Highway and shares the same trailhead as Falls Lake. Park on the side of the road and hike in over the unplowed forestry road. Once you reach the summer parking lot, you can hike up along Pipeline Road until you hit the winter trail to Zoa Peak through the trees. The key with this trail in the winter is to only head as far as the subpeak, which is ~5km. The trail to the subpeak is a bit steep through the trees, but it’s all in simple avalanche terrain. The trail to the actual peak goes through challenging terrain, so I don’t recommend it. There’s lots of open space near the subpeak to camp for the night and I’ve heard it has better views than the actual peak. There’s no permit required, but again, no outhouse available either.
Poland Lake is located in Manning Provincial Park and has an actual campsite. The winter route to the campsite is a bit tricky because you can’t park at the ski resort overnight, so you have to park at Strawberry Flats. You can either walk along Gibson Pass Road, or you can take the trail that runs parallel to the road. However, it’s important to get off the trail partway to avoid going through the middle of the ski resort. You have to hike along the side of a beginner ski run to get up to the official trailhead. This trail is all in simple avalanche terrain, but I noticed a fair bit of overhead avalanche risk when I visited, so I think it’s better to have AST. The campsite is on the far side of the lake, but we opted not to hike across the lake, so I can’t confirm if there is actually an outhouse there. This trail is almost 8km, so it’s definitely a more challenging option due to length. A backcountry permit is required from camping.bcparks.ca
Elfin Lakes is a very popular campsite, which people can misconstrue to mean that it’s safe to go there. In the winter, you can opt to either book the hut (which is very popular and books early), or camp in the snow. At 11km, this is by far the most challenging trail on the list. 11km may not seem that long, but it can be very tiring in deep snow with a large pack. Plus, a lot of the trail is located along the ridge, which can be windy and have poor visibility. But the main thing to be aware of is that this trail passes through challenging avalanche terrain, so I don’t recommend it without AST. If you are comfortable in avalanche terrain, I highly recommend this campsite and trail, as both are very beautiful. Reservations are required for the hut and a permit is required for camping from camping.bcparks.ca
Pump Peak
I left Pump Peak for last because this trail and peak are both located in challenging avalanche terrain (whereas Elfin Lakes just passes through challenging terrain). Pump Peak is a super popular trail due to its proximity to the city and the incredible views. It definitely attracts a lot of people without AST, but I don’t recommend camping here without it. It’s a great option if you want to stay near the city, but I wouldn’t consider it a beginner trail. Once you feel comfortable in avalanche terrain and camping, check this one out. Permits are not required, but you do need a day pass in order to park at the base of the mountain, available at camping.bcparks.ca