Let’s Talk: Campfires

There’s only really one thing that matters when it comes to having a campfire in the backcountry – if it’s not allowed, DON’T DO IT. I’ve camped in so many locations and there’s almost always one group breaking the campfire rule. Just because someone else is doing it does not make it okay for you to have a campfire too. Just because you see evidence of fires from past campers does not make it okay to have a campfire. Forgetting to check in advance if fires are allowed also does not give you the right to have a fire. Campfires are not an “ask for forgiveness, not permission” issue. Respect the backcountry and always check first.

DSC06085

If you want to have a campfire when you’re hiking, there’s two things you should check in advance:

  1. Whether campfires are permitted. Most Provincial Parks don’t allow fires in the backcountry, though there are definitely some that do. Fires are a risk in parks and they can be destructive to the natural environment, but I think the main reason why Parks don’t allow fires is because of the impact of firewood collection. People will cut down and destroy live trees and shrubs in their zeal for foraging firewood and even dead branches have a lot of value to the forest ecosystem, so usually, parks are better off left alone.
  2. If there’s a fire ban. Regardless of whether fires are permitted or not, if there’s a fire ban in the area that you are camping in, then you cannot have a fire. Hopefully I don’t have to explain the risk of this one given the wildfires spreading all over the Pacific Northwest the last couple of years. So I usually try and prioritize campfire friendly locations in Spring and Fall since the fire ban will likely prohibit any fires throughout the summer regardless of location.

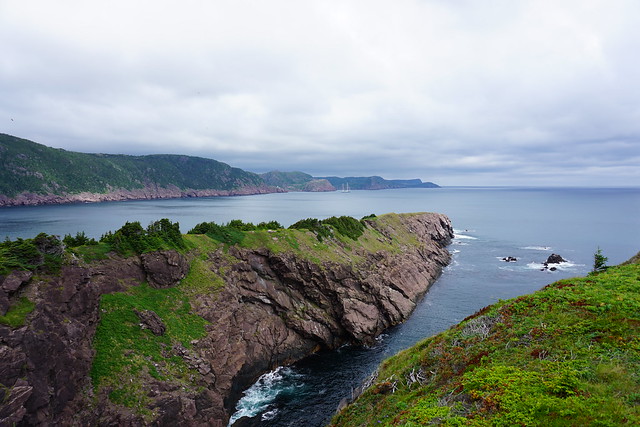
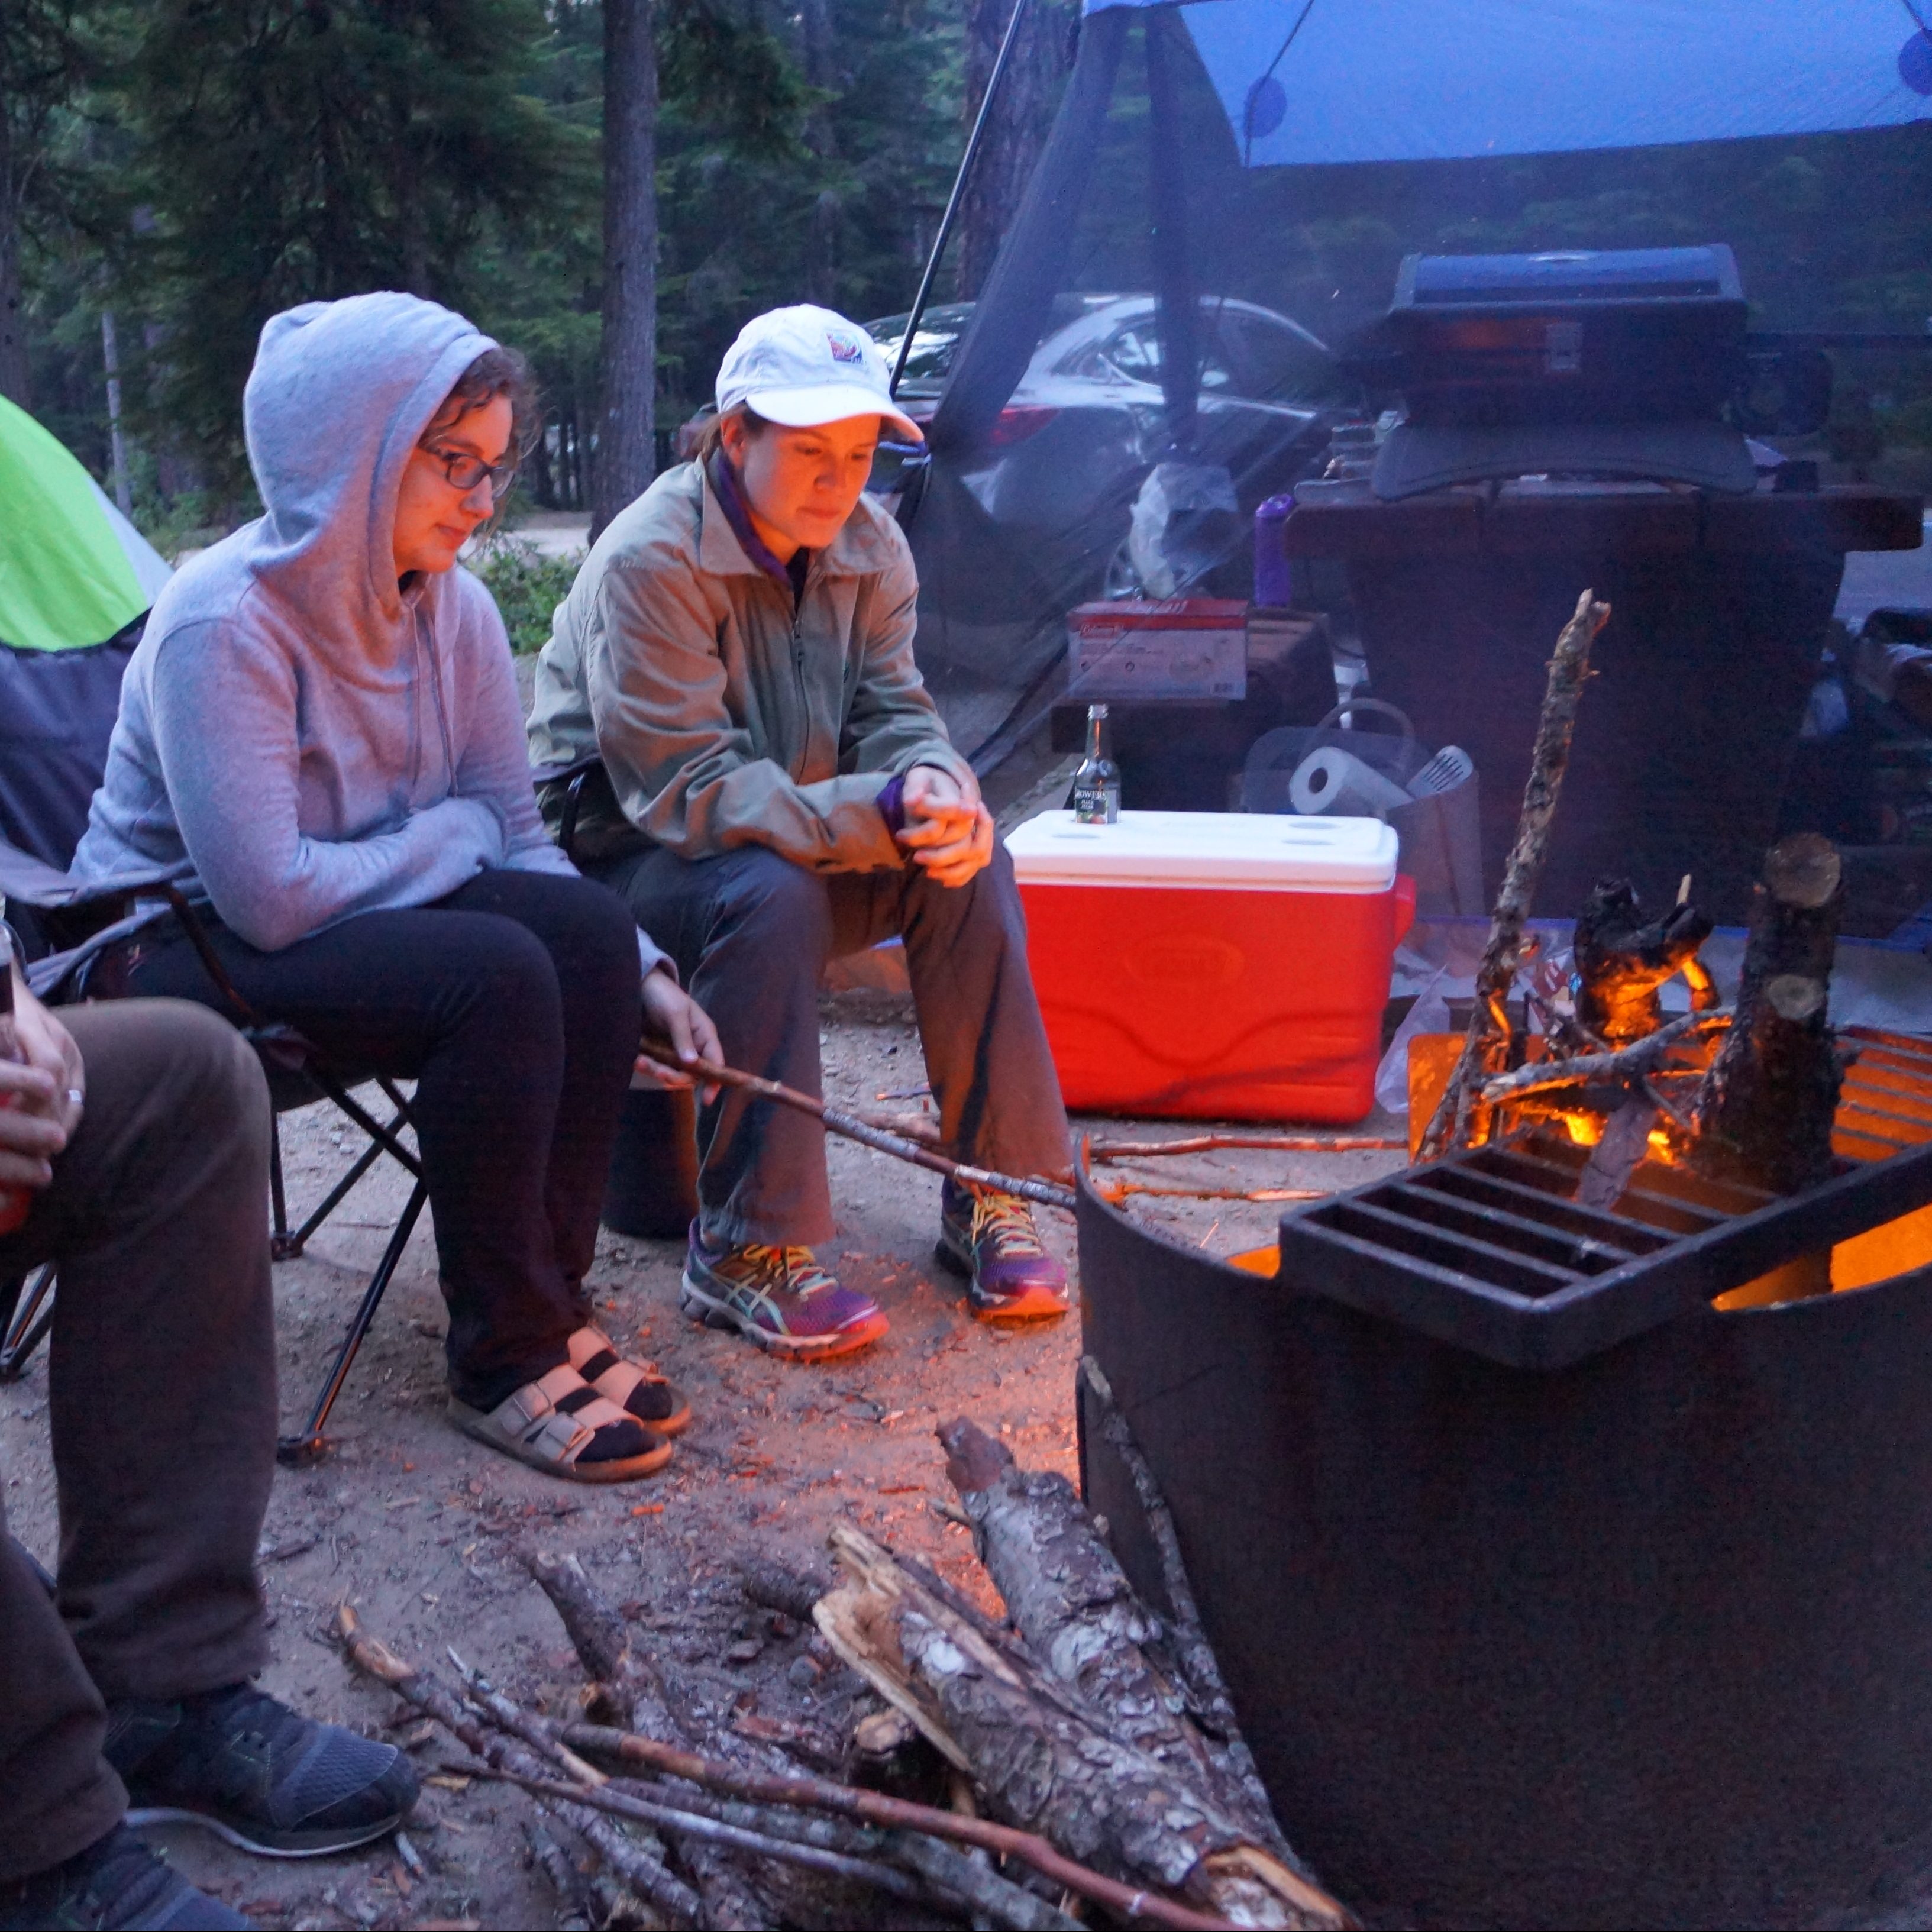
However, there are some times when you will be able to have a fire! The coastal trails on Vancouver Island (above photo) are a great place if you’re looking to have a campfire because the damp environment keeps the wildfire risk low and there’s lots of driftwood to burn, which has lower ecological value. Often if you stick to trail networks that are outside of park systems, fires are generally permitted as well, though there are some parks that permit campfires. Finally, if there’s no fire ban, campfires are almost always permitted in frontcountry campsites! This is a great way to enjoy a campfire because you don’t have to forage for firewood and there are often firepits provided, creating a safer environment for fires.

But if you are lucky enough to find yourself at a backcountry location where fires are permitted, what should you keep in mind?

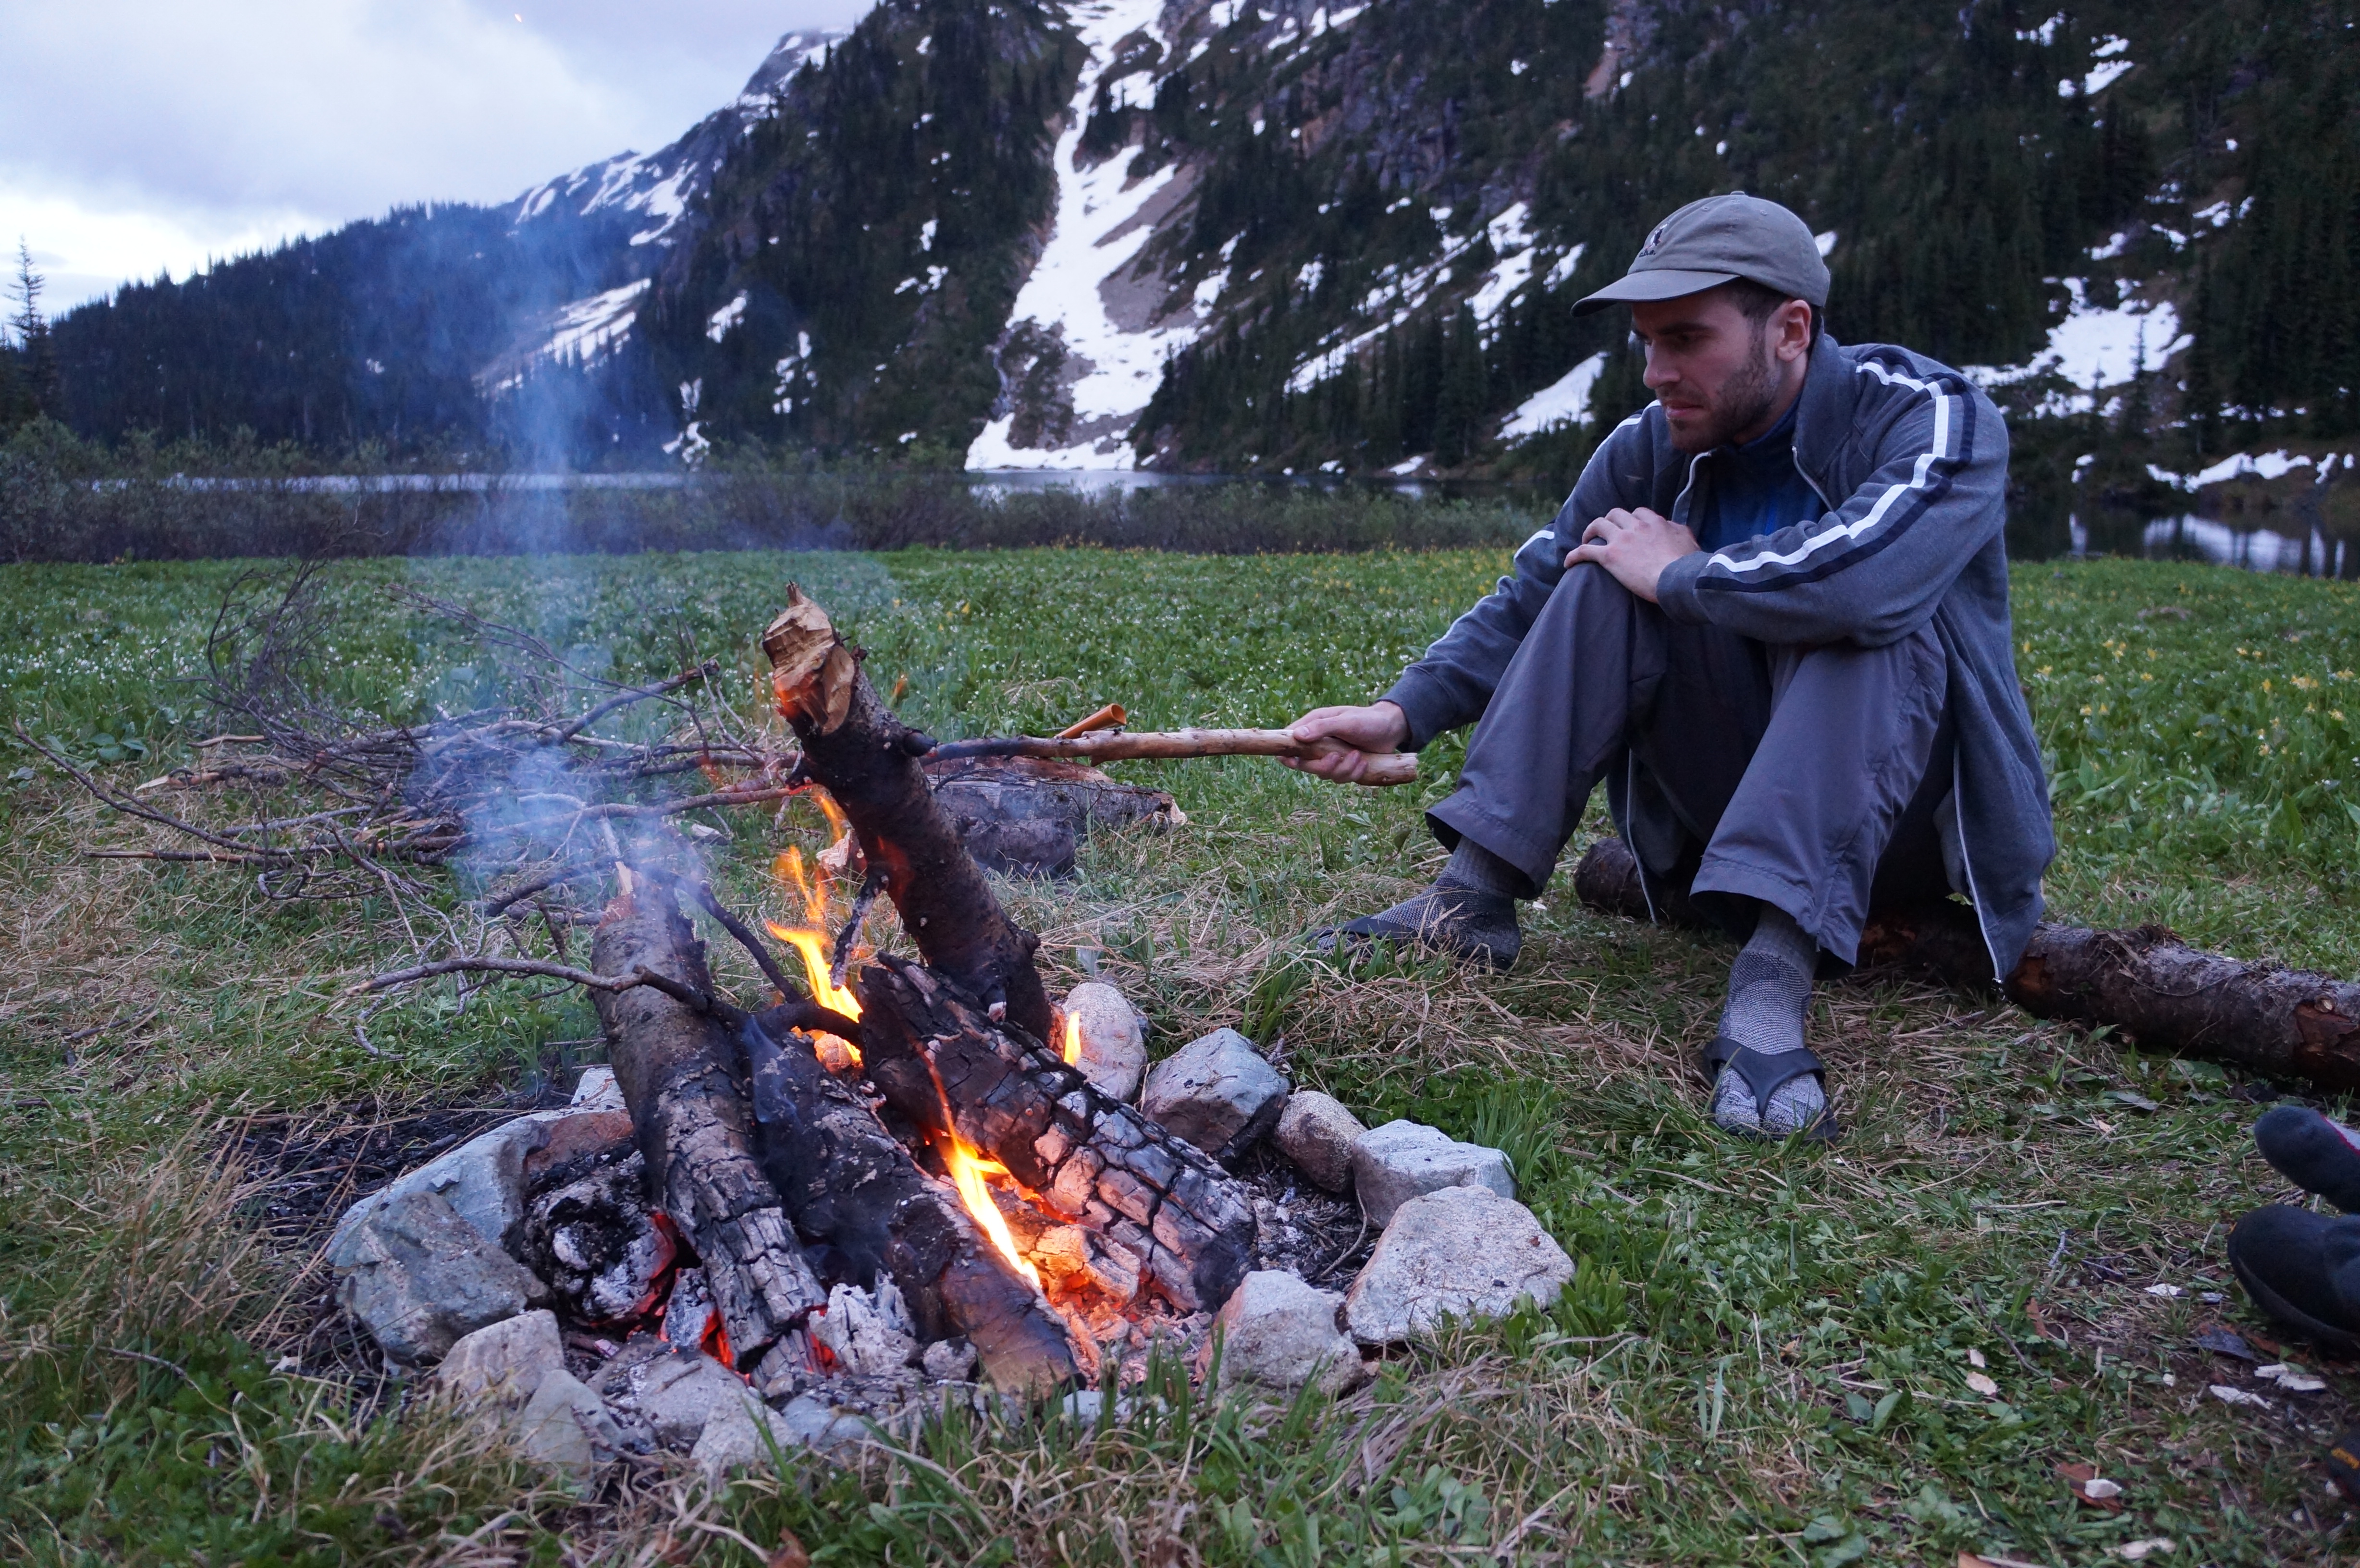
  1. Safety: pick a good location for your fire. It should be away from your tent and anything that could catch fire from flankers. If possible, build a fire ring out of rocks to help contain the fire, or dig a pit in the sand, and always have a source nearby to put out the fire. Carolyn’s trick is to fill all our pots with water and keep them next to the fire in case it spreads. Or if you’re on the beach have sand nearby to throw on the fire.
  2. Firewood: like I’ve discussed above, try and disturb the surrounding environment as little as possible. Beach campfires are great because it’s easier to find rocks to create a pit and driftwood makes for great firewood. Never take branches from living trees and avoid larger logs – these are generally wet and provide valuable habitat to many forest critters. Stick to smaller deadfall that will be easier to burn and has less ecological value.
  3. Put out your fire: never leave a fire burning after you’re done with it. Even if it’s just embers left, douse them with water or throw sand on top. A fire should never be left unattended.

Tips for starting your fire:

  1. Stack your wood, by which I mean, start with smaller dry materials, move up to twigs, then sticks, then logs. As the fire grows, start adding the bigger pieces of wood to keep it going. Collect enough wood in advance so that you don’t have to leave the fire unattended to look for more. Use a pocket knife to make wood shavings for kindling, or find some small twigs from the underbrush.
  2. Bring a firestarter to help speed things along. I like to use fluffed up tampons because they’re tiny and burn well, but Brandon dips pieces of paper towel in hot wax and brings them with him. If you don’t mind carrying something a little bulkier, the old dryer lint stuffed in an egg carton and dipped in wax works great too.
  3. Make sure your fire always has oxygen. Use a pot lid to blow some air into the fire when you’re getting started and have a fire poking stick to turn logs over and keep the fire fresh.

I’m not really a fire expert, so if you have any more tips to share or if I missed anything, please let me know and I’m happy to add! Just remember, only you can prevent forest fires!

Kayaking Barnet Marine Park

Since we got our own kayaks, we finally had a reason to check out Barnet Marine Park! I’ve seen it a few times hiking from Belcarra, but had never visited. We decided to check in out during the unseasonably warm weather we got in mid-April in 2021 and loved it!

Barnet Marine Park is located just off – you guessed it – Barnet Highway! It’s behind Burnaby Mountain, at the narrowest part of Burrard Inlet, where it branches and you can either head east into Port Moody, or north up Indian Arm. There’s a lovely sandy beach area that’s popular among picnickers, and it’s only a short paddle across the channel to Belcarra Regional Park.

20210417_101844

To date, we’ve mostly been accessing the water from the parking lot in Belcarra, but that is a much smaller lot and you have to get up a lot earlier to secure parking (plus it’s a longer drive). The Barnet parking lot definitely fills up too, but it’s a lot larger so you don’t have to get up quite as early to get a spot. It has more of an urban feel than Belcarra, but I suspect we’ll spend a lot more time here in the future because of its practicality. I wouldn’t recommend it as a starting point for Indian Arm because it will add length to your paddle, but I’d like to return some evening for a sunset paddle, as I think it’s a great location for when you just want to get out on the water for an hour!

The only downside when we visited is that they’ve closed the drop-off loop that goes right down to the beach, so you have to unload the boats at the first loop, which makes for a longer walk down (although that may have changed more recently). We have a set of wheels for our kayaks, so it’s manageable, just makes for a bit more work – I’m glad we didn’t have to carry them though. We went on a hot day and got there somewhere between 9:30-10am and didn’t have any trouble finding parking. When we left around 1pm though it was a lot busier!

20210417_103240

We launched out into the inlet and basically paddled back up to Belcarra. You could also paddle along the shore to Port Moody, but it’s pretty industrial, so we paddled over to Burns Point instead and made our way back to the main launch in Belcarra. We stopped at a small beach along the way for a snack and to avoid the busy launch, then we paddled around Boulder Island before heading back. It’s not a strenuous paddle, but it made for a nice 2-3 hours on the water. We definitely could have been faster, but we were in no rush so we just took our time.

It’s definitely a popular place for paddlers though – there were tons of kayaks and SUPs out on the water when we were out there and I imagine it probably gets busier as it gets warmer. Overall we really liked it, and I hope to return this year!

20210417_121037

Hiking ECT: Deadman’s Bay Path

I haven’t hiked Deadman’s Bay Path since 2019, but it is one of my favourite trail sections on the ECT and I’ve done it 3 times. Most recently I did it with Lien and Brandon when they visited Newfoundland for my wedding, but I’ve also solo hiked it in the past. This section of the trail runs from Fort Amherst to Blackhead and is approximately 10.5km in length. I feel like it has a bit of a bad rep because of the steep climb out of Fort Amherst, but I think it’s unjustified because it’s only a steep climb and the views from the top and along most of the trail are really unparalleled.

DSC09488

You can hike the trail in either direction, but I’ve always done it from Fort Amherst to Blackhead. If you try to logic that the other direction will avoid the steep climb, you’ll just have to do it out of Freshwater Bay instead, so either option is basically the same. I definitely recommend 2 vehicles for this trail since you won’t want to have to turn around and go back the entire trail, but given the proximity to St. John’s, it’s easy to get dropped off or picked up on one end. If you’re looking for a shorter day, you could also exit at Freshwater Bay or just turn around at Freshwater Bay and only do half the trail. I haven’t done the Freshwater Bay access trail in years, but I believe it’s about a 45 minute walk.

DSC09501

If you start in Fort Amherst, you can visit the lighthouse and get the climb out of the way early. It only takes me about 15 minutes to climb up to the top of the bluff and once there, you’ll have an amazing view of Signal Hill and downtown St. John’s. One time I started the trail around noon and ate my lunch once I reached the top so I could enjoy the view a bit longer. If you don’t want to do the whole trail and are just looking for an hour long walk to get some exercise, I suggest doing the climb up to the top and just enjoying the view before turning around. It’s a great workout and will help build up your stamina.

DSC09503

After that, the trail meanders along the top of the cliff without too much up or down. It goes in and out of the trees and past a few water holes, all with fantastic views of the coastline. Right around the 4.5km mark you start the downhill section into Freshwater Bay (which is the worst uphill part if you go the opposite direction). Freshwater Bay is another lovely short hike on it’s own if you want to park off Blackhead Road on the way to Signal Hill and hike in. It’s marked by the long strip of beach that separates Freshwater Bay Pond from Freshwater Bay – I’ve never swam in the pond myself, but Emily has and it makes for a good cool down on a nice day.

DSC09505

I had a minor breakdown at Freshwater Bay when I hiked it with Lien and Brandon because I forgot sunscreen and was petrified of getting a sunburn or awful tan lines before the wedding, but fortunately a kind stranger happened upon us at the exact right moment and lent me some! Freshwater Bay is located at ~5.5km, so it makes for a good halfway point to stop and have lunch if you’re doing the whole trail.

DSC09523

After crossing the beach, you head back up into the woods and traverse along the edge of the bay. The trail comes out of the woods at the end and I recommend following the trail out to the viewpoint on Small Point for amazing views back to St. John’s and out to Cape Spear. After Small Point the views are more about Cape Spear than St. John’s and the trail winds it’s way around Deadman’s Bay before finally heading into Blackhead. The trail is pretty exposed walking into Blackhead, so gets pretty windy and you can get hit with ocean spray on a particularly blustery day.

DSC09528

If you’re feeling particularly adventurous, you can continue for another 4-5km to Cape Spear on Blackhead Path. I did this once when I was hiking solo and I was ahead of schedule for when my Dad was going to pick me up. It’s not a difficult trail, but it will significantly lengthen the hike, so most often I just end at Blackhead. I’m about 60% through the East Coast Trail to date, but Deadman’s Bay Path remains one of my favourite trails, and given it’s proximity to the city, I definitely recommend!

DSC09547