On our second day in Ushuaia, we were determined to visit Tierra del Fuego National Park. I was really tempted to check out some of the hiking trails in the area, but I felt that visiting the park was a unique experience that I didn’t want to miss, so we opted to do the much more touristy activity. We signed up for a tour and got picked up at our hostel in the morning to drive towards the park. The bus dropped us off at the train station and we had the opportunity to travel into the park by train instead.
Tierra del Fuego is already an interesting geographic region at the end of the world, but it has an interesting history as well. We didn’t have the opportunity to learn very much about its indigenous history, except that there were a number of indigenous Fuegian groups living all over the coastal south region and the interior of the island. They had a very unique culture and were never colonized by the Incans (like many other parts of Argentina and Chile), but like many indigenous groups, they were devastated by the arrival of the Europeans and diseases like measles and smallpox.
Unfortunately, the park doesn’t really focus on this history. It’s a common theme we noticed in both Argentina and Chile, with the bypassing of indigenous history, save for our guide in Santiago, who shared more indigenous history with us on his 3 hour tour, than we learned on the rest of the entire trip. The National Park is heavily marketed to tourists, but they’ve decided to focus on the colonial history of Ushuaia and the surrounding area.
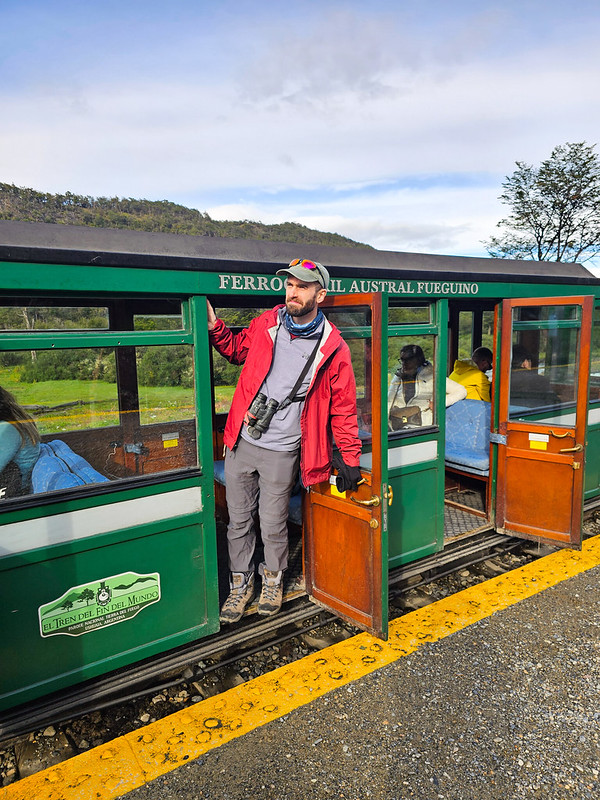
Ushuaia was initially founded as a penal colony in the early 1900’s and as it expanded, a railway was constructed to transport the prisoners into the forest to harvest timber to support the town’s growing needs. The train has been refurbished and is now known as “el tren del fin del mundo”. Today, it transports hundreds of tourists 7km into the park, showcasing gorgeous landscapes and educating visitors on the history of the railroad. It was a cool experience – it’s very picturesque and I enjoyed the opportunity to learn about the history – but I have to say, the entire experience is a bit tasteless.
The train has a very dark history, as many of the prisoners were severely mistreated during this time period. I felt that the tour didn’t understand its intention, in that it didn’t think critically about the experiences of the prisoners or respect them. The audio tour starts off by talking about how progressive it was to offer the prisoners work, and that many of them loved the opportunity to get outside and enjoy nature. But then later in the tour it expands on how the prisoners were starved, beaten, and mistreated while working in what was essentially a labour camp. It’s not like they were given the choice to participate in labour, so it didn’t seem very progressive to me and felt rather tone-deaf.
This is exacerbated by the fact that the Park also has paid actors running around everywhere dressed as goofy prisoners. They make you take a photo with them before boarding the train where they encourage you to pretend that you caught these naughty prisoners trying to escape (and then later try and sell you the photo of course). I found the entire production to be disrespectful and insulting to the people that suffered in this prison at the start of the century. It’s a good learning opportunity, but it was too commercialized and executed poorly.

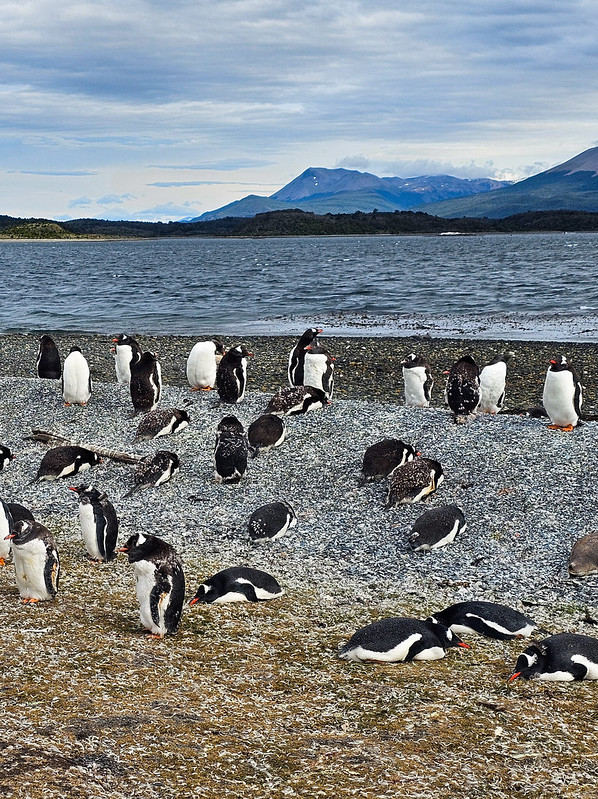
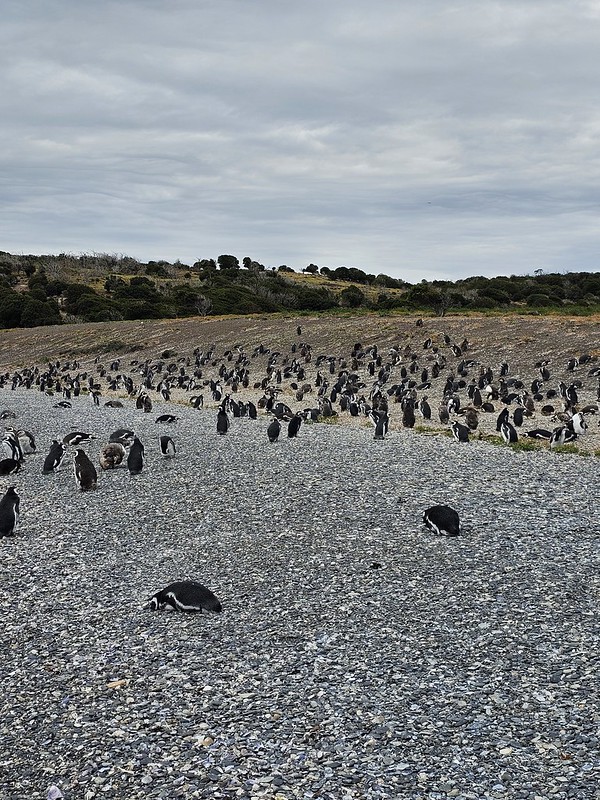
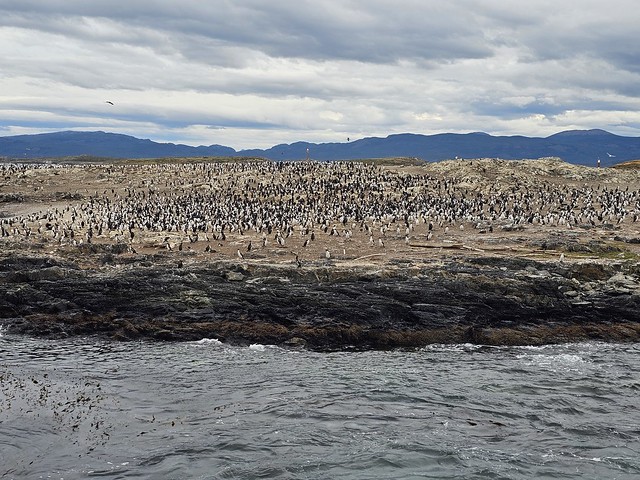
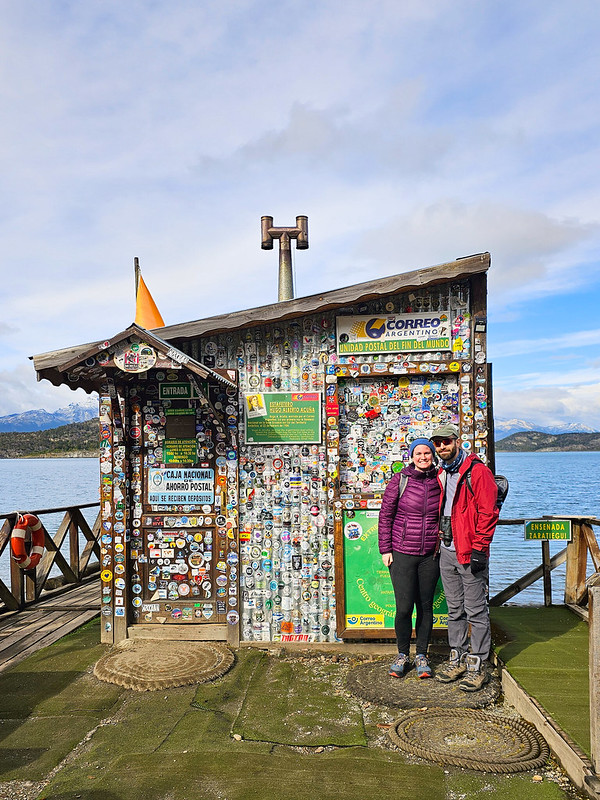
It’s a one-way train journey, so our tour bus picked us up at the end of the line and we spent the next several hours exploring around the park. This part of the tour, I really enjoyed. First we visited the post office. It’s not the most southerly post office in the world (that honour is reserved for the one in Antarctica), but it is known as the “end of the road”. The road in question is the Pan-American highway, which stretches 30,000km from Alaska to Ushuaia. The post office is located on a beautiful beach, so we sent ourselves a postcard (stamped with a penguin) and then enjoyed the views.
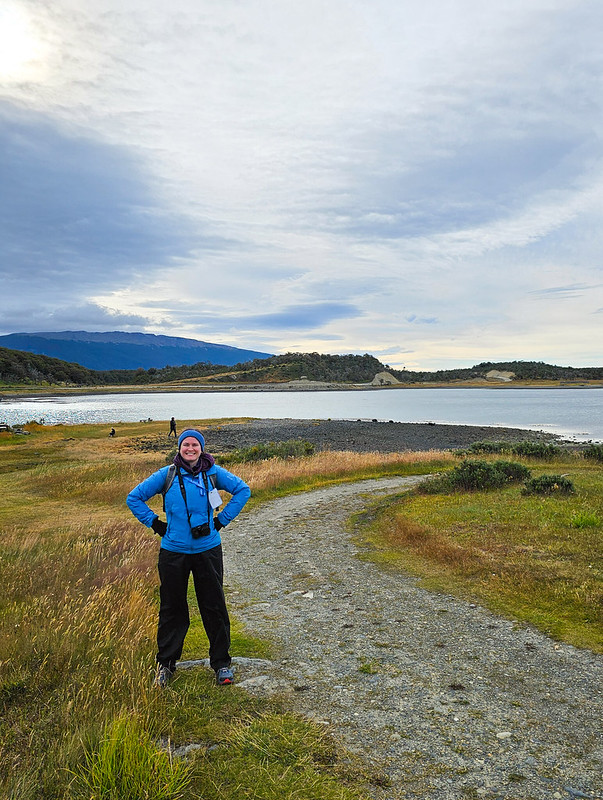
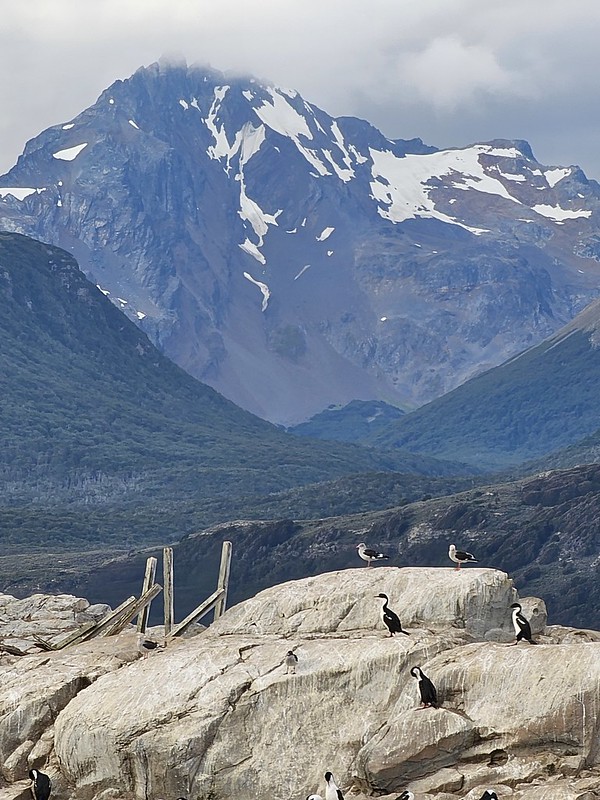
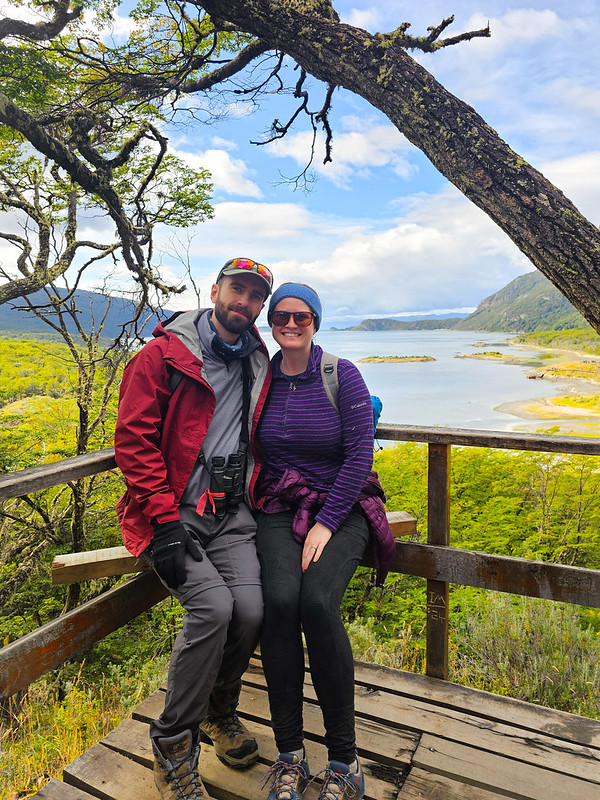
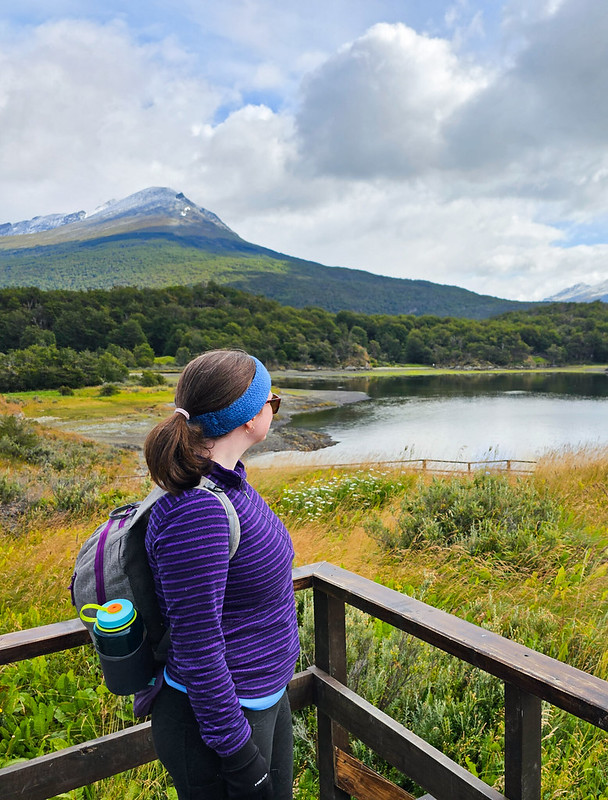
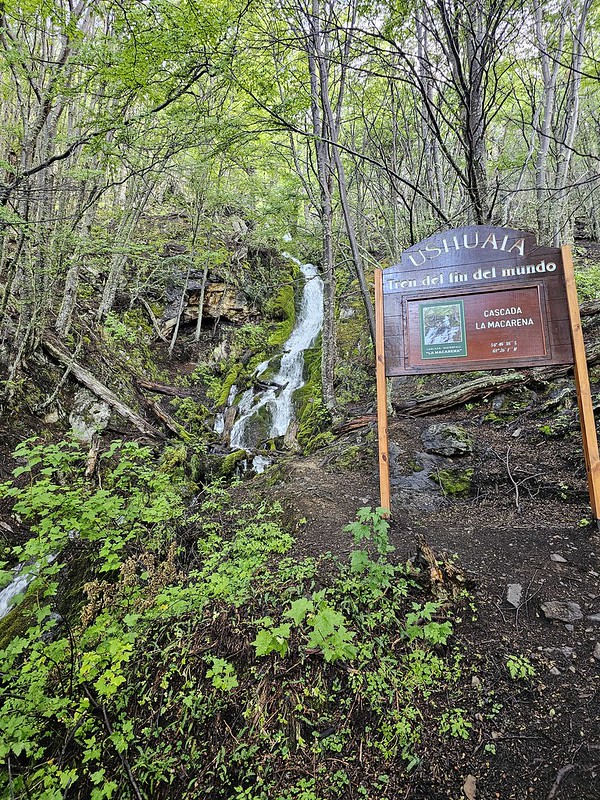
Our next stop was Lapataia, which is the real end of the road and has a beautiful mirador of the Beagle Channel. Our bus dropped us off 1km away from the parking lot and we did a short walk through the forest to Lapataia and then explored the viewpoints. It was a nice day – not super warm, but a mix of sun and clouds. I really liked the forest walk, which smelled amazing after rain from the previous night. Our last stop was to Lago Roca, which is a huge lake located on the border between Argentina and Chile. Our tour guides shared some local spirits with us at the end of the tour (which was actually delicious, a very caramelly whisky), before returning to Ushuaia.
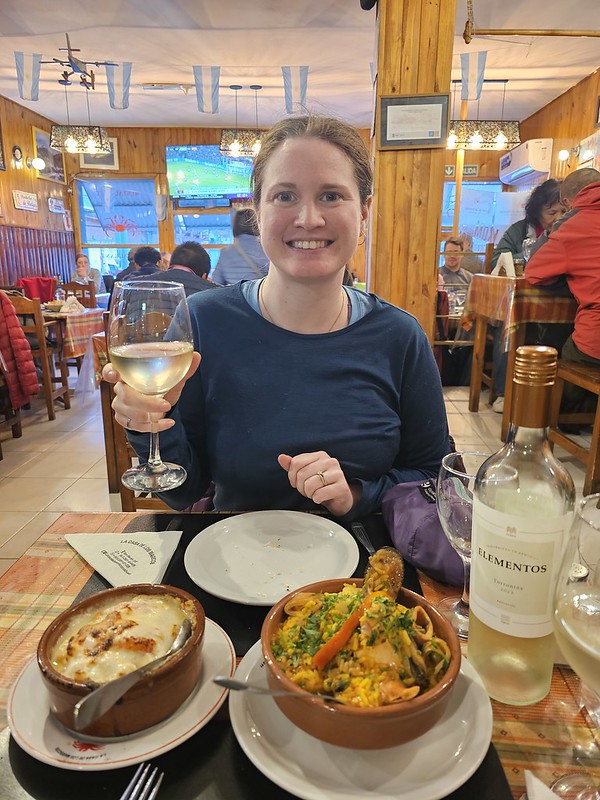
We spent the rest of the afternoon shopping around the downtown area. Seth was determined to find a bird guide and we visited some of the outdoor stores, of which there is actually a large number due to the many expeditions leaving from Ushuaia. But our main goal for the rest of the day was to sample the king crab that Ushuaia is known for. Our tour guides all recommended the same restaurant, a small place called El Viejo Marino, but given how small it was and how often it’s recommended, we could not get a table. Seth did a bit of research and found a place called La Casa de Los Mariscos, which I would highly recommend!
We got to the restaurant 15 minutes before it opened and were the first in line for the night, but a long line quickly developed behind us and by the time the doors opened, the entire restaurant was immediately filled. It was a great choice and one of the best meals I had on the entire trip! The popular dish is the parmesan king crab, which is basically a full crab baked with parmesan cheese. It was delicious and we ordered one to share with a seafood paella that came with squid, scallops, shrimp, clam, mussels, and white fish! We topped it off with a full bottle of wine for the low low price of $9. There was a guy performing life music throughout the night as well and the whole restaurant had a great vibe!
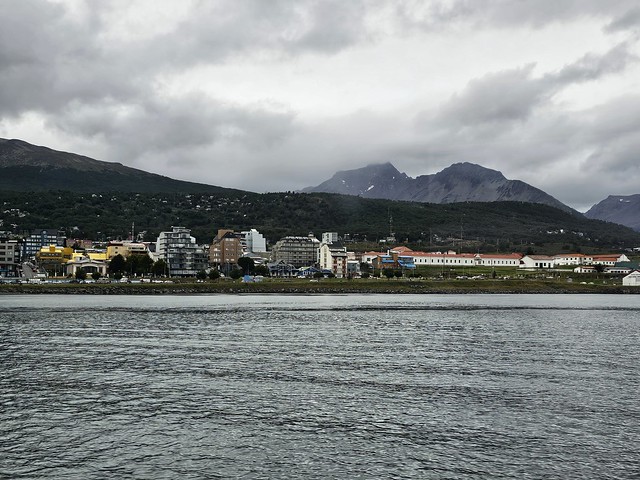
It was a wonderful way to end our time in Ushuaia. It was a very quick trip to the end of the world, we only really had two days there as we flew out to El Calafate early the next morning. I found our trip to be a bit airplane heavy on the front end with the excursion down to Ushuaia, but once we landed in El Calafate, we wouldn’t be flying anymore until the end of the trip,
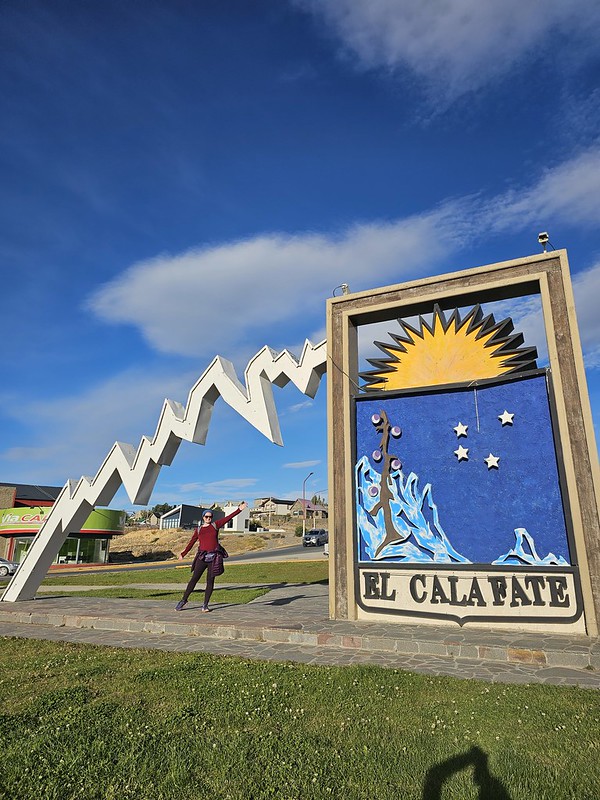
El Calafate is further north than Ushuaia (everything is), but is located squarely in the center of the Argentine Patagonia. It’s the jumping off place for anyone looking to explore Los Glaciares National Park. Like Ushuaia, it was not at all what I expected. I thought El Calafate would be smack dab in the middle of the mountains, but Patagonia is quite different from the other mountainous regions I’ve visited. Mostly in that it’s still true wilderness. There are not very many towns actually located in the mountains. The mountains are crowded around the Argentina-Chile border, but east of the border mountains, Argentina is pretty much all flatland desert. It’s very dry and barren.
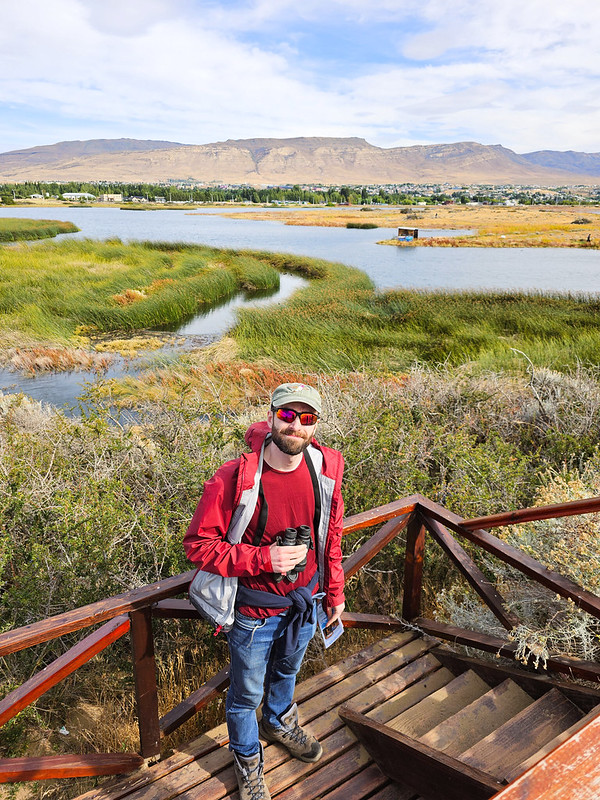
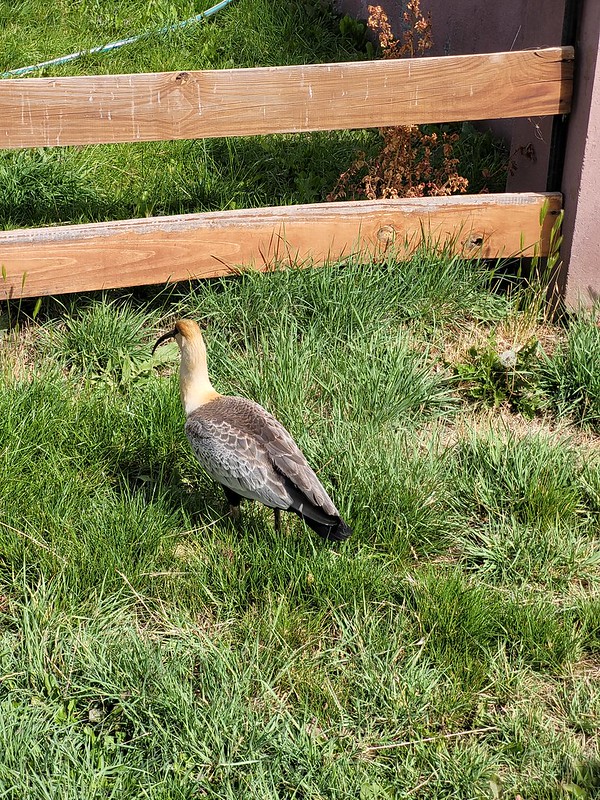
El Calafate is located right on the enormous Lago Argentino. It has a nice view of the mountains across the lake, but the town is characterized more by the desert than the mountains. We stayed in a nice little guesthouse, arriving around noon. We were starting our first trek the following day, so we spent the afternoon picking up some groceries for the trip and sourcing other things we couldn’t bring with us, like fuel for our stove. We enjoyed some beers at Patagonia Brewing and then spent the rest of the day birdwatching at Laguna Nimez, a reserve next to the lake. We saw lots of birds, but the most interesting was probably the Chilean Flamingo! There were dozens of them hanging out in the lagoon and they’re pretty goofy to watch.
In the evening, we re-packed our bags, leaving a suitcase at the guesthouse and getting our backpacks ready for our first trek: 3 days on the Sendero Fitz Roy!