Snowshoeing Shadow Lake and 3 Falls Trail

Now that I’ve written about all the snowshoe trails I’ve done on the North Shore, it’s time to move on to Manning Park! There’s a lot to explore in Manning Park in the winter and it almost always have great snow. Unlike the North Shore, Manning Park reliably stays below zero for most of the winter, so you don’t get the same freeze-thaw cycles as the North Shore. I think I’ve snowshoed there 4 or 5 times and only once did I not get fresh powder.

DSC08519

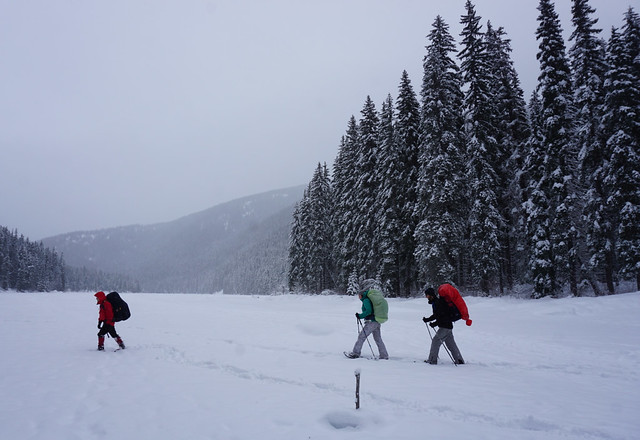
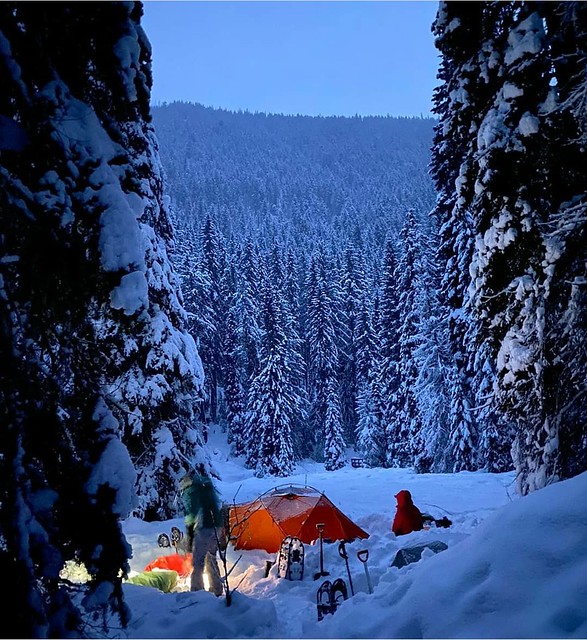
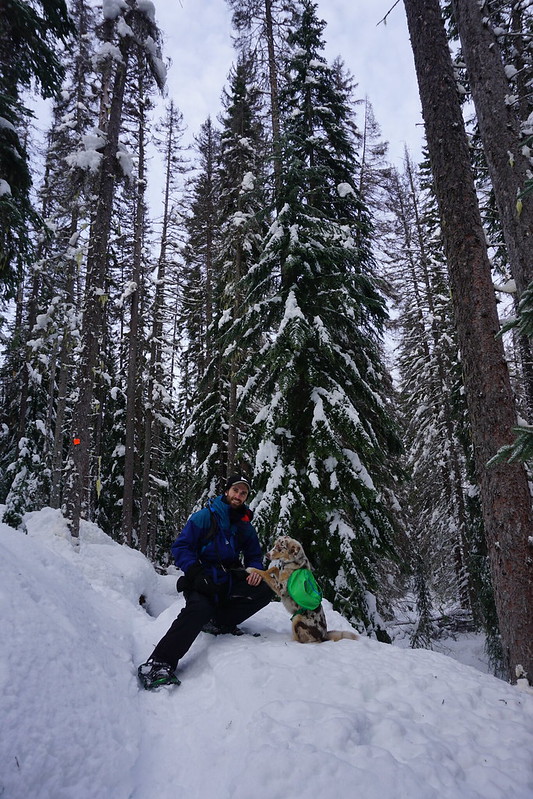
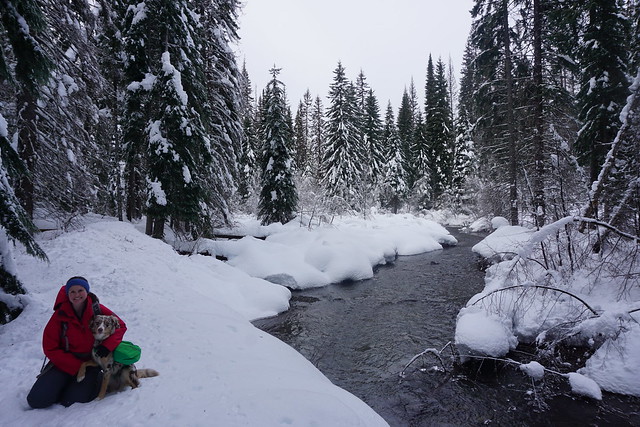
I’ve only done the beginner trails in Manning, but there are lots of more advanced trails for backcountry skiing and a nordic trail that extends right through the park. To date, Shadow Lake is my favourite winter trail in the park. The trail leaves from the strawberry flats parking lot, meandering through the forest to the lake and ending at the bottom of the downhill ski resort. Strawberry flats is a large parking lot with the nordic trail running parallel, so make sure to enter the trail at the outhouse. From there, you just have to cross the nordic trail once and then you should see the trail continuing into the woods (don’t follow the nordic trail). The first part of the trail winds through the trees and is the most beautiful winter wonderland! I’m sure it would have a different feel without fresh snow, but both times I’ve done this trail it has been snowing, making the snow covered boughs of the surrounding trees extremely scenic.

DSC08475

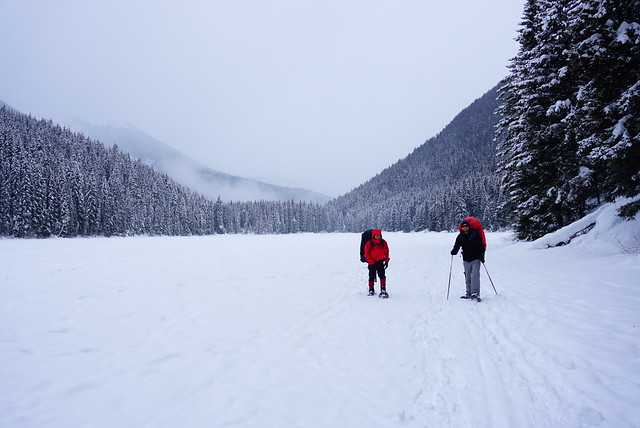
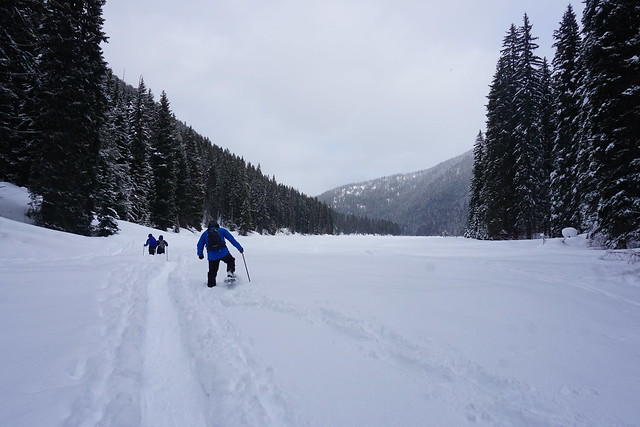
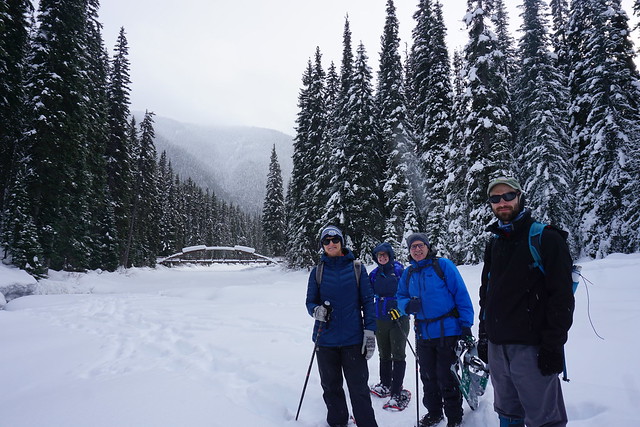
Most of the trail is in the forest, but there are a few small meadows along the way where you can jump off the trail if you want to frolic in the snow or cut fresh tracks. It’s only about 4.5km from the parking lot to the base of the ski hill and back, so it’s a short trail, probably around 2 hours in length. The trail crossing the nordic trail once more, just before the ski hill, but you should see the trail continue into the woods on the other side. I prefer to stop and have hot chocolate at the lake, so we usually spend closer to 3 hours on the trail. Shadow Lake is located shortly before the end of the trail and depending on the time of year you may be able to walk out onto the lake and get beautiful photos of the surrounding mountains. The first time I did the trail was in January or February, so we were able to access the lake, but the second time I did it in December and the river running into the lake hadn’t quite frozen over yet, so we couldn’t cross the marsh to get over to the lake. Either way, there’s still a nice view even if you can’t get on to the lake.

DSC07938

From the ski hill, it is possible to extend the trail if you’re looking for something a little longer. If you cross the bottom of the slope, you’ll see a narrow trail going back into the woods along 3 Falls Trail. In the summer there are 3 waterfalls that you can view from the trail, in the winter you can still see the first frozen waterfall, but depending on the conditions you may not be able to see the other two. It’s not a difficult trail, but it does run along a very steep slope on the North side of the trail, so you do have to be careful and prepared along this trail as it does run through avalanche terrain. The first stop along the trail is the Shadow Falls viewpoint, which was in my opinion the best viewpoint, so you could just go as far as the first lookout. When we went we couldn’t even get to the third viewpoint because the snow conditions were too sketchy and we turned around instead. If in doubt, just stick to the Shadow Lake Trail. If you do extend to include 3 falls, you’ll double the trail length to 10km round trip.

DSC07895

The important thing to note about the Shadow Lake trail is that it is one of the trails in the Park that is managed by the resort. Most of the trails are free to snowshoe on, but there are a collection of trails that are flagged by the resort. From a safety perspective this is great because the trail is well marked and easy to follow, but it does cost $10 to use. In the past you could get the trail pass right at the lodge for $10 (where you can also rent snowshoes), but with covid you can now purchase the pass online and redeem in the lodge when you arrive in the park. In my opinion the $10 is well worth it and I always have a great time on this trail!

DSC08447

Finally, keep in mind there is no cell service in Manning Park, so make sure to leave a trip plan and check the avalanche bulletin before you go. There is service at the lodge, so I usually park there before and after the trail just to update my emergency contact via text about my progress.

received_389537011808789

Ski Resort Series: Blackcomb

Even though Whistler-Blackcomb is one big resort, I decided to write about them separately since it is two different mountains and I’ve spent so much time skiing both. I posted about Whistler first, so check out that post for more general info about the resort, like lift passes and parking.

IMG_8432

Creekside is not an option for parking if you’re skiing Blackcomb, but there is an upper parking lot for Blackcomb if you want to jump right on the Blackcomb Gondola – though I understand it fills up pretty quickly. We always park in lots 4/5 (no matter which mountain we’re skiing) and take the shuttle over to Whistler village, so we always take the Excalibur Gondola up to start. The benefit of the Blackcomb Gondola is it takes you right to Rendez-Vous, which is the main hub on Blackcomb. Excalibur only goes halfway up and then you have to switch to the Excelerator Chair.

20190106_125124

For a long time, Whistler was my favourite mountain. I loved going up the Peak Chair and eating at Creekside. I liked the long runs that swing you around the mountain and how many different lifts there are. But over time I’ve grown to really love Blackcomb. I don’t think I can say I like it more than Whistler, but they’re definitely tied and I try and alternate back and forth every time I visit.

20170205_145626

The most popular runs on Blackcomb are at the 7th Heaven chair and it’s easy to understand why. On a clear day you can see all the Black Tusk and the surrounding mountains. 7th Heaven is completely clear of trees at the top, so it has amazing views before branching off into a dozen different runs. There’s a small café at the top and while it’s almost impossible to get a seat inside, Brandon and I have spent more than one occasion enjoying our home-packed lunches outside at the picnic tables or on the slopes. Otherwise, we usually hit up Glacier Creek for lunch. It’s large and the crowds usually clear out a bit by 1:30pm. I find it much busier at Rendez-vous and usually try and avoid eating there.

DSC08589

Once we get to 7th Heaven we’ll usually spend half of the day skiing there. There are tons of runs and you can pop in and out of the glades when you reach the top of the ski-line. There’s almost always small ramps scattered throughout the top, so Grant and I usually like to play around and test our abilities (we get at most a few inches of air, but we love it!).

If the conditions are bad though, 7th Heaven can be a bit of a nightmare. With no trees to shield you from the wind and blowing snow, visibility can be really bad at the top and they’ll often close the entire chair if the conditions are dicey. But on a clear day its really the best place to hang out!

GOPR2374

After 7th Heaven, Glacier Chair is really popular, but it’s never been one of my personal favourites. A lot of the runs at Glacier are more advanced and though my skiing has improved in the past years, I still like to play it a little more cautious. However, I recently discovered something new in the Glacier Chair area that is totally worth checking out!

At the top of the Glacier Chair, there’s a small t-bar called the Showcase T-bar, which takes you just a little bit further up the mountain. I’ve always ignored it because I hate t-bars, but I recently learned that if you’re willing to do a short walk, there’s a run at the very top of showcase that goes down the back of Blackcomb Glacier to an ice cave! It’s shown on the printed resort map, but I guess it doesn’t see that much traffic because after the t-bar, you have to take your skis off and walk upslope about 5 minutes to get to the top of a bowl going down by Blackcomb Glacier. It only takes about 5 minutes, so it’s totally worth it in my opinion, but it is steep, so I was pretty out of breath from carrying my skis.

IMG-20210123-WA0018

Once you get to the top of the bowl there are gorgeous views looking out over the mountains. Advanced skiers will climb further up the bowl, but I think most people just ski down from there. It’s steep at the top, but nothing unmanageable. The caveat with this run though is that it does go through avalanche terrain. The resort has a warning posted at the top of the lift that you are entering avalanche terrain, so make sure to check the bulletin before going. Fortunately the risk was low when we visited.

GOPR3735_1611460526434

It’s a gorgeous run, we played it safe and followed the ski markers down the center of the bowl. When you get to the bottom of the first part of the bowl, if you look to the right, you’ll see the Blackcomb Ice Cave along the side of the run. We skied down to it and spent some time exploring and taking photos. This was my first ice cave, so it was a really neat experience, but I’m not knowledgeable about ice cave safety, so we ventured inside the opening, but not beyond as we had no idea what the risk was.

DSC08630

It’s a bit of a climb uphill again after the ice cave, but no where near as steep, I was able to ski it, but Brandon walked his board out. The run continues down around the back of the mountain and connects in again at the Crystal Chair. We had perfect weather when we visited the ice cave, so it made for a really fun day. I couldn’t believe I had skied the mountain for 7 years before discovering its existence!

Crystal Ridge can be a fun place to ski and I’ll often do a run or two in that area, but Jersey Cream is probably my favourite chair after 7th Heaven. It’s a shorter chair with limited runs, but I really like the views. Otherwise, there’s a ton of fun blue runs to do around the middle of the mountain and that’s where I’ll usually finish out my day. Depending on the conditions, we will ski down to the bottom, but sometimes we’ll download the last section on the gondola. Just be careful when you ski down that you take the right run based on where you parked. One leads to Whistler Village while the other leads to Blackcomb base.

IMG-20190302-WA0016

And that about sums up my thoughts on Blackcomb and Whistler. It’s definitely not cheap to ski there, but I keep coming back every year because there’s such a wide diversity of runs, the snow is usually better than the local mountains, and it’s much closer driving distance than going all the way to the interior. I still ski Cypress a lot too, but I always have the best time at Whistler-Blackcomb! However, be aware that with covid, reservations are now required prior to arriving and all the restaurants are operating as booking only. So unless you bring your own lunch to eat outside, plan ahead! Otherwise, have fun!

IMG-20190106-WA0019

Snowshoe Guide to the North Shore

Over the past few months I’ve been posting about all my favourite snowshoe trails on the North Shore. I was invited to write a guest post for Modo as one of their ambassadors, so I decided to share the compilation post here as well! Depending on the weather conditions, snowshoeing is possible all over the lower mainland; in Golden Ears, Pinecone Burke, and Eagle Mountain. However, the most reliable place to find snow is on the North Shore. Other parks are located at lower elevations, so the bottom half of the trails will often be bare, but the North Shore will almost always have snow into March.

Before You Go

DSC02363

If you’re new to snowshoeing, you can rent equipment either on the mountain at Cypress, Grouse, or Seymour, or from a number of local rental shops in the lower mainland. Snowshoes are great for fresh snowfalls and for cutting through powder, but microspikes can also be used on heavily trafficked trails where the snow has been compacted. If in doubt, just use snowshoes, which will keep you from slipping on any snowy surface.

Before you go, make sure to research the trail and the weather and avalanche conditions for that day to ensure you’ll be safe. Take the 10 essentials with you and leave a trip plan with a friend or family member so that they know when to expect you back. If you’re going into avalanche terrain, consider taking an avalanche safety course. While all of these trails are located in “simple” terrain, you should always check the conditions before going out and be prepared.

Getting There

Winter tires or mud + snow tires are required on the roads to Seymour and Cypress. The good news is the majority of Modo’s fleet is equipped with M+S tires and a portion of the fleet have full winter tires. The North Shore sees a lot of traffic during the winter from both skiers and snowshoers, so if you’re planning to drive up to Cypress or Seymour, leave early. Seymour currently runs a shuttle from the base of the mountain to the top to help accommodate traffic. If you’re going up Grouse Mountain, make sure to reserve the gondola in advance as it is running at lower capacity during the pandemic.

I have driven Modo vehicles to the top of both Cypress and Seymour and on days when I prefer to have a later start time, I use Modo to commute to North Van and take the Seymour shuttle. When I go snowshoeing off the Sea to Sky or in Manning Park, I usually prefer to take a vehicle with full winter tires. My favourite vehicle for everyday use is the Toyota Corolla on Charland & Blue Mountain and my favourite vehicle with snow tires is the Toyota RAV4 on Elliot & Dickenson!

Seymour Mountain

DSC03247

Dog Mountain and Dinky Peak (6km, 260m elevation gain) – The trail to Dog Mountain and back is 5km and has a great view of the city from the end of the trail. Extend your trip by 1km and snowshoe the Dinky Peak loop on your way back, which has a beautiful view of the backcountry.

Brockton Point AKA First Peak (4km, 200m elevation gain) – The First Peak trail takes you up the edge of the ski resort to the top of the chair lift. It’s a steady, steep trail, so come prepared for a climb, but the view from the top is super rewarding!

Discovery Trails (customize your trail from 2-5km!) – For $15, you can purchase a trail pass to explore Seymour’s Discovery Trail network. This network has 4 different trail loops that are flagged and managed by the resort and are a great place to try snowshoeing for the first time!

Grouse Mountain

DSC03345

Dam Mountain AKA the Snowshoe Grind (5km, 400m elevation gain) – Reserve the gondola to the top of the mountain and get a great workout on the Snowshoe Grind up to Dam Mountain loop trail! From here you can see down to the city and out to the snowy backcountry!

Thunderbird Ridge (6.5km, 450m elevation gain) – Extend your day and continue an extra 1.5km and back from Dam Mountain along Thunderbird Ridge. This trail is usually less crowded with lots of powder to play in – plus an epic view of Crown Mountain!

Grouse Loop (1.5km, minimal elevation) – If the snowshoe grind isn’t your thing, check out Grouse Loop and explore the little winter wonderland hidden in the trees!

Cypress Mountain

DSC07995

Hollyburn Mountain (7km, 400m elevation gain) – Hollyburn trail leaves from the nordic area and is one of the more challenging trails on the list, but boasts a beautiful view from the top. While a lot of these trails can be done with microspikes, I recommend taking snowshoes for the top section of this trail, which is wide and generally not as compact.

Bowen Island Lookout (3km, 120m elevation gain) – Bowen Island Lookout is a short trail that leaves from the downhill ski area and has a great view looking over Howe Sound. The trail cuts through the meadows and then climbs up to the lookout. Stop into the backcountry hut in the first parking lot (not the ski lodge) to get a free trail pass before you start.

Hollyburn Trails (customize your trail up to 10km!) – For $16, you can purchase a trail pass at the nordic area to explore 10km+ of flagged snowshoe trails. You can connect with the Hollyburn Mountain trail if you want to go all the way to the top.